About cookies on this site Our websites require some cookies to function properly (required). In addition, other cookies may be used with your consent to analyze site usage, improve the user experience and for advertising. For more information, please review your options. By visiting our website, you agree to our processing of information as described in IBM’sprivacy statement. To provide a smooth navigation, your cookie preferences will be shared across the IBM web domains listed here.
Tutorial
Run Llama2 and Mistral 7B on IBM Cloud Virtual Servers with CPU
Easily deploy complex applications on top of IBM Cloud
Foundational models are changing the world of generative AI and making it easier to access generative AI models. Llama-2-7B is part of a collection of pretrained and fine-tuned generative text models that are used mostly in chat applications and natural language generation use cases. Mistral-7B is a large language model (LLM) by Mistral AI that is trained on 7B parameters and used for chat and natural language generation use cases.
In this tutorial, learn how to run Llama-2-7b and Mistral 7B on IBM Cloud Virtual Servers without a GPU.
Prerequisites
To follow this tutorial, you need:
- A basic understanding of IBM Cloud and an IBM Cloud account
- A Virtual Server for VPC instance
- A basic understanding of LLMs
- Basic understanding of shell scripting
Estimated time
It should take you approximately 10 - 15 minutes to complete the tutorial.
Steps
Step 1. Set up the environment
This tutorial uses IBM Cloud. You will provision and use the following components.
- Ubuntu 22.04 - 4 vCPU | 16 GiB | 8 Gbps Virtual server instances
- Provisioning a VSI auto creates for you:
- A VPC attached to it
- A security group governing the previous VPC
- Provisioning a VSI auto creates for you:
- A Floating IP in the same region to expose your app to internet
Provision a virtual server instance for VPC.
Name the instance:
- For image options, use
ibm-ubuntu-22-04-4-minimal-amd64-1 For Profile, select for a Balanced 4 vCPU and 16 GB RAM
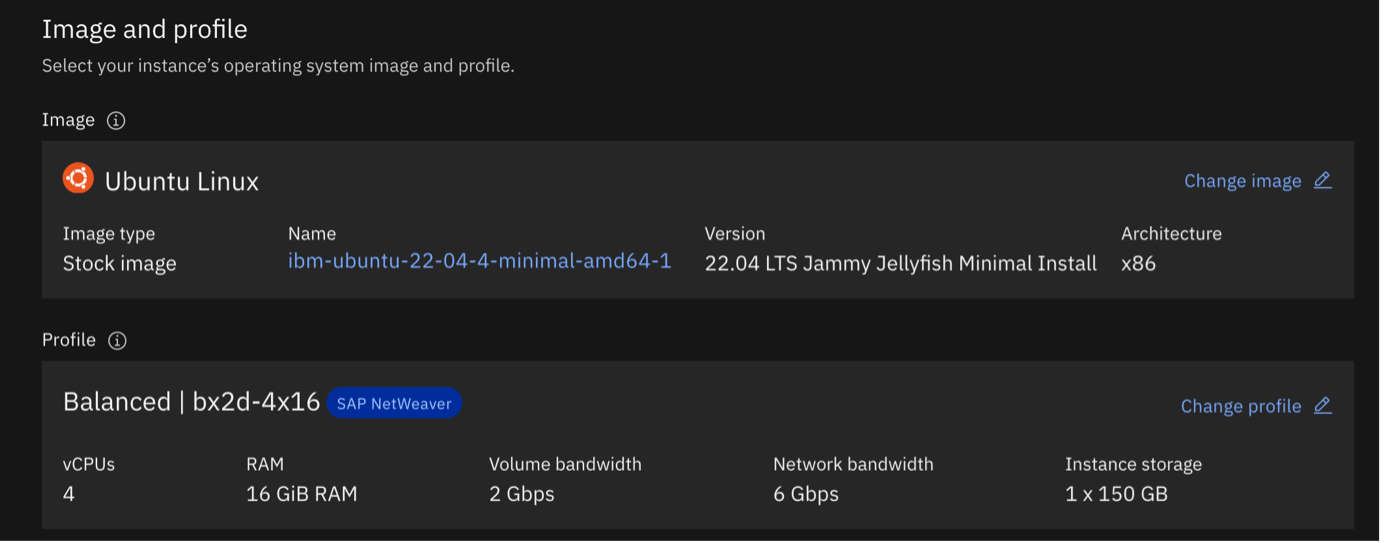
- For image options, use
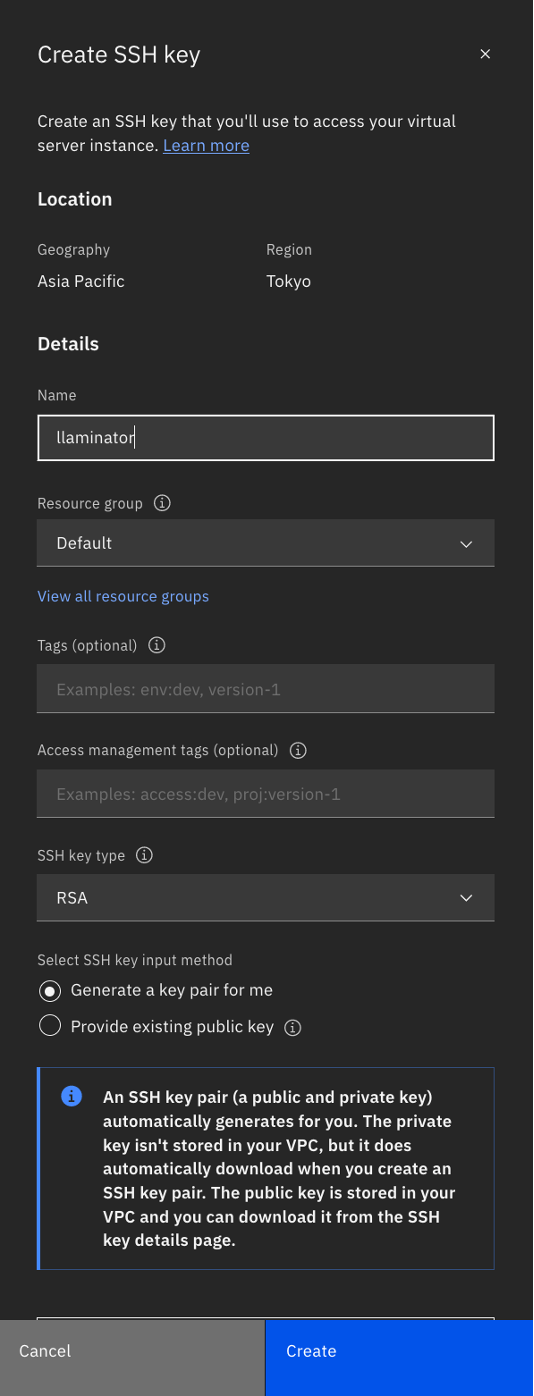
Generate an SSH Key that is specific to the system that you will use to log in. You must click Create SSH key, then name the key. Click Create.The key is auto generated and downloaded for you.
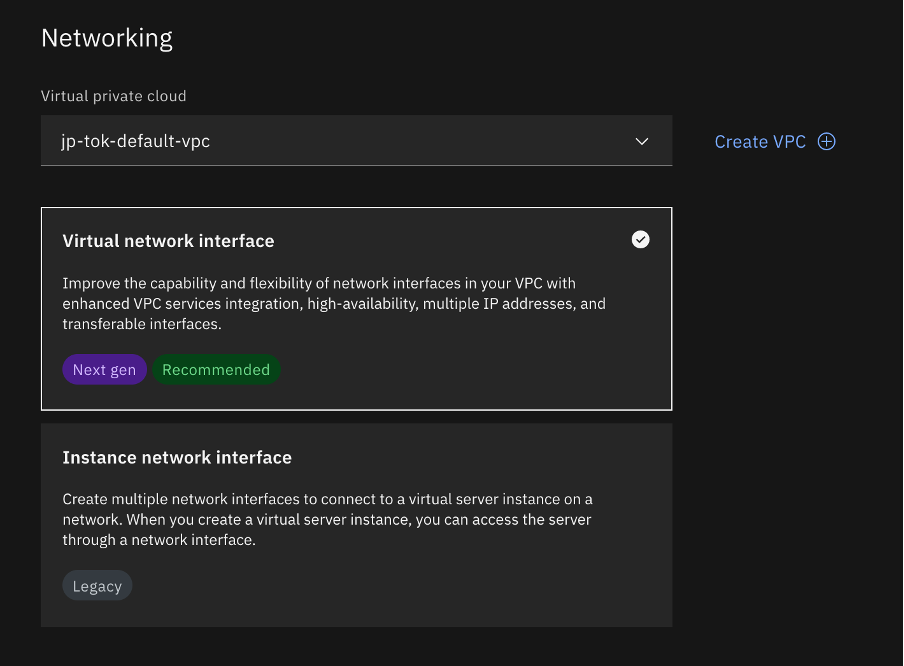
Choose Virtual network interface for Networking, and let it create one for you.
That’s it. Now wait for the provisioning to complete.
Step 2. Set up the networking
Before you can access the cluster, you must also set up the networking.
Step 2a. Get a Floating IP
The instance does not come with a Floating IP, so you must get one.

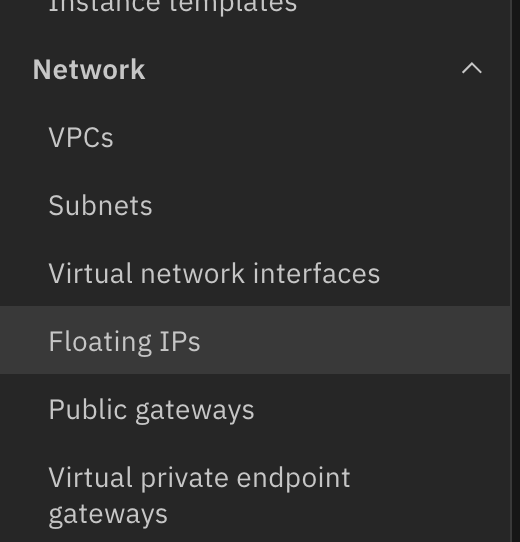
Navigate to Floating IPs under Network from the menu side bar.
Click Reserve, and make sure that you select the same zone as the one you chose for the instance, so you can see it listed in the resource to bind drop down list.
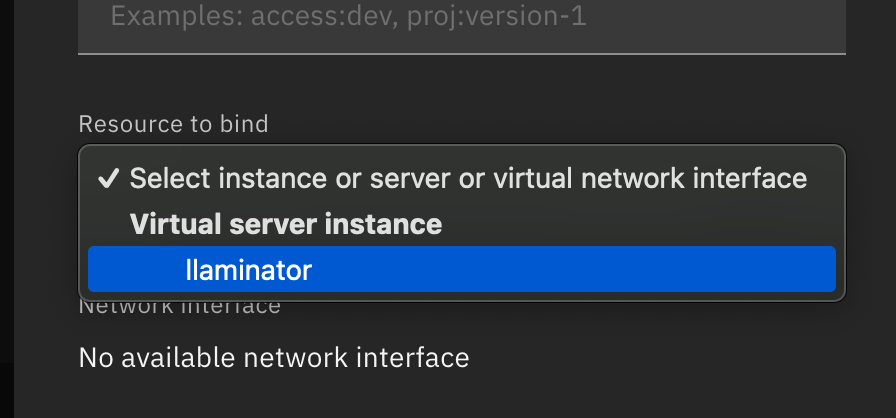
Click Reserve to assign the Floating IP to your instance.
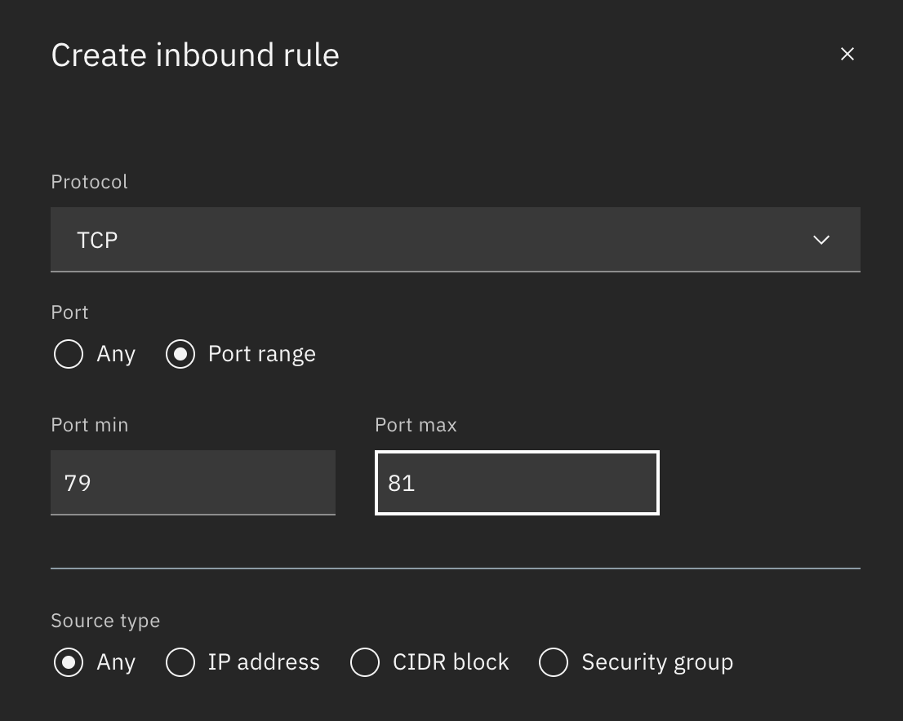
Step 2b: Allow inbound on Port 80
The app is deployed on port 80 so that it can be accessed without any redirection. Although the required fire wall setting on the system is controlled by the script, you must still manually add an inbound rule to the security policy created.
- Navigate to security groups for VPC.
- Pick the group that is assigned to your instance (you can find it tagged in the instance details), and navigate to Rules.
Add a new TCP Inbound Rule to allow traffic on port 80.
Step 3. Access the cluster
- Open the terminal, and navigate to the folder where you downloaded the SSH key.
Update the permissions on the key to allow SSH connect.
chmod 400 <path to your pem file>SSH into the cluster by using the following command.
ssh -i <path to your pem file> root@<Floating IP>Enter Yes when asked to add the key to known hosts.

Step 4. Install prerequisites
There is a quick script to install all of the necessary libraries and tools for you as well as a Flask application to give you access to the model over a UI or API. Let’s see how to get it.
Get the required scripts.
git clone https://github.com/krishnac7/Llaminatorcdinto the script.cd LlaminatorSet up file permissions.
chmod +x install_run_cloud.shRun the setup files.
./install_run_cloud.sh
Wait for the setup process to complete. It can take a few minutes. After you see the following screen, you are all set.
Note: If you are asked for manual input, especially during the
update-initramfsstep, press enter until you see the console again. The process will then continue.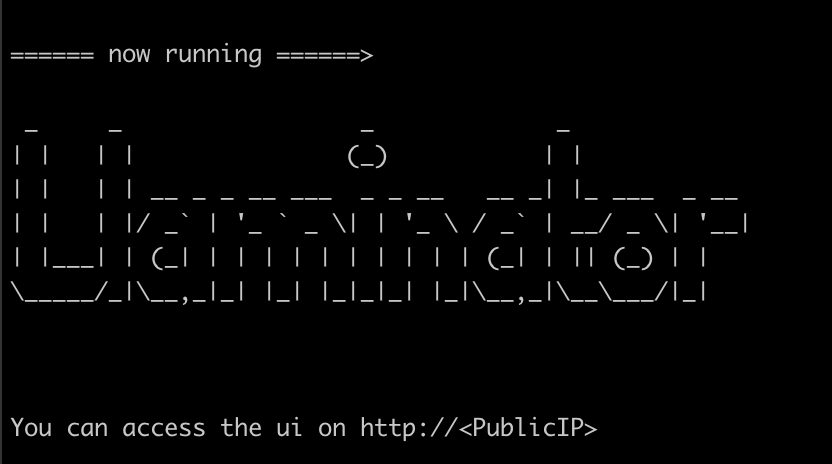
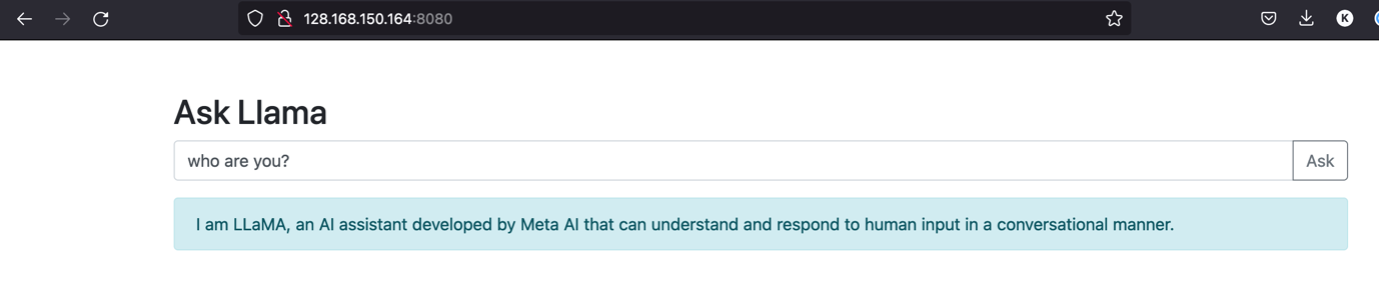
Step 5. Access the UI
- Open the URL
http://<Floatingc ip >to access the UI.
Note: You can also use the API path directly located at
https://<public ip>/api/response, which takes in a POST request and with the {“query” :} object in the body.
Using Mistral
If you want to use Mistral instead of Llama2, you must make the following changes.
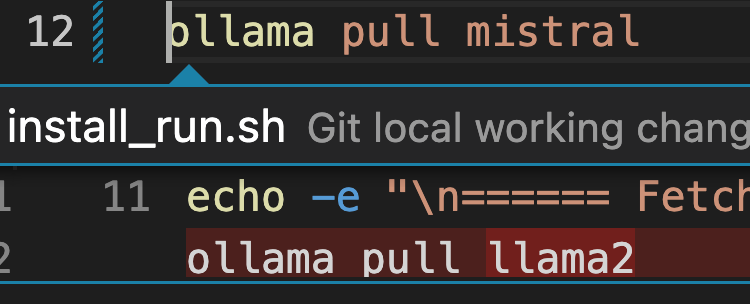
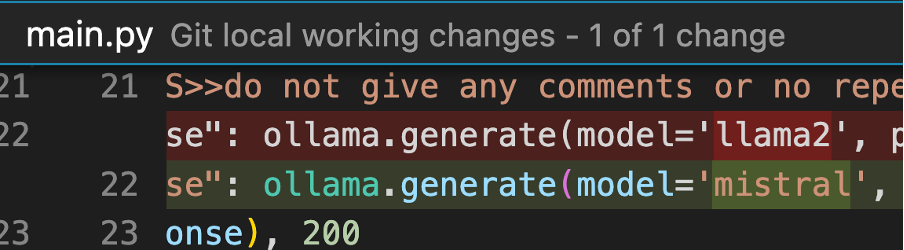
Replace llama2 with mistral in the following places:
Install_run.sh:
Ollama pull mistral
Main.py:
ollama.generate(model='mistral'
Conclusion
You have successfully deployed an LLM for a chat use case on IBM Cloud, which makes it easy to deploy complex applications on top of it in matter of minutes.