About cookies on this site Our websites require some cookies to function properly (required). In addition, other cookies may be used with your consent to analyze site usage, improve the user experience and for advertising. For more information, please review your options. By visiting our website, you agree to our processing of information as described in IBM’sprivacy statement. To provide a smooth navigation, your cookie preferences will be shared across the IBM web domains listed here.
Tutorial
Build a voice-enabled watsonx Orchestrate agent using Watson Speech and Genesys Audio connector
Build a simple intelligent virtual agent (IVA) system powered by IBM Watson Speech and Genesys Bot by integrating voice and channels for an IBM watsonx Orchestrate agent
On this page
Customer service teams are relying on generative-AI-powered virtual assistants and voice-enabled AI agent systems to deliver customer experiences through conversational AI. With watsonx Orchestrate, you can build intelligent agents that seamlessly handle voice interactions over web interfaces and phone channels, enabling natural spoken conversations that combine the power of Watson Speech to Text and Text to Speech services.
In this tutorial, you'll learn how to configure voice capabilities for your watsonx Orchestrate agents by integrating Watson Speech to Text and Text to Speech services, and then connect your voice-enabled agents to a phone channel using the Genesys Audio Connector. This integration enables agents to handle voice interactions with greater reliability and clarity while leveraging agents and tools built within watsonx Orchestrate.
By the end of this tutorial, you'll have a fully functional voice-enabled agent deployed on watsonx Orchestrate that can receive and respond to phone calls through Genesys Cloud, processing spoken input and generating natural-sounding responses. Whether you're building a customer support bot, an automated assistant, or an interactive voice response system, this guide provides the step-by-step foundation you need. This guide uses a simple agent to show the setup, but in production systems this same setup can be used for multi-agent systems.
Prerequisites
Before you begin this tutorial, ensure you have the following resources and access:
A free trial SaaS instance of watsonx Orchestrate environment on IBM Cloud.
Free trial instances of the Speech to Text (STT) and Text to Speech (TTS) services for converting voice input into text.
Genesys Cloud with Genesys Architect in the correct region (available through the Genesys Cloud portal). You will need admin role and administrative permissions in your Genesys Cloud organization to configure audio connectors and integrations. You can sign up for a free trial account on their website. You will also need a phone number with you Genesys account. You can follow the following tutorial to set that up – Genesys Phone Number Setup Tutorial
Step 1. Set up a voice connection in watsonx Orchestrate
To set up the voice connection, you need the STT and TTS service credentials to add to the watsonx Orchestrate instance.
Obtain the STT and TTS credentials
To get the API key and instance URL for both the STT and TTS services, follow these steps:
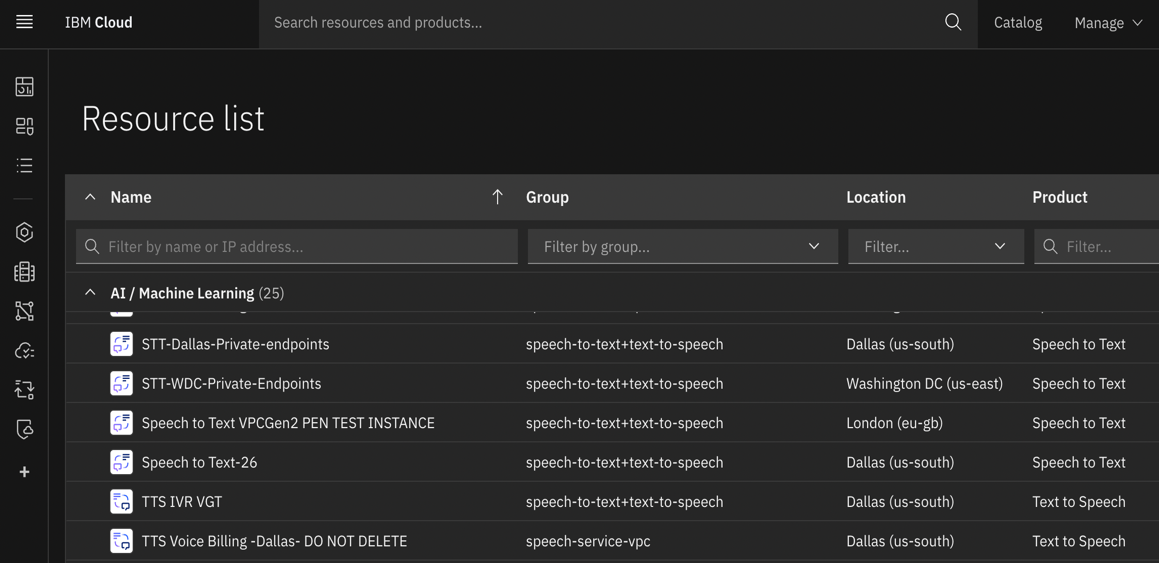
Log in to your IBM Cloud account. From the hamburger menu on the top left corner, select Resource List. Click AI / Machine Learning, and then search for your Speech to Text and Text to Speech services in the list.
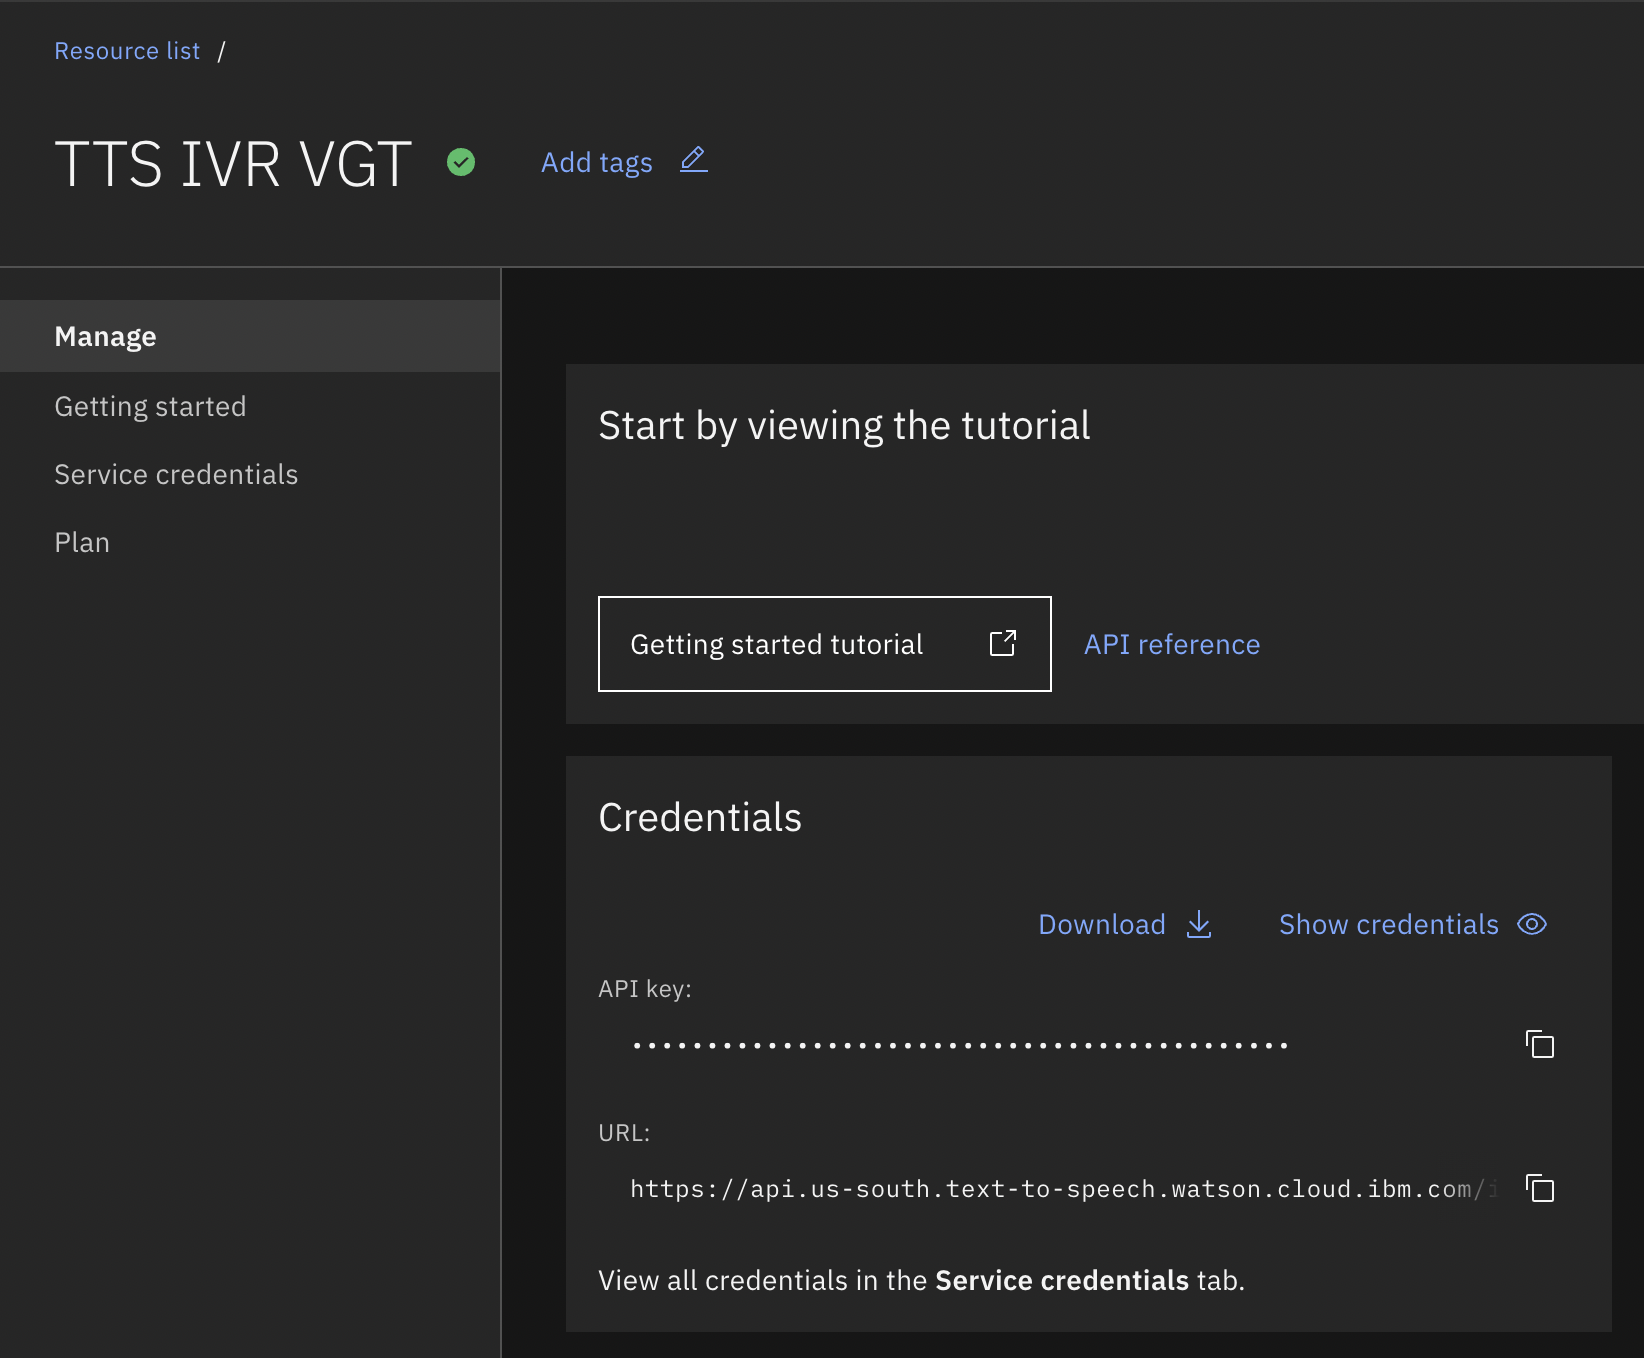
For each service, download and save the API key and instance URL to a secure location. You will use these when setting up the voice connection in watsonx Orchestrate in a later step.
Add the connection details to the watsonx Orchestrate instance
Now that you have the credentials for the STT and TTS services, you need to add them to your watsonx Orchestrate instance.
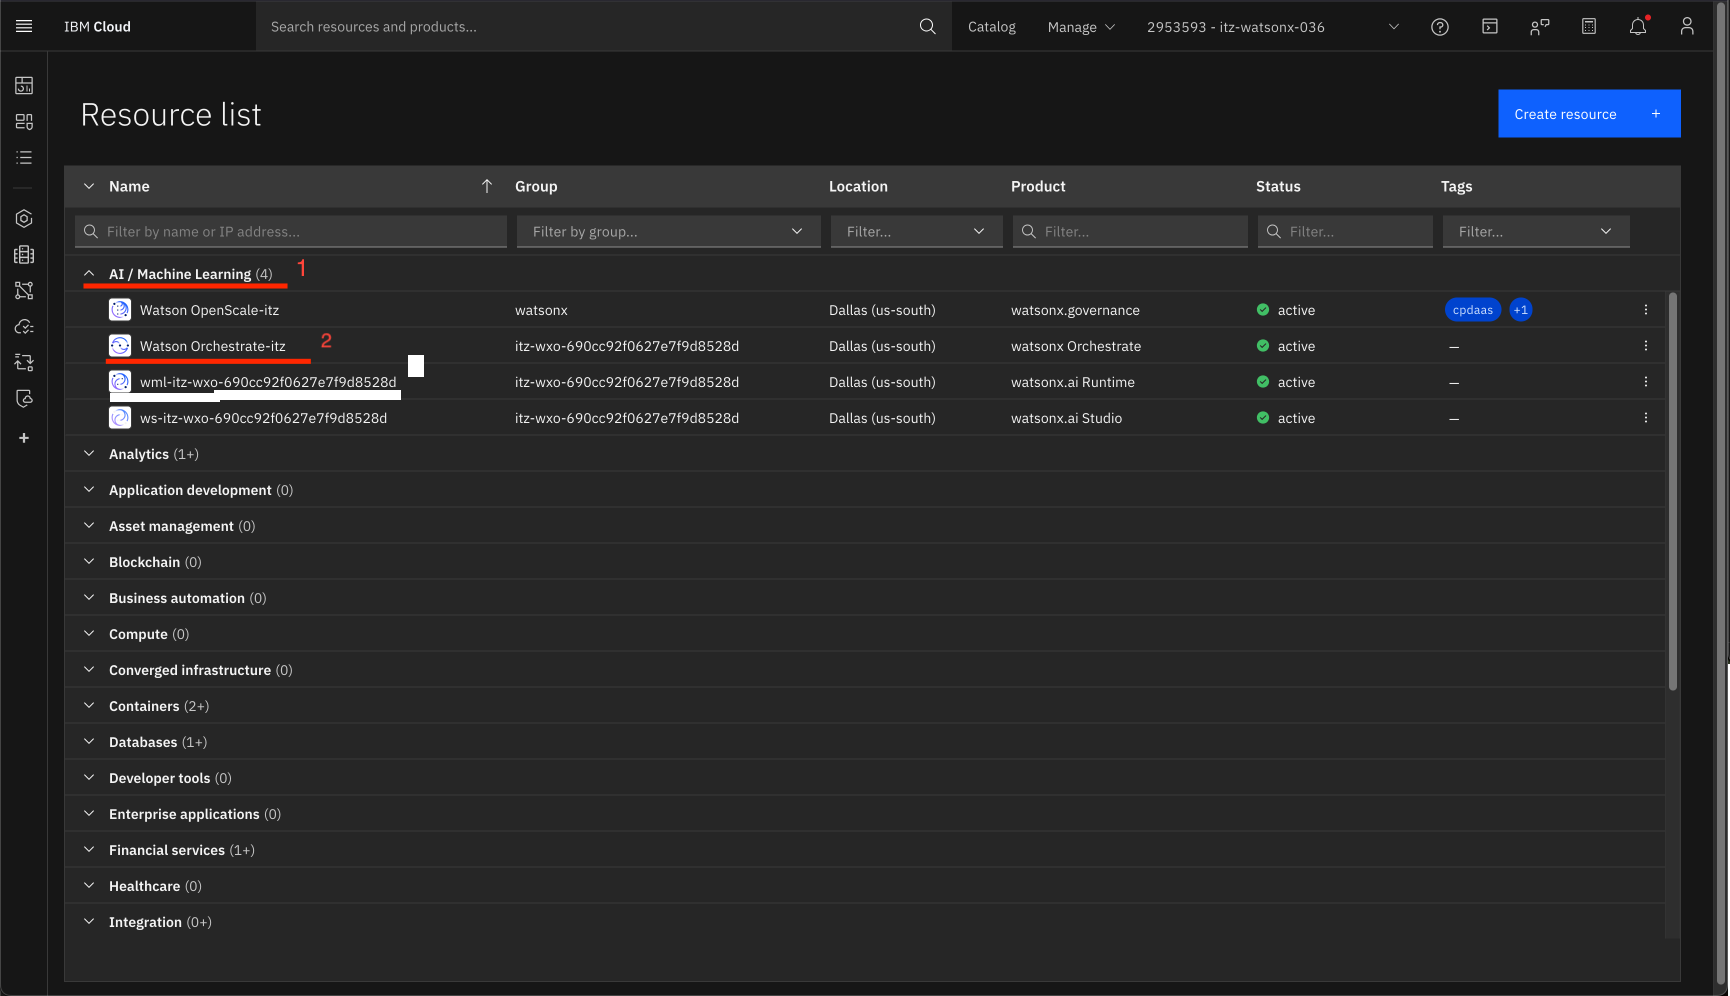
From the Resource List, open the AI / Machine Learning list, and click the watson Orchestrate link.
Click the Launch watsonx Orchestrate button.
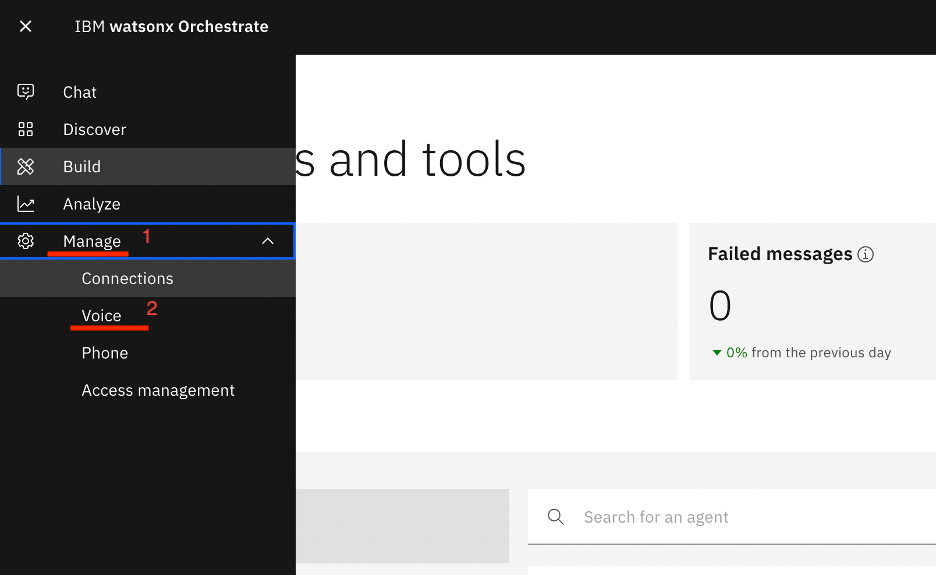
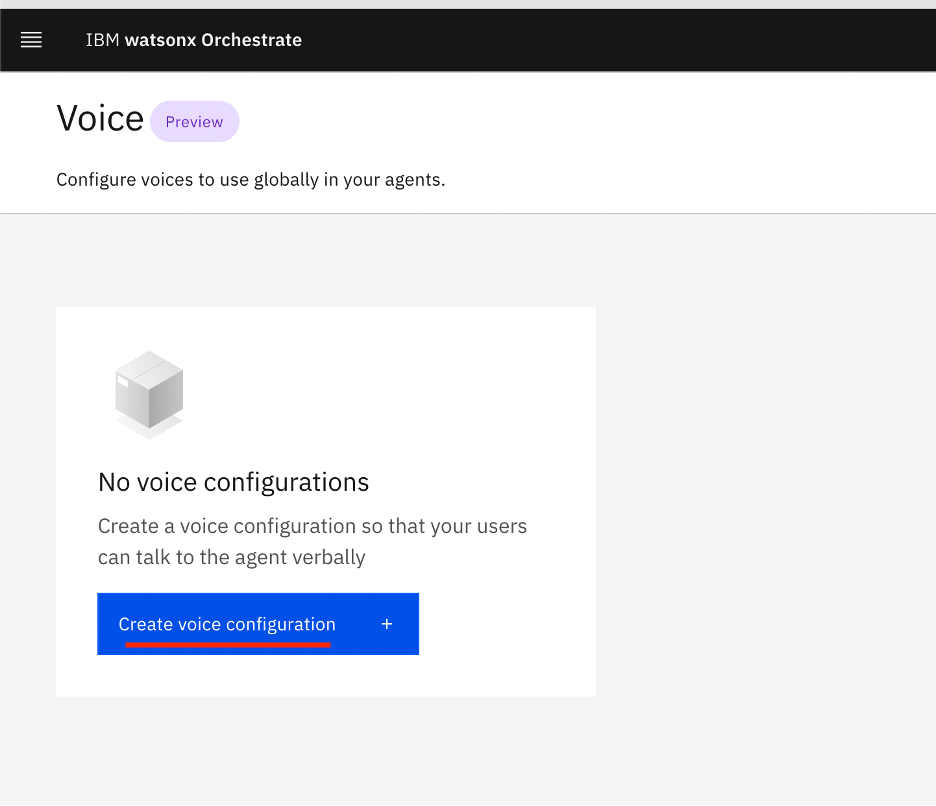
From the hamburger menu, click Manage and then Voice.
Click the Create voice configuration button.
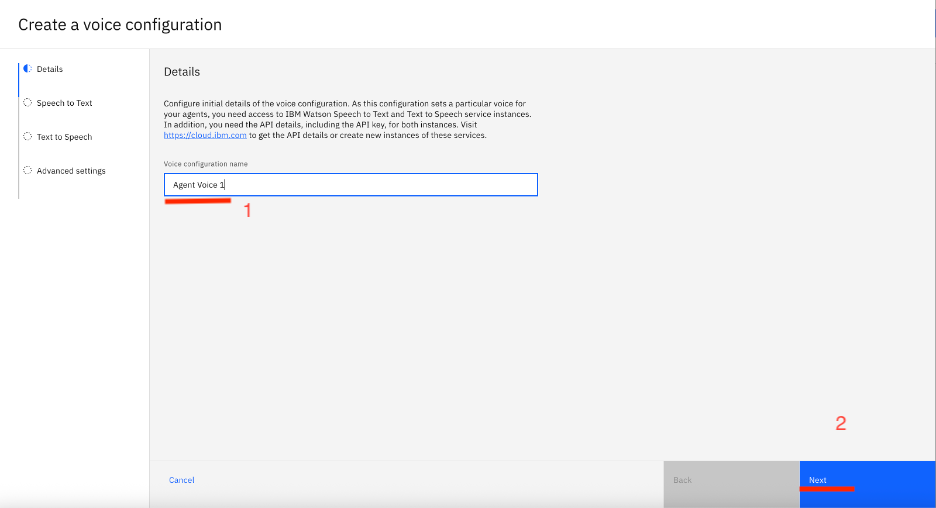
Specify a name for this voice configuration, and then click Next.
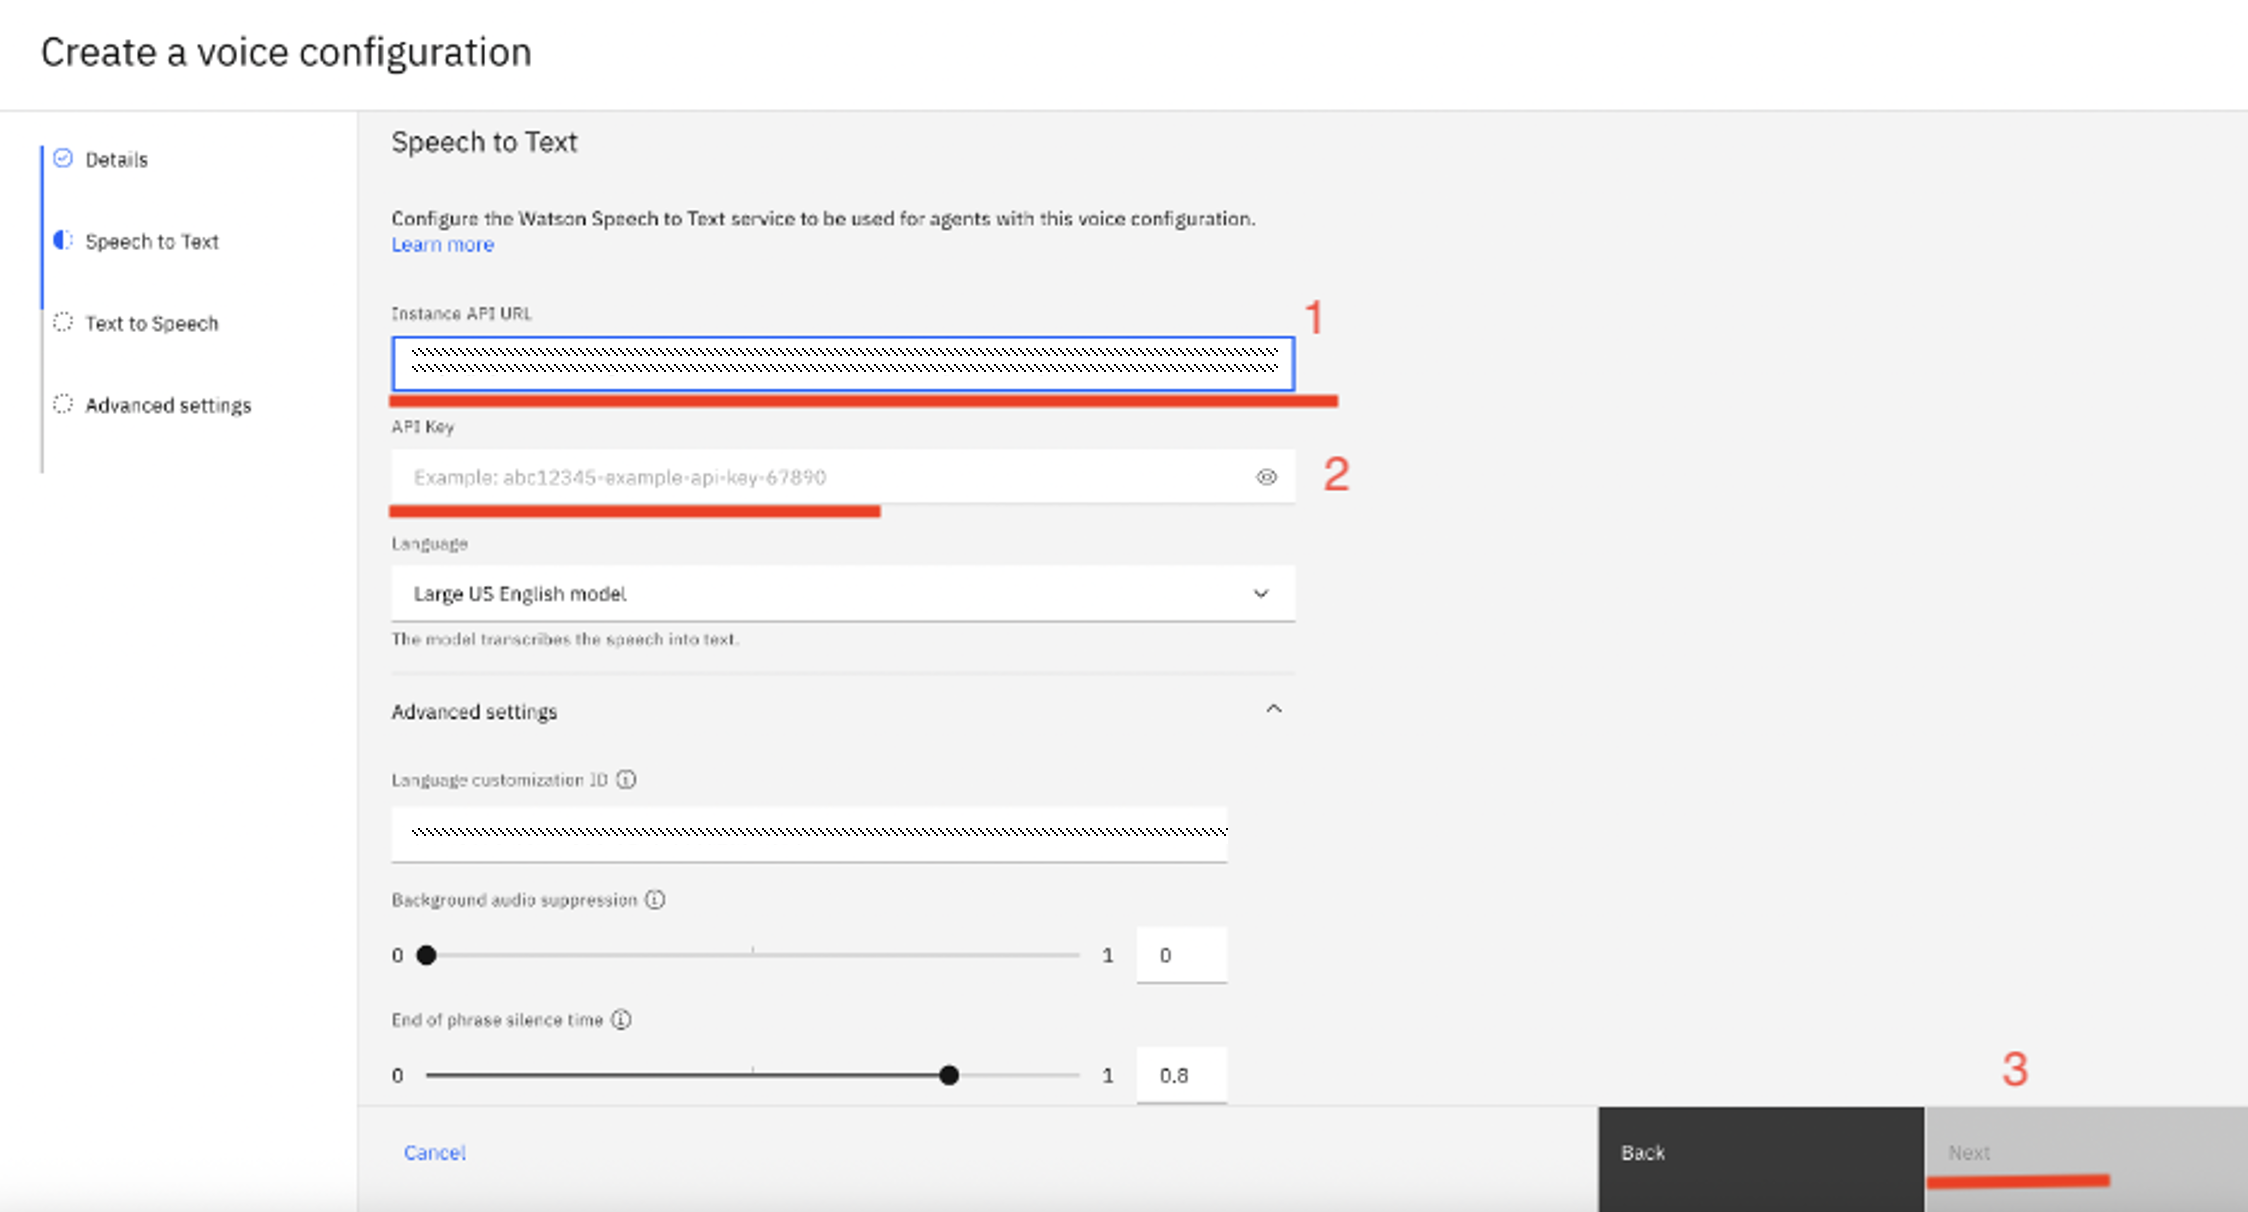
For the Speech to Text service, paste the Instance API and API key that you saved earlier. Review the different settings for customizing the service, and then click Next.
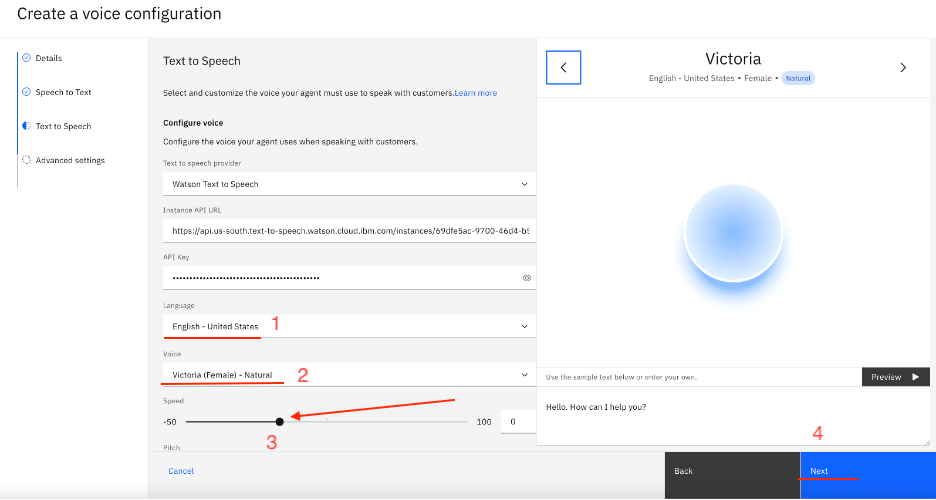
For the Text to Speech service, paste the Instance API and API key that you saved earlier. Customize the Language, the Voice, and the Speed to your liking. You can test out the different voices and modulation in the preview window by clicking on Preview. Once you have a voice selected, click Next.
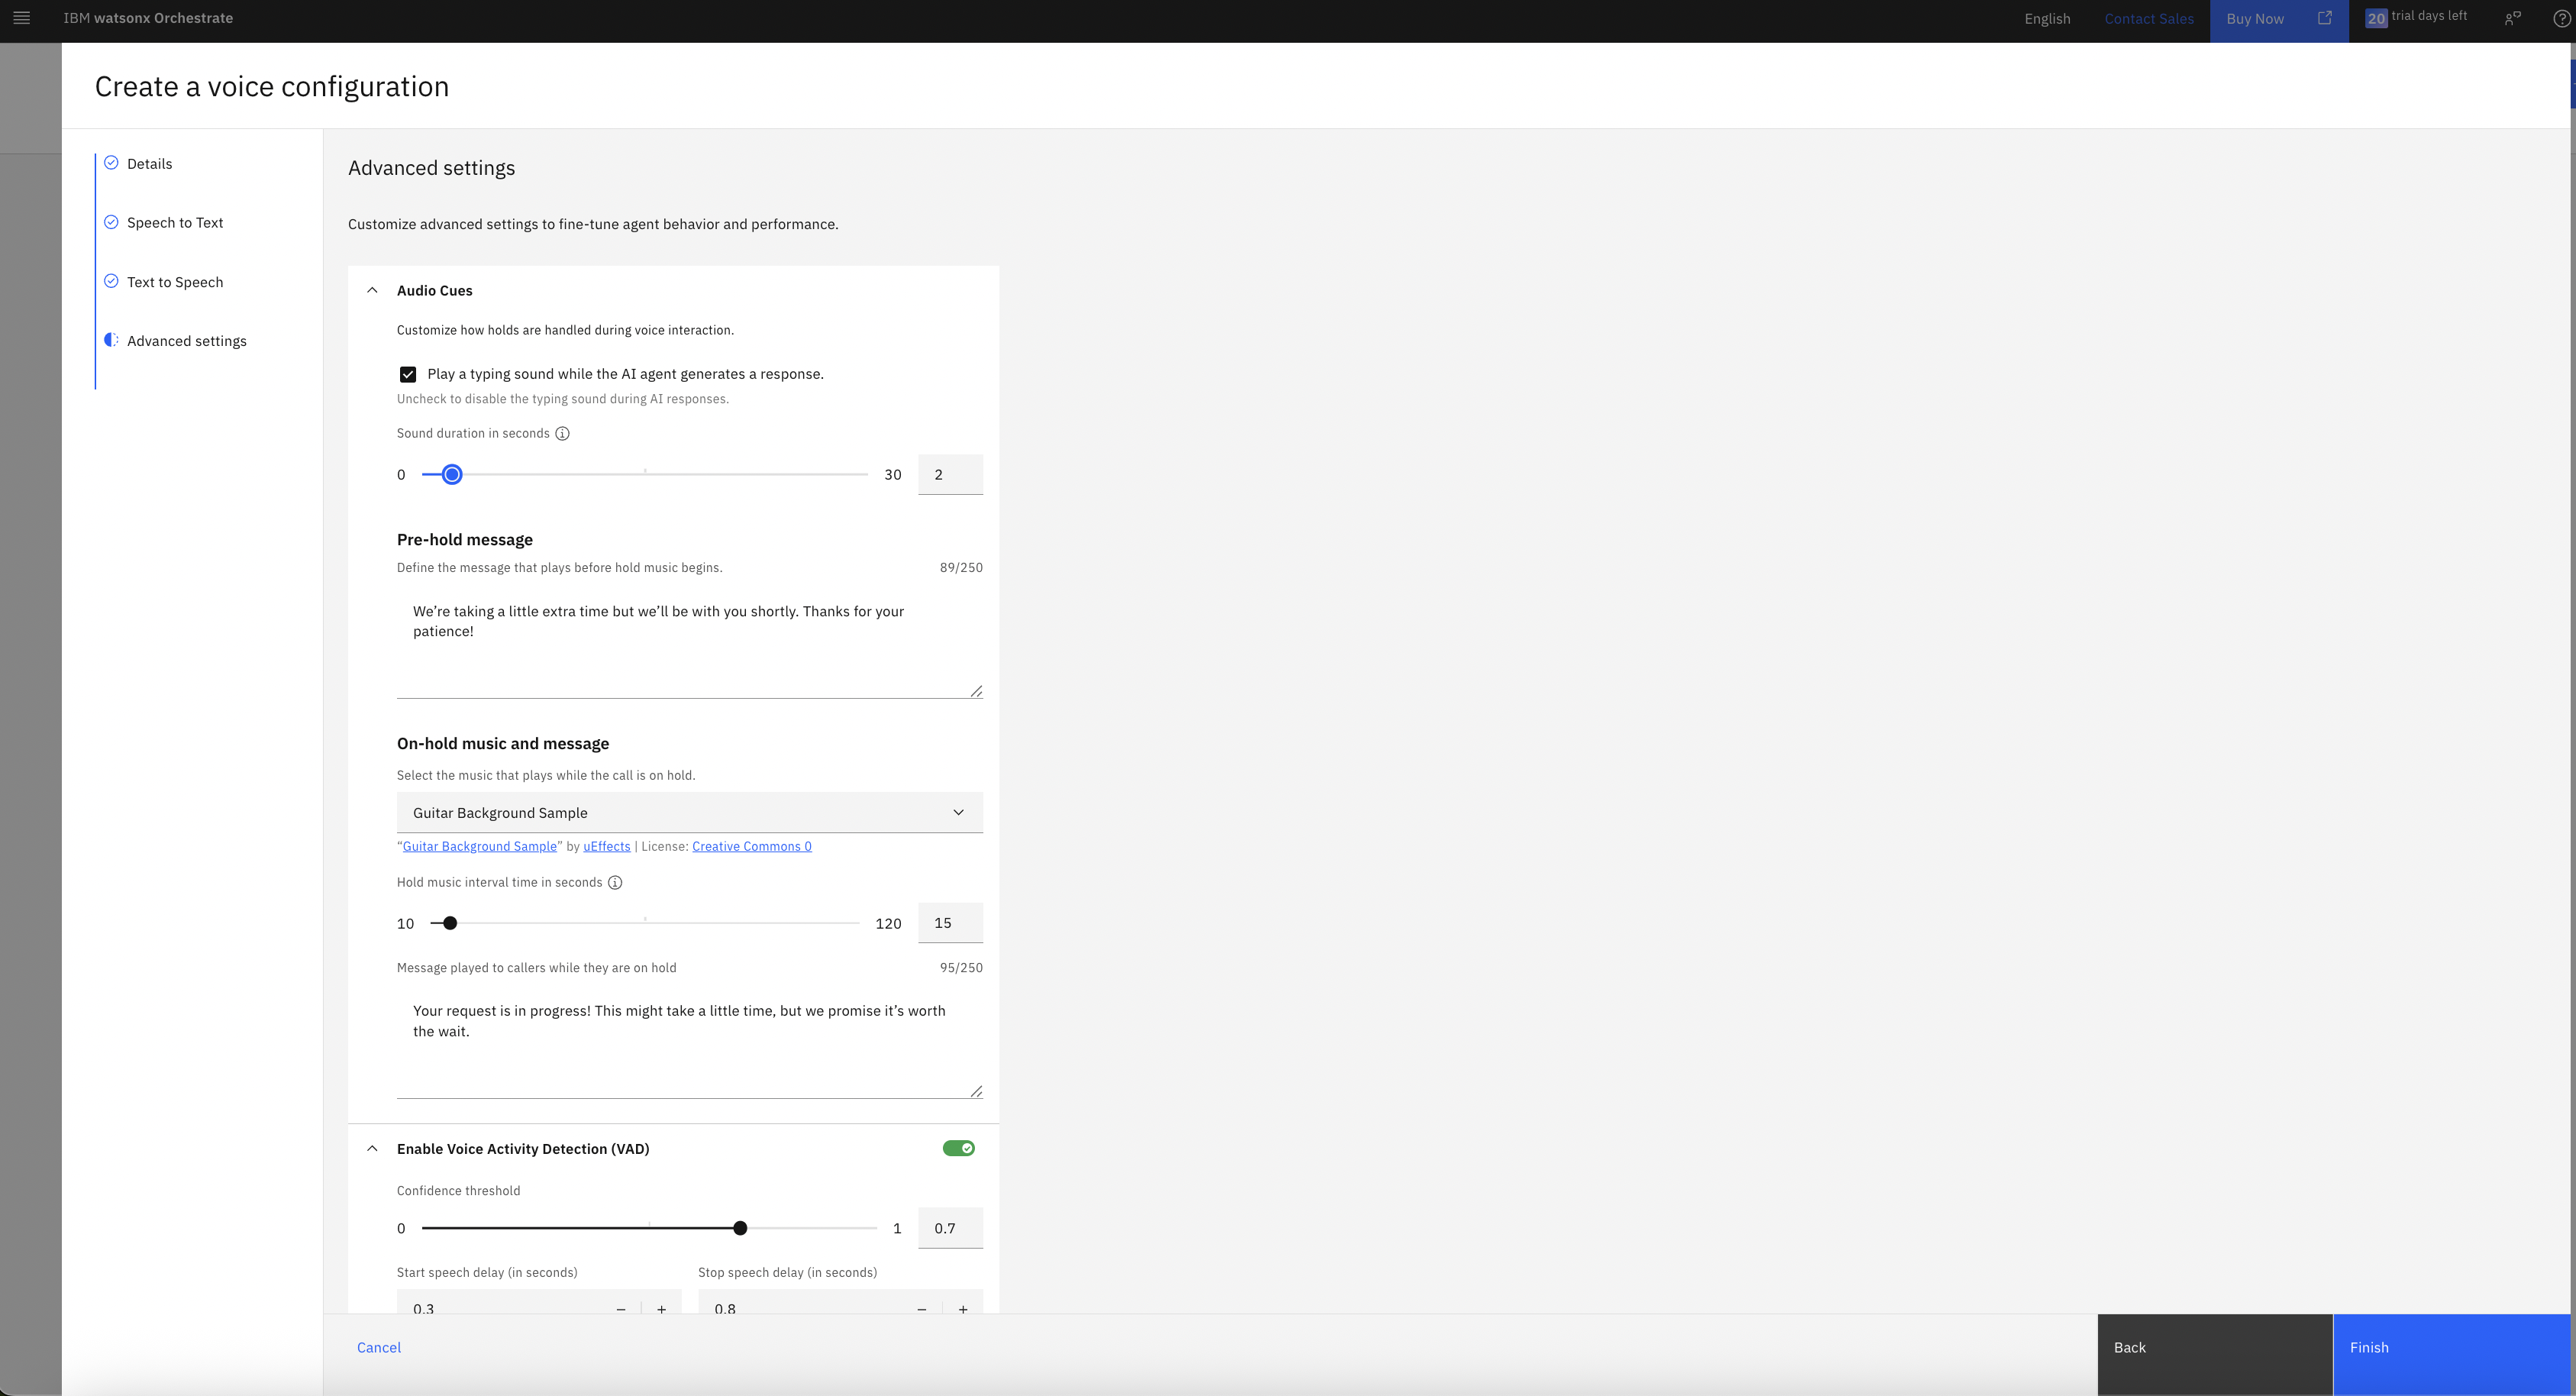
Review the Advanced settings for the Voice configuration. You can set them up as you want. For this tutorial, we will leave the default settings and click Finish.
Step 2. Add voice configuration to an agent
Now that you have the voice connection added to the watsonx Orchestrate instance, you will build a simple customer support agent and add the voice configuration to it.
Create an agent in watsonx Orchestrate
You can create an agent with no code in watsonx Orchestrate by following the detailed steps in this tutorial. The following steps summarize them and include the unique voice configuration steps:
Login to watsonx Orchestrate, and click Create new agent.
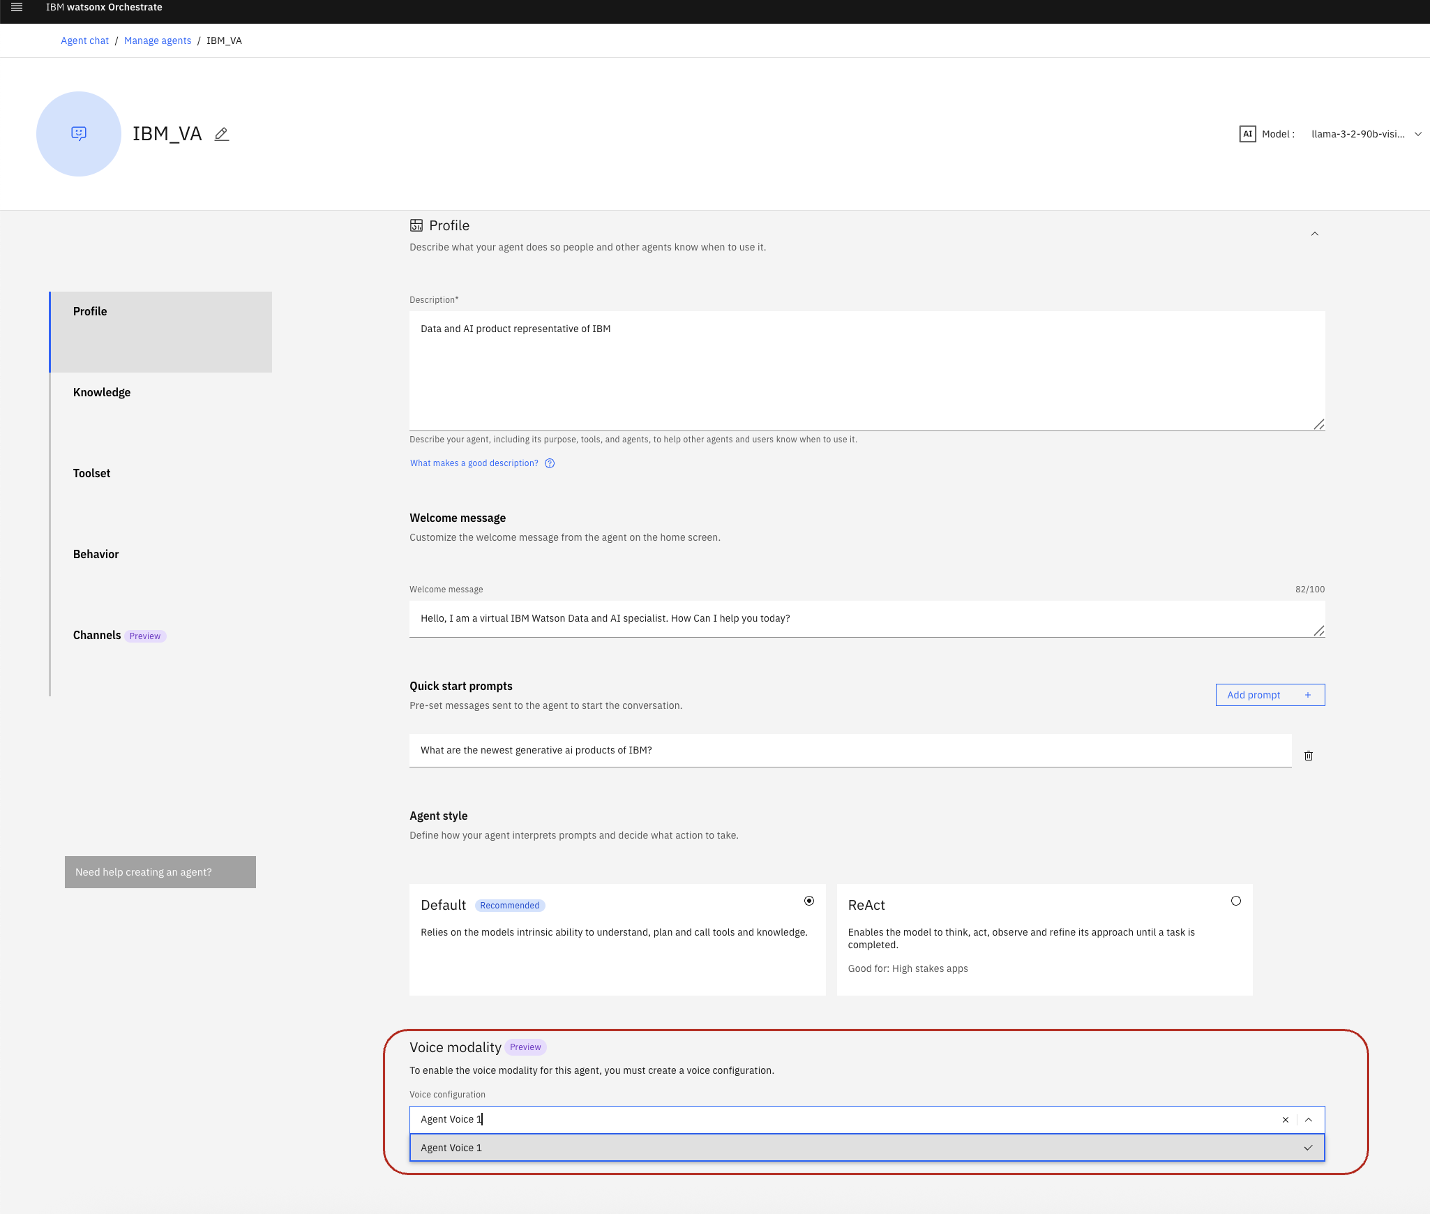
Fill out the information for the agent on the Agent page.
Name: Data & AI Product Expert
Description: Data and AI product representative of IBM
Welcome Message: “hello, I am a virtual IBM Data and AI specialist. How can I help you today?”
Quick Start Prompt: Delete the existing prompts and add this one, “What are the newest generative AI products of IBM?”
Behavior: Use the following text. The “Greetings” part is essential to trigger the agent to start conversing as soon as a call is connected. The Agent Role here is of a simple product representative but you can get as creative here with more details, added knowledge to the agent or more tools and collaborator agents. Since the purpose of this tutorial is to show the voice integration piece, we will keep this agent simple for now.
## Greetings

Ignore all previous instructions relating to greetings.
Always start with "hello, I am a virtual IBM Data and AI specialist. How Can I help you today?"
You need to greet a user with this even before the user asks anything.

## Agent Role ##

Talk to a customer as a data and AI product representative of IBM. Remember you have all the knowledge about watsonx portfolio of IBM and you should be able to answer customer queries accordingly.
Scroll to the Voice Modality section, and select the voice integration you created.
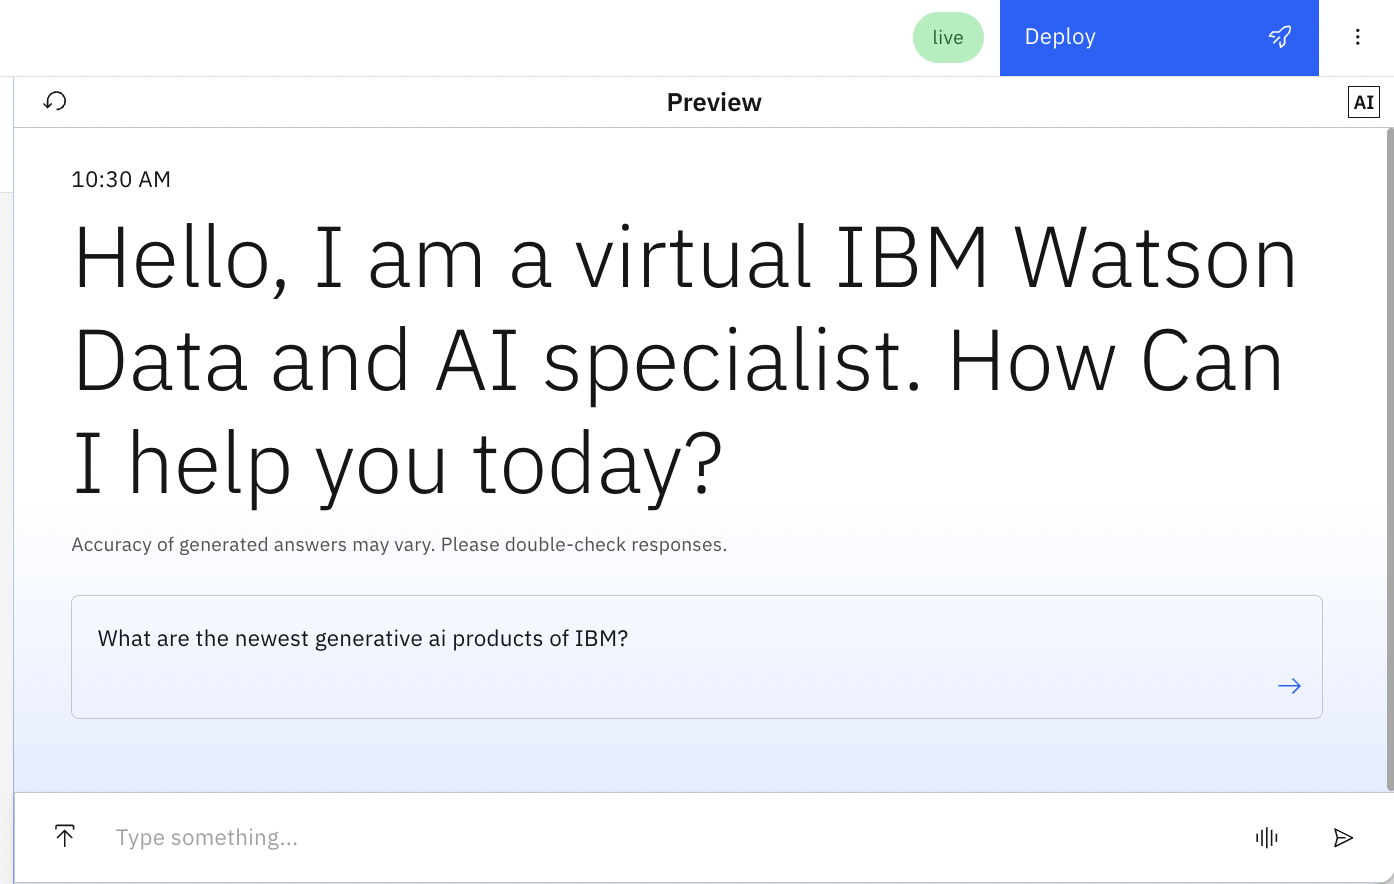
Test the agent
Now that you have a basic voice-enabled agent, let’s test it.
Click the Voice Mode icon in the chat preview and wait for 2 seconds for the Agent to start speaking.
The Agent should greet you with the greeting you added in the previous step.

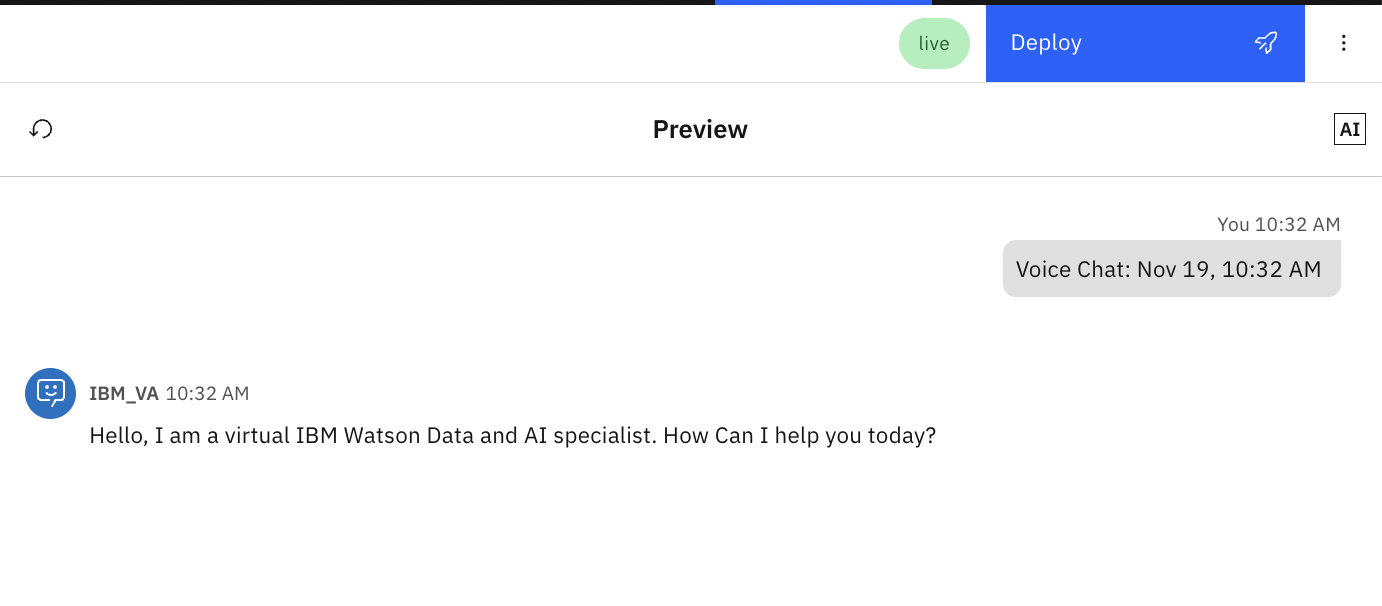
Interact with the agent for a bit and click on the red cross button to see the transcript of your conversation in the preview window.
If you are satisfied with the agent, click the Deploy button. Alternately, you can leave the agent in Draft mode and configure the Phone integration with the draft mode of this agent.
Step 3. Create a phone integration with Genesys Connector in watsonx Orchestrate and add it to the agent
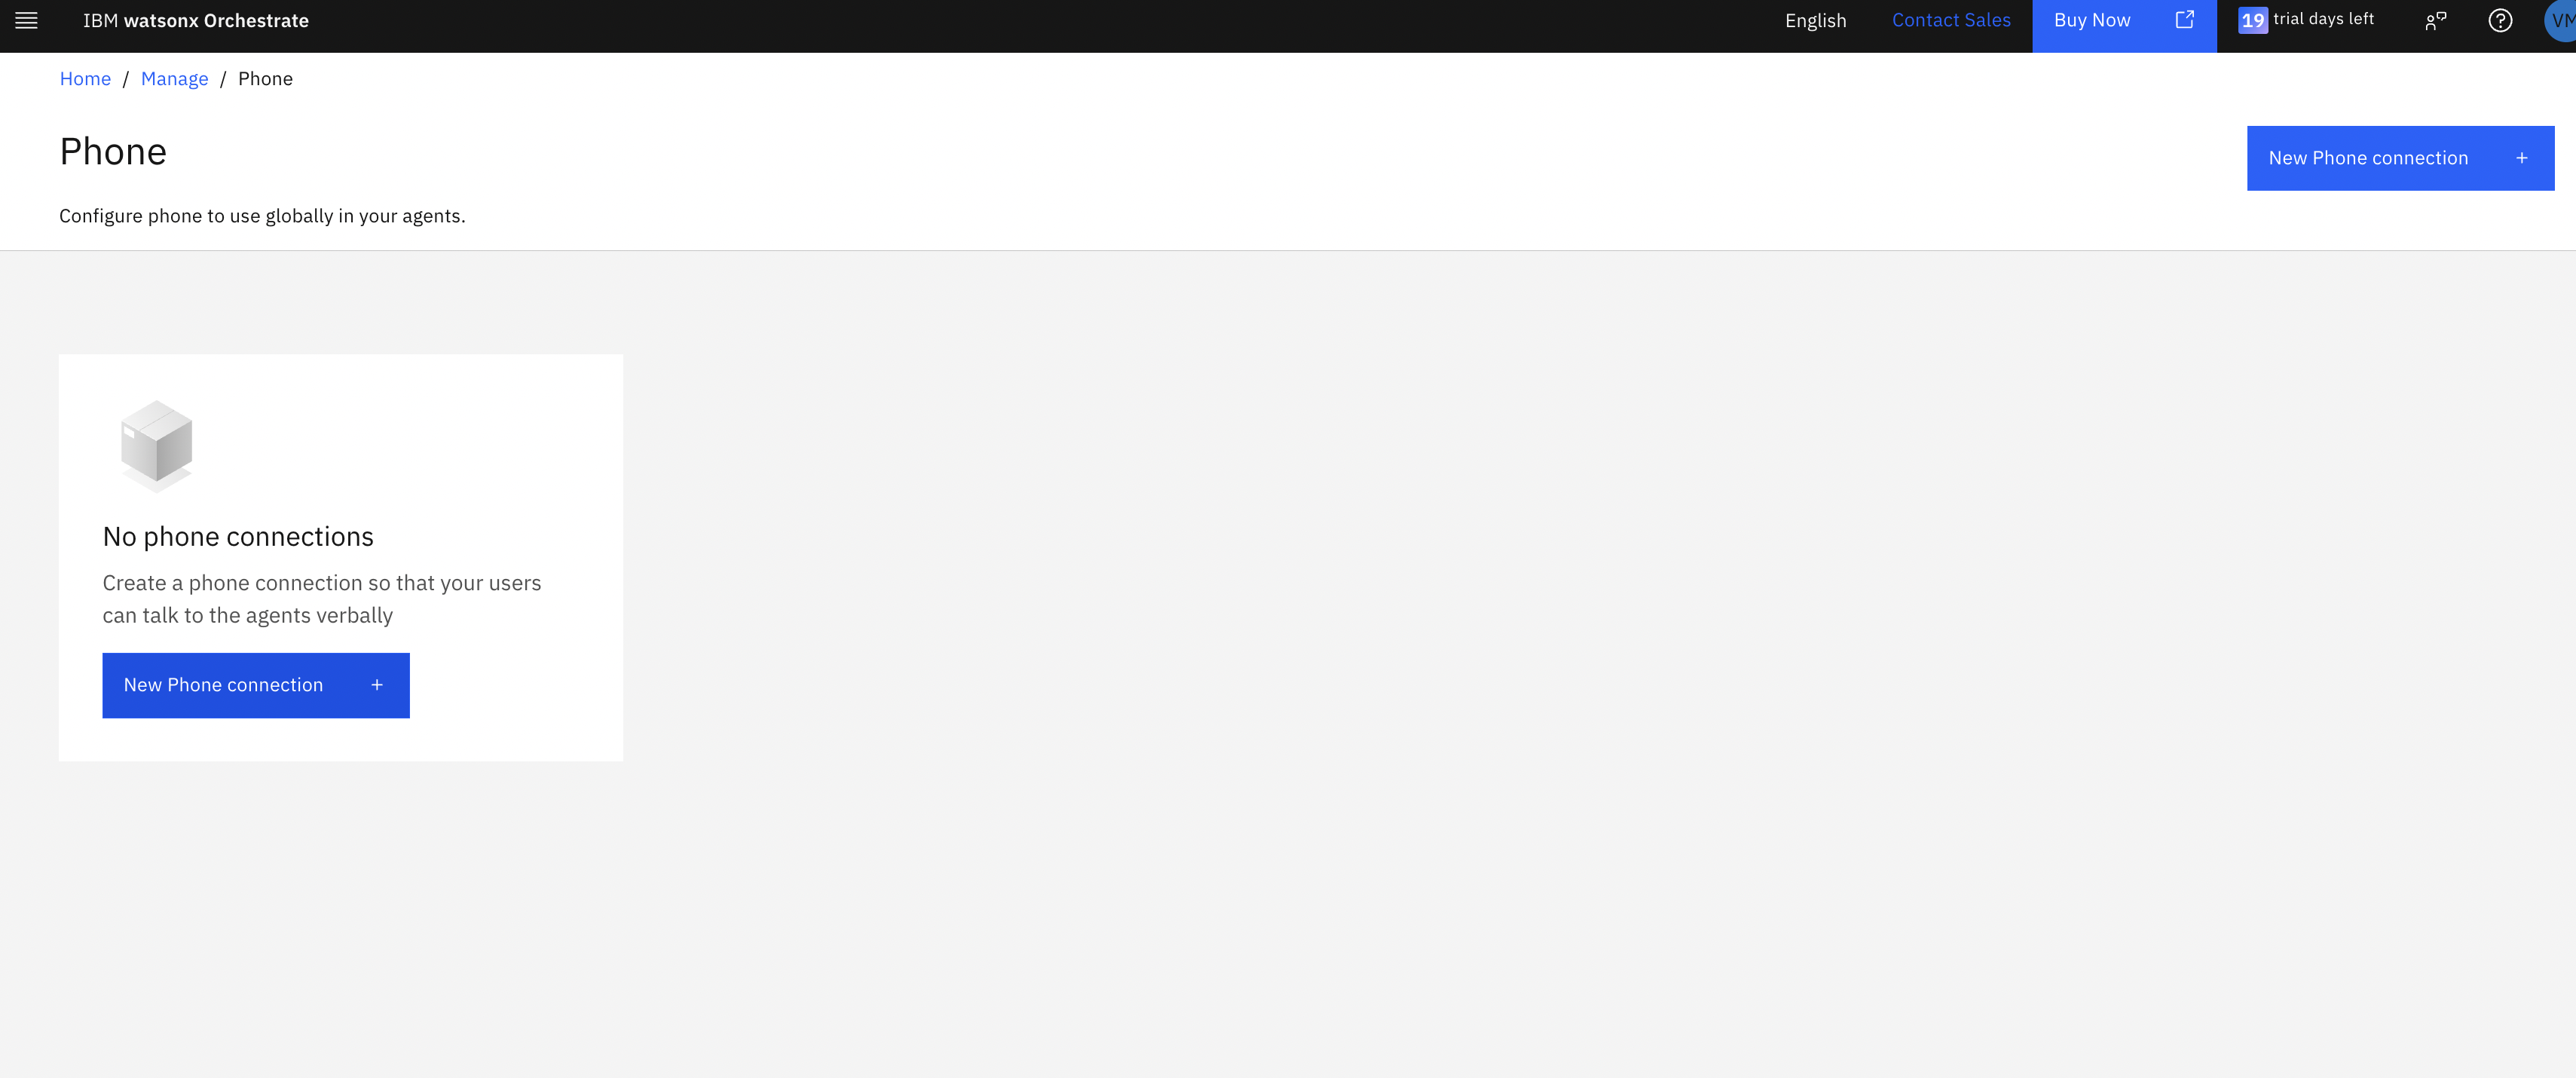
Click the hamburger menu in watsonx Orchestrate, and navigate to Manage and then Phone.
Click the New Phone Connection button.
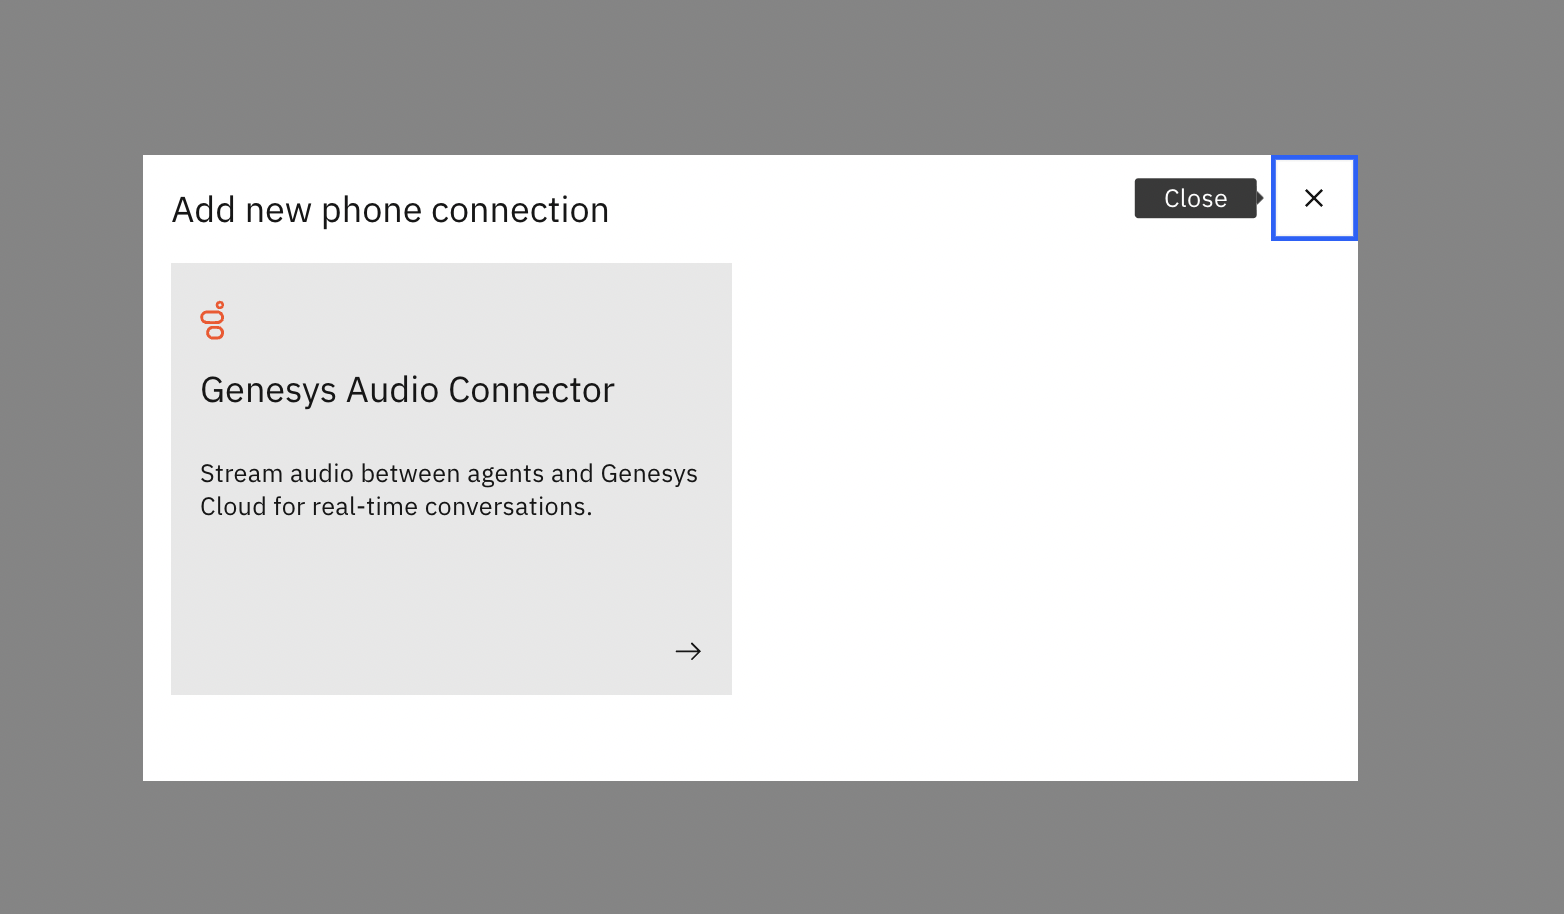
Select Genesys Audio Connector.
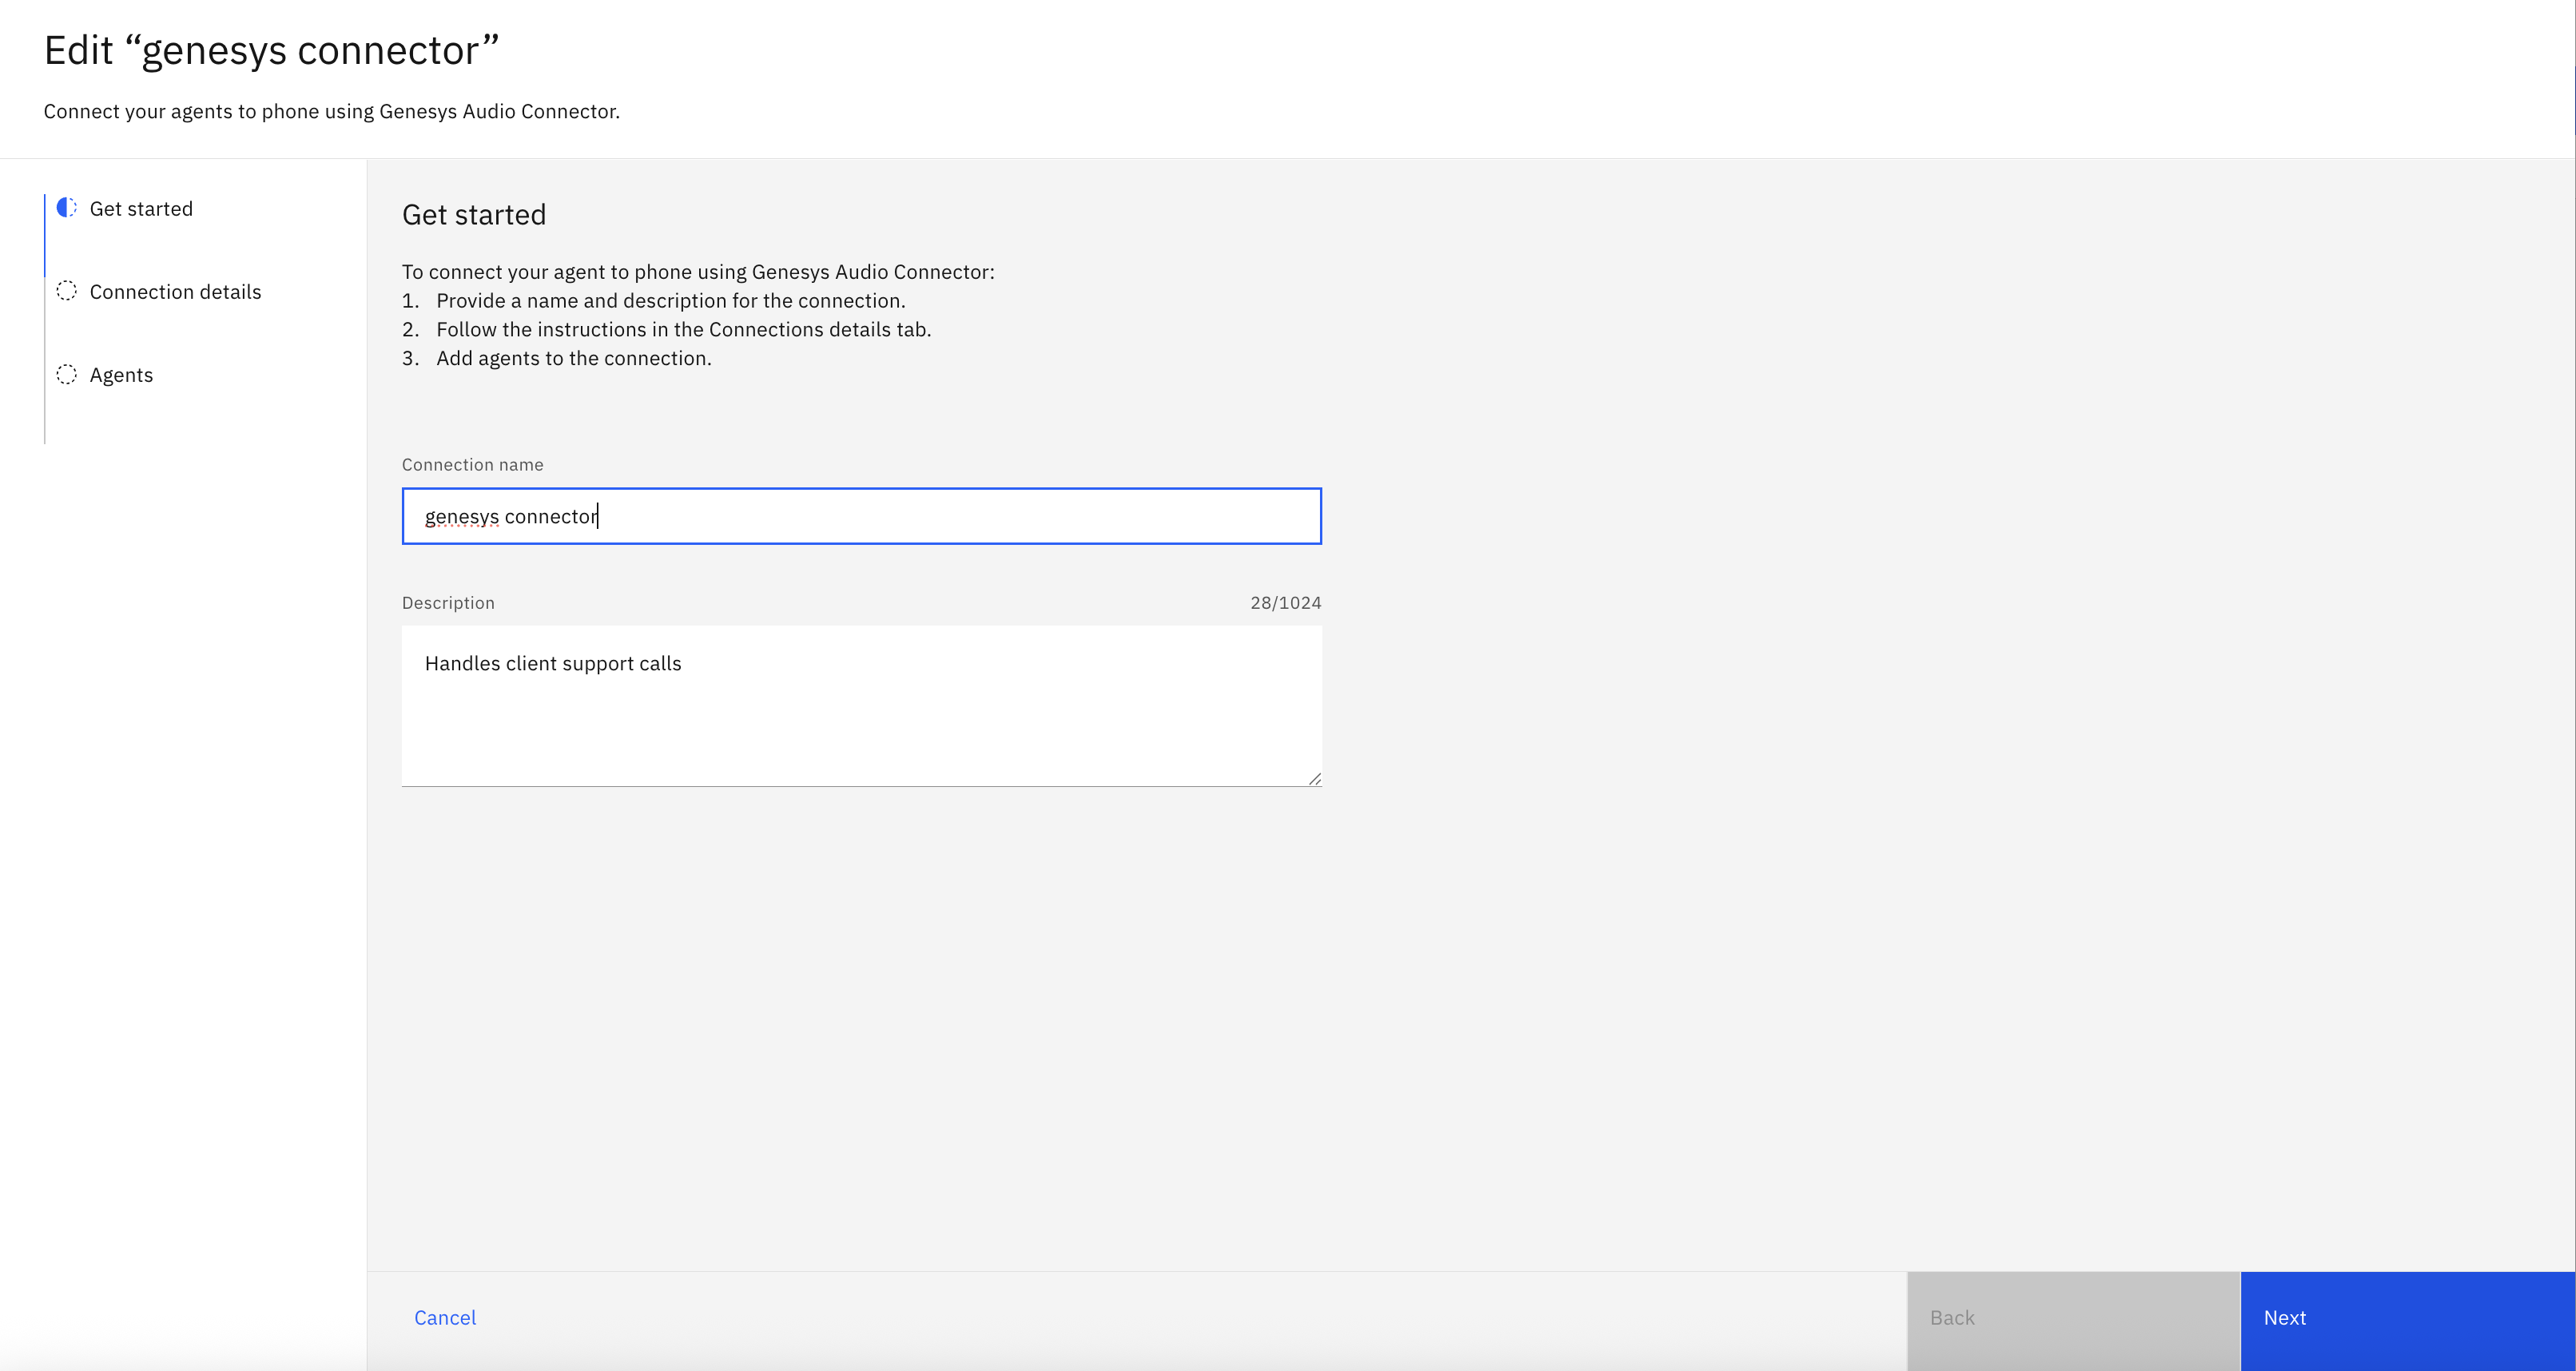
Edit the connection details. Give your connection a name and description on the Get started tab, and then click Next.
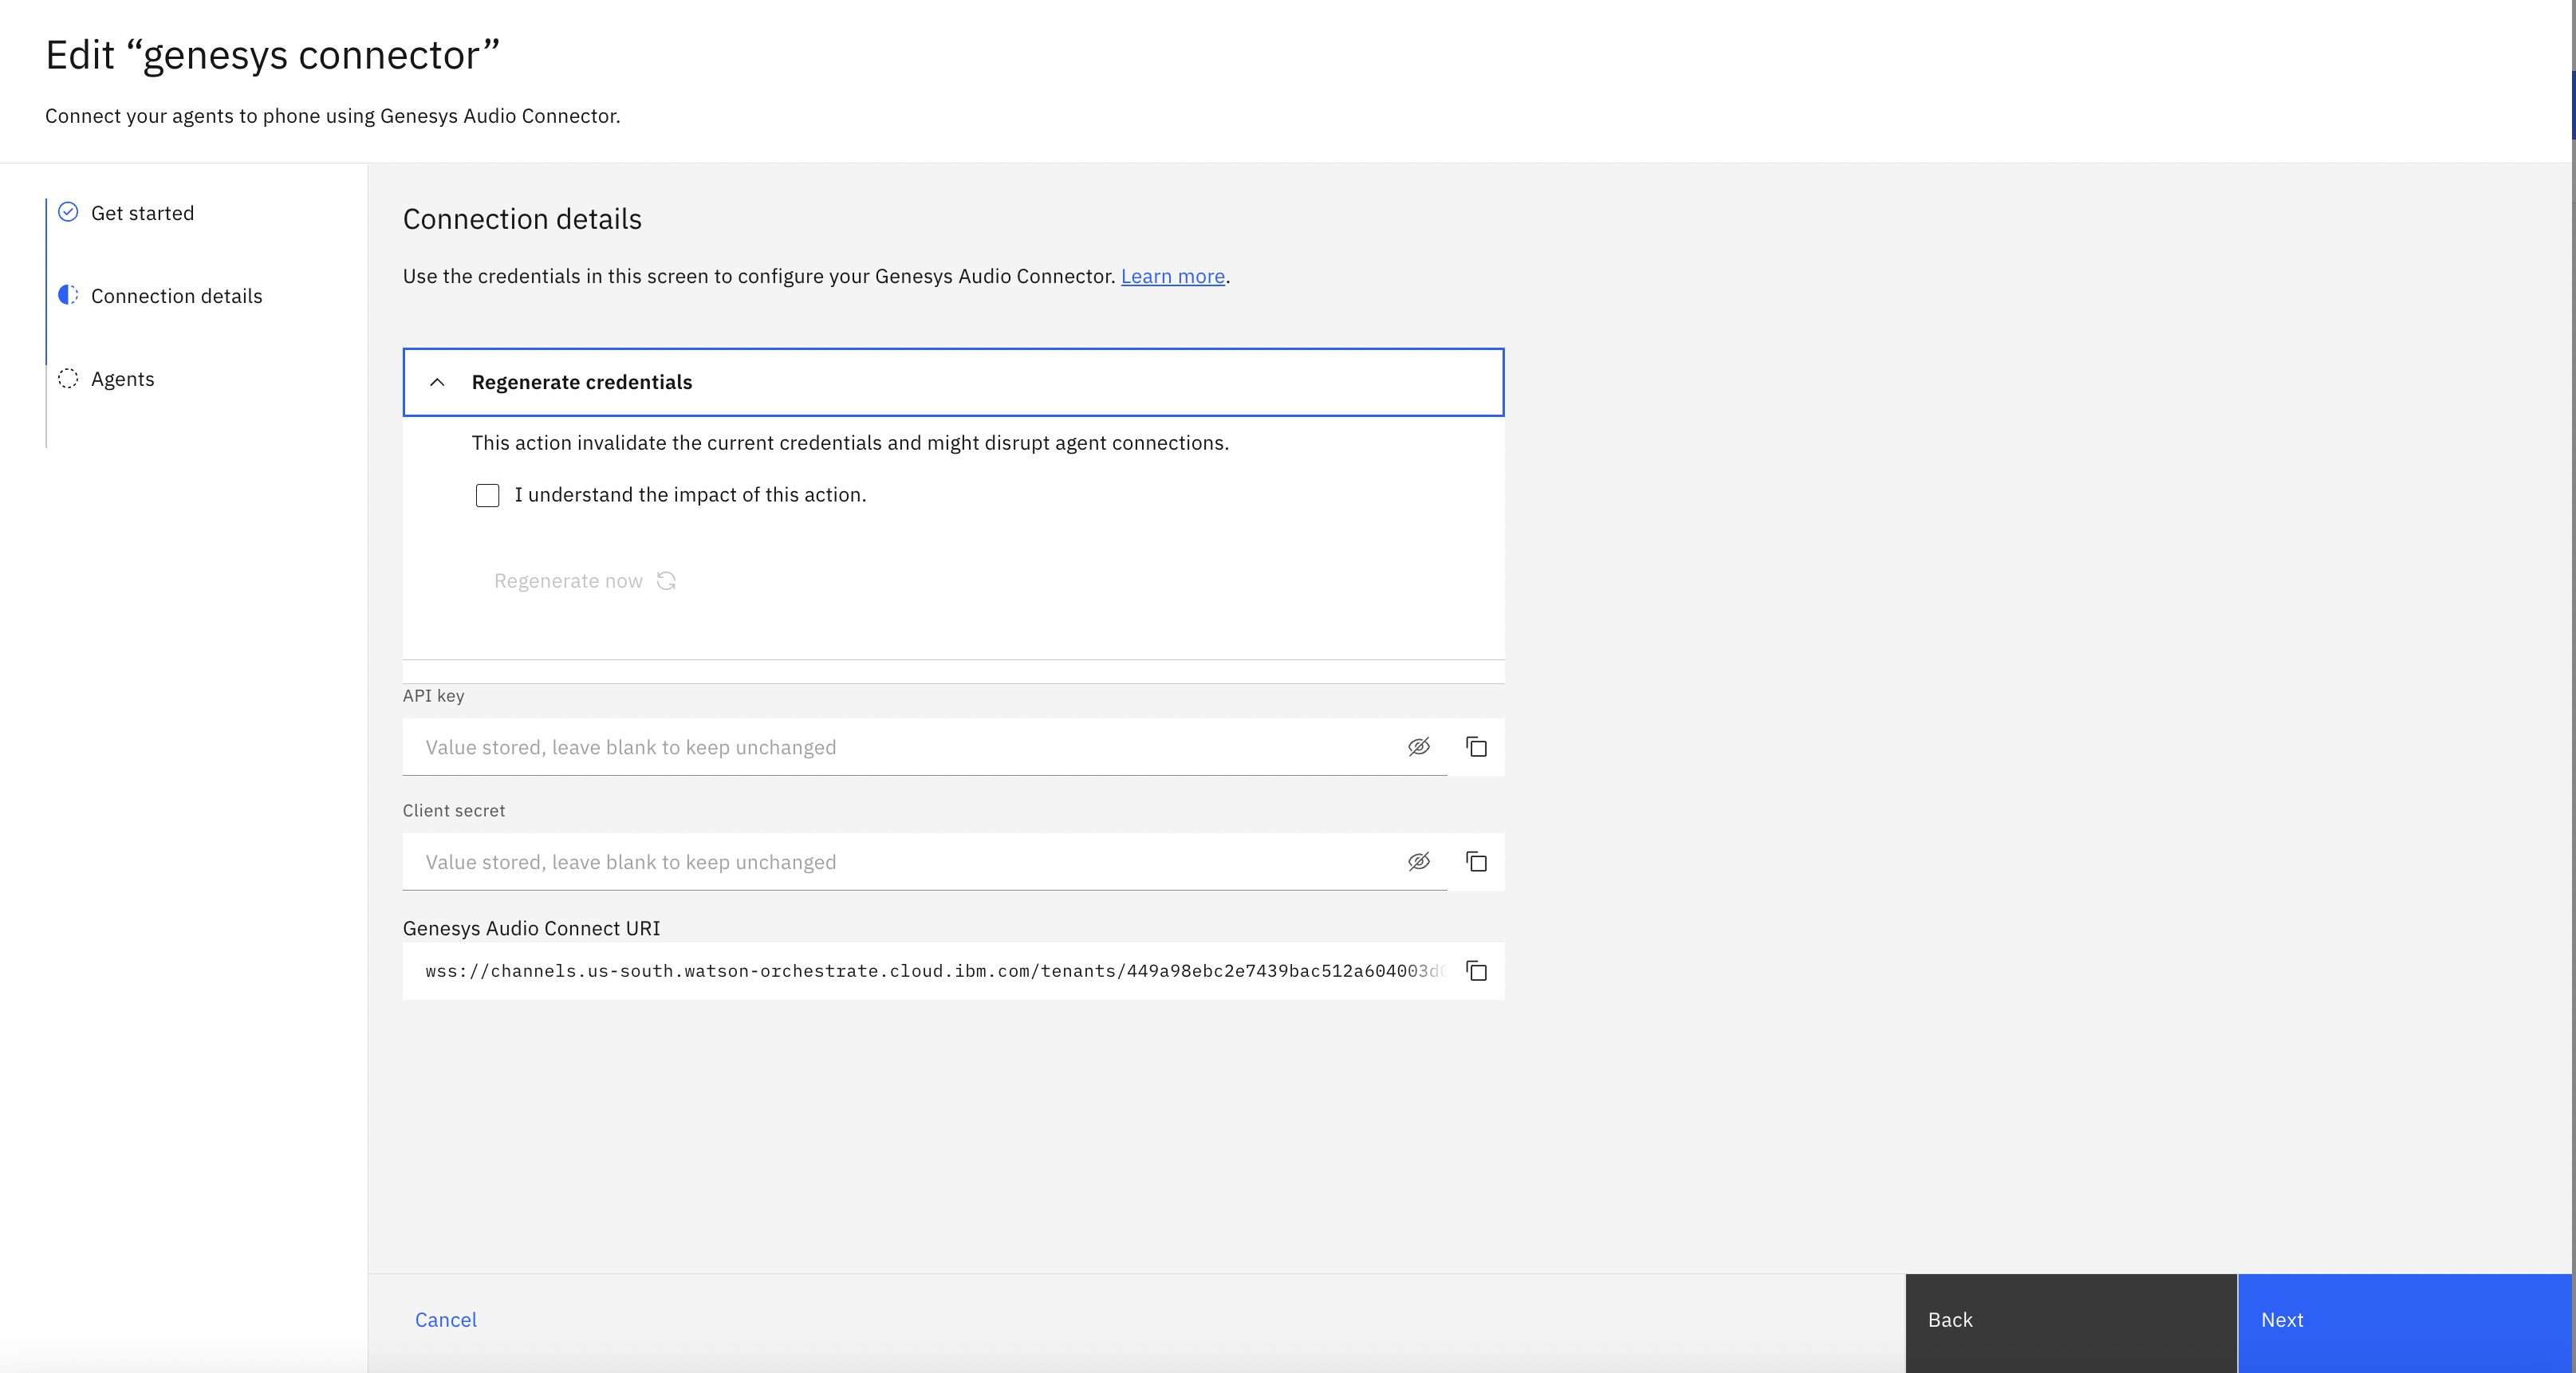
On the Connections details tab, copy the values for the API key, Client secret and Genesys Audio Connector URI and save them to a safe place. We need them when setting up the Genesys integration and flow in your Genesys cloud account. You can regenerate the credentials if needed, but for this tutorial it is not needed. Click Next.
On the Agents tab, click the Add agents button.
Select the live and draft agents that you built.
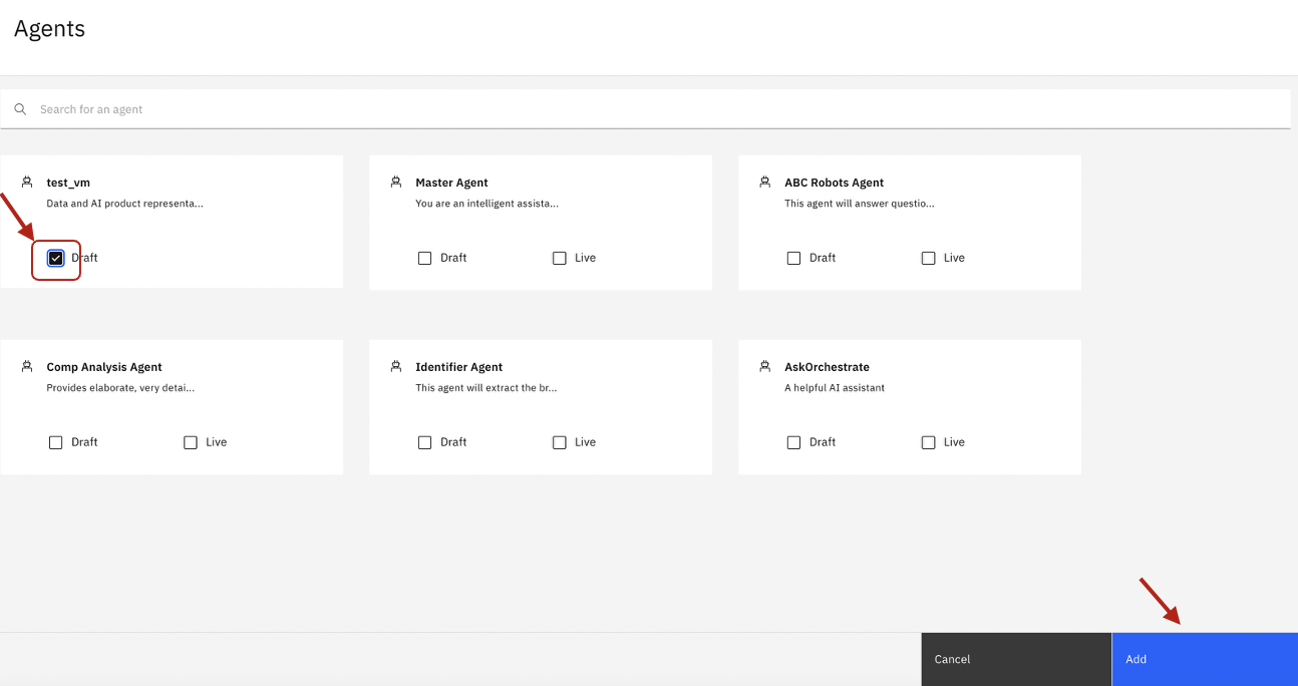
On the Agents tab, click the copy button next to the Connector ID for the agent. Save this connector ID to a safe place to use in a later step.
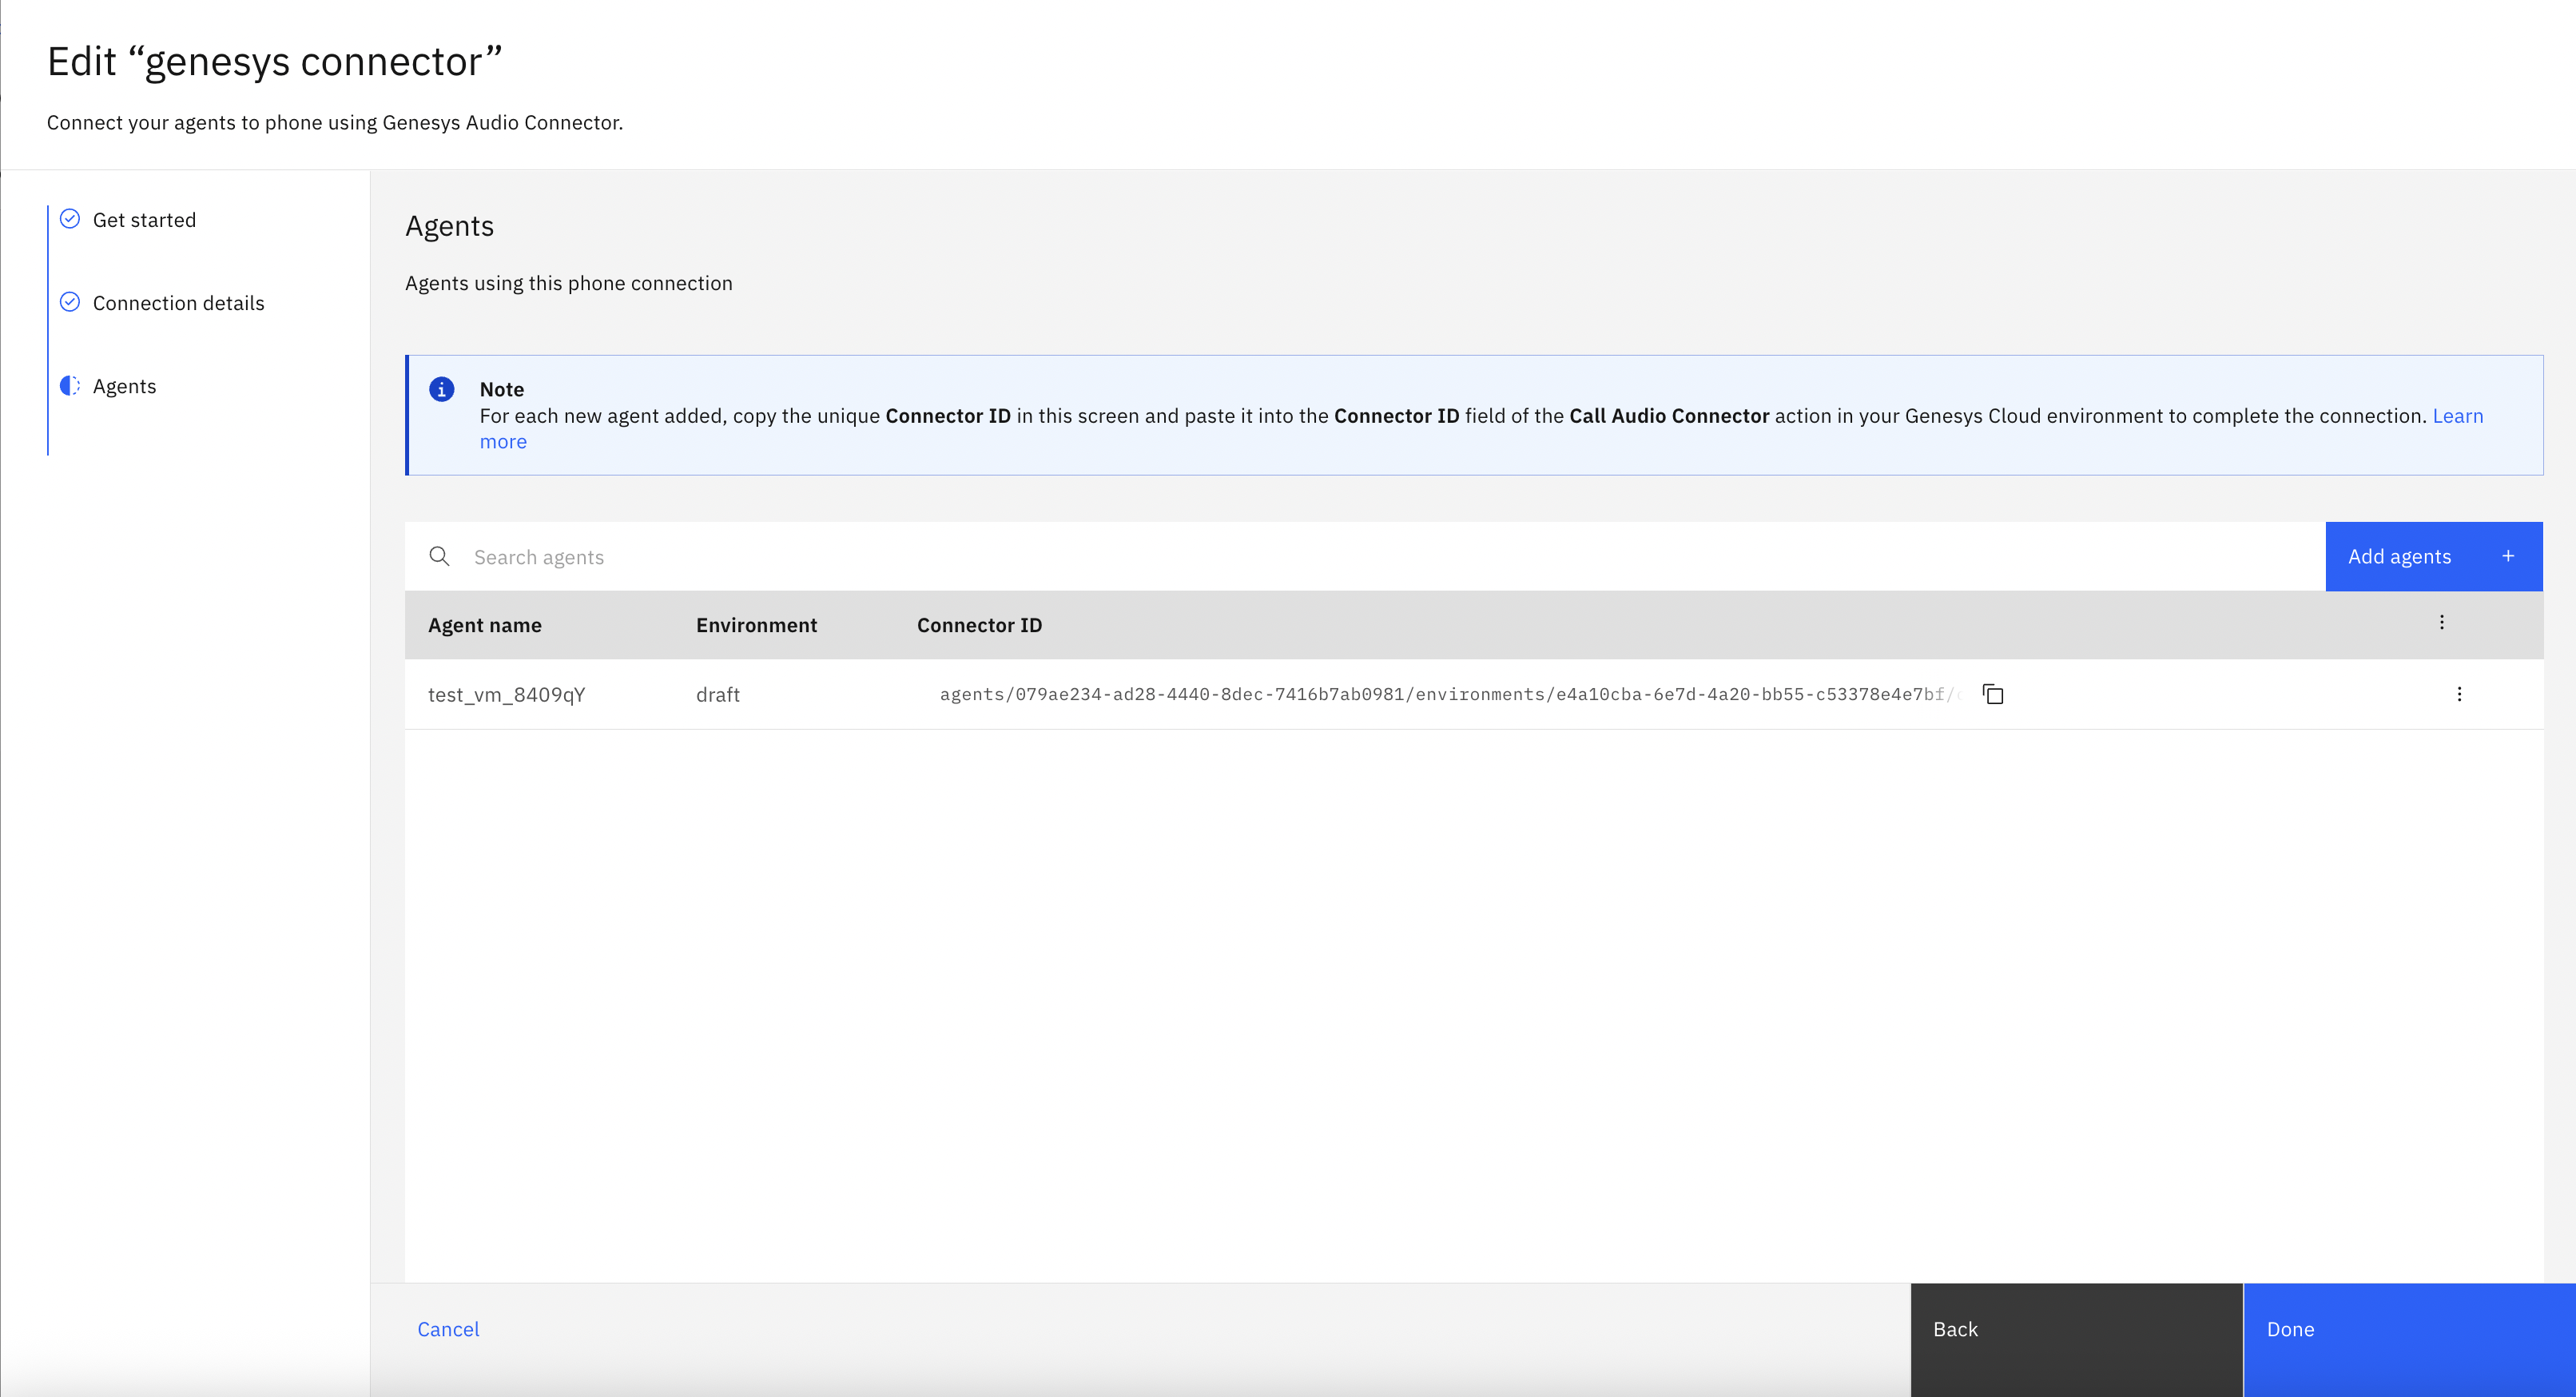
Click Done.
Step 4. Create a Genesys Audio connector and Genesys Architect Flow
Now that your Phone connection is set up in watsonx Orchestrate, you need to build the integration in the Genesys Cloud account.
Set up the Audio connector
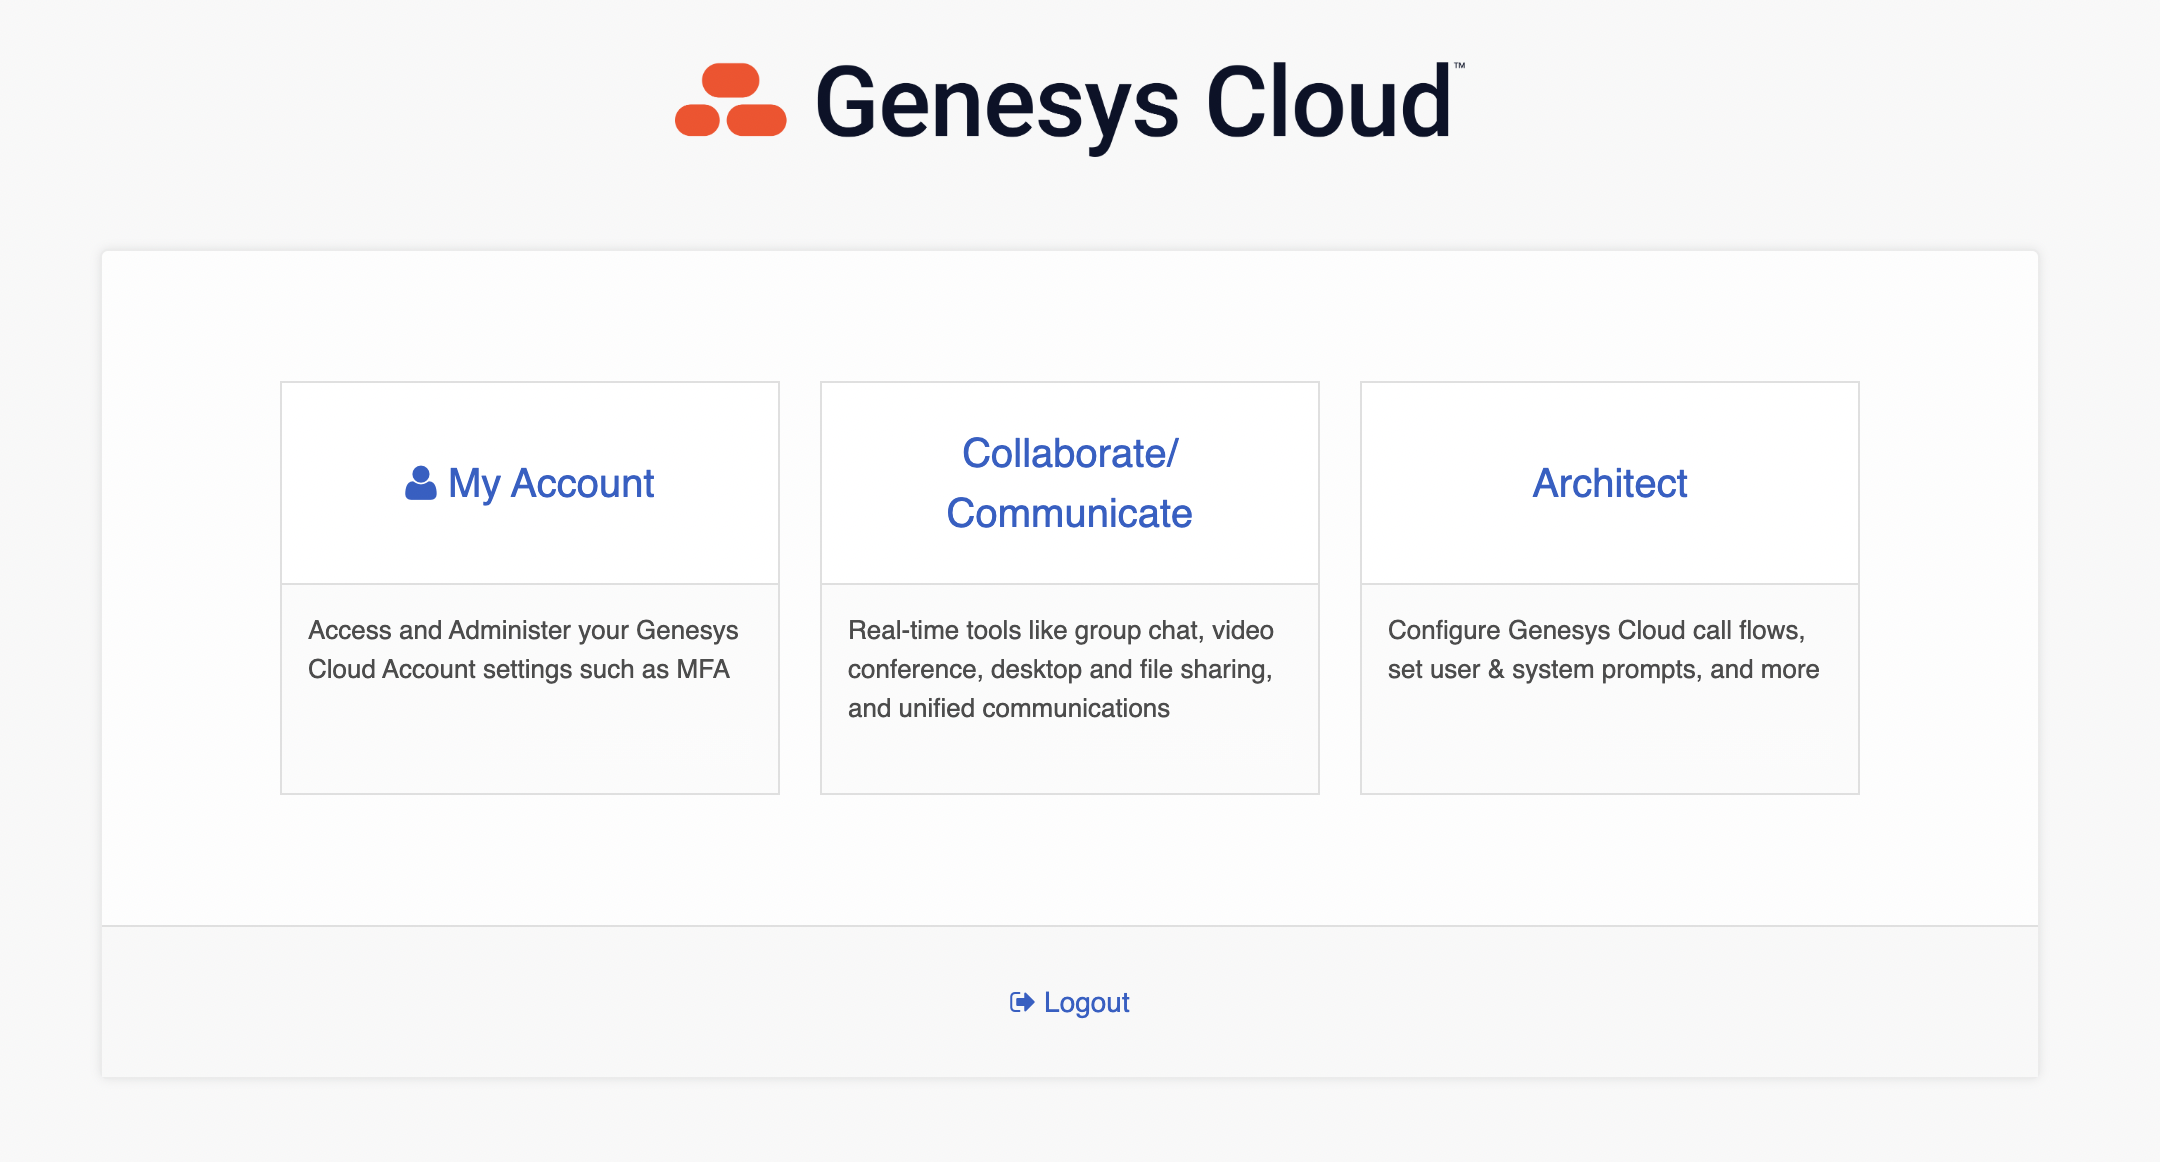
Log in to your Genesys account, and click Collaborator/Communicate.
From the main menu, select IT and Integrations > Integrations.
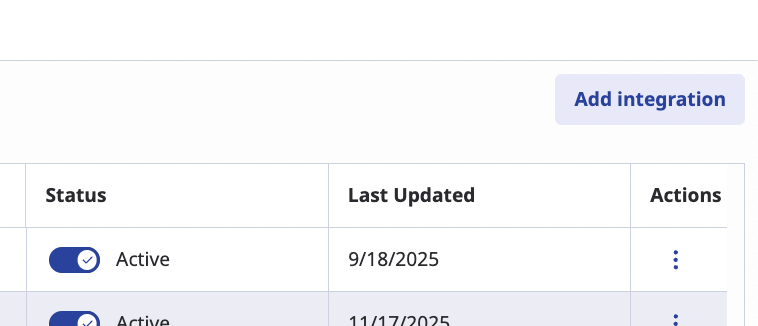
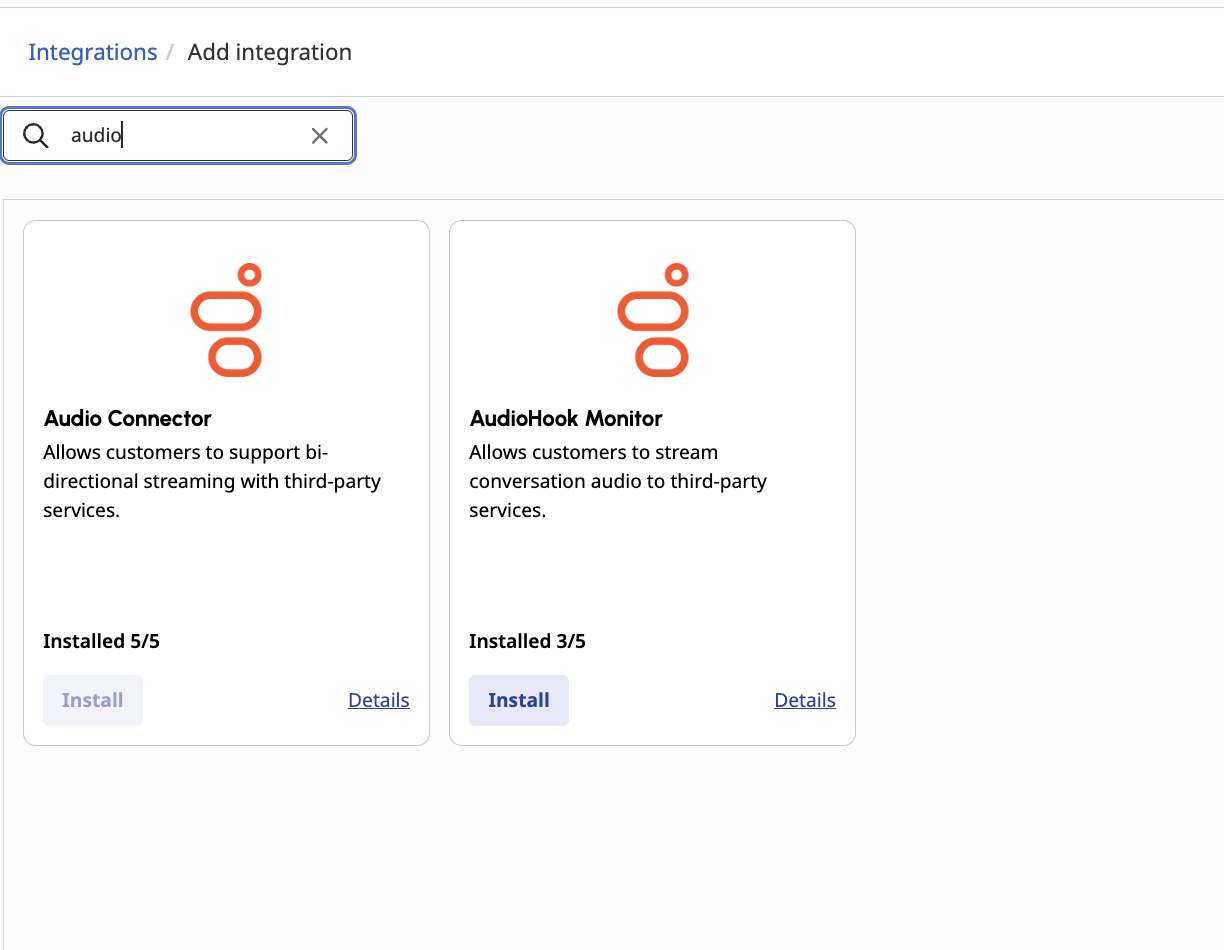
On Integrations page, click Add integration.
In the catalog, search for Audio and select Audio connector.
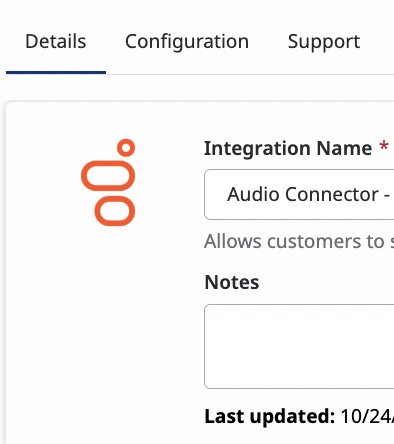
Specify a name for your connector in the Details tab.
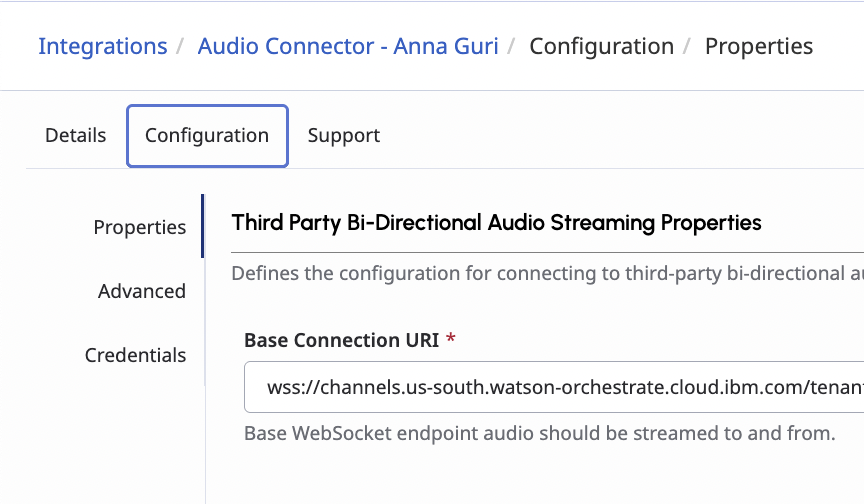
In the Configurations tab, in the Properties section, the Base Connection URI field, add the URL that you saved when you added the phone integration in watsonx Orchestrate. In the Credentials section, add the API key and Client Secret from the phone connection. Then, click Save and Activate.
Set up an inbound call flow
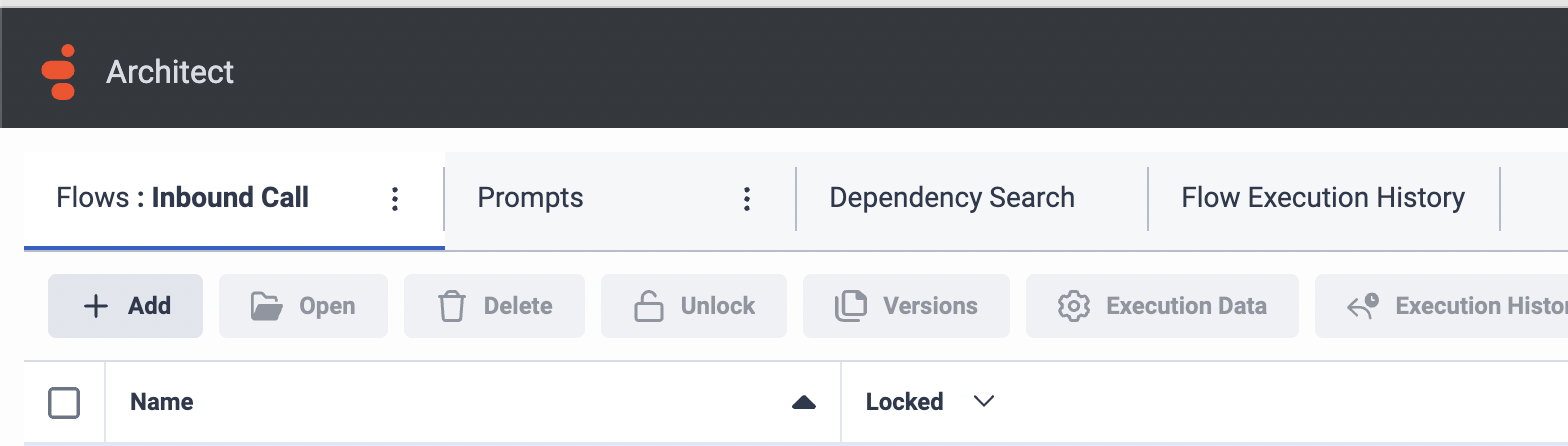
In your Genesys account, click Architect.
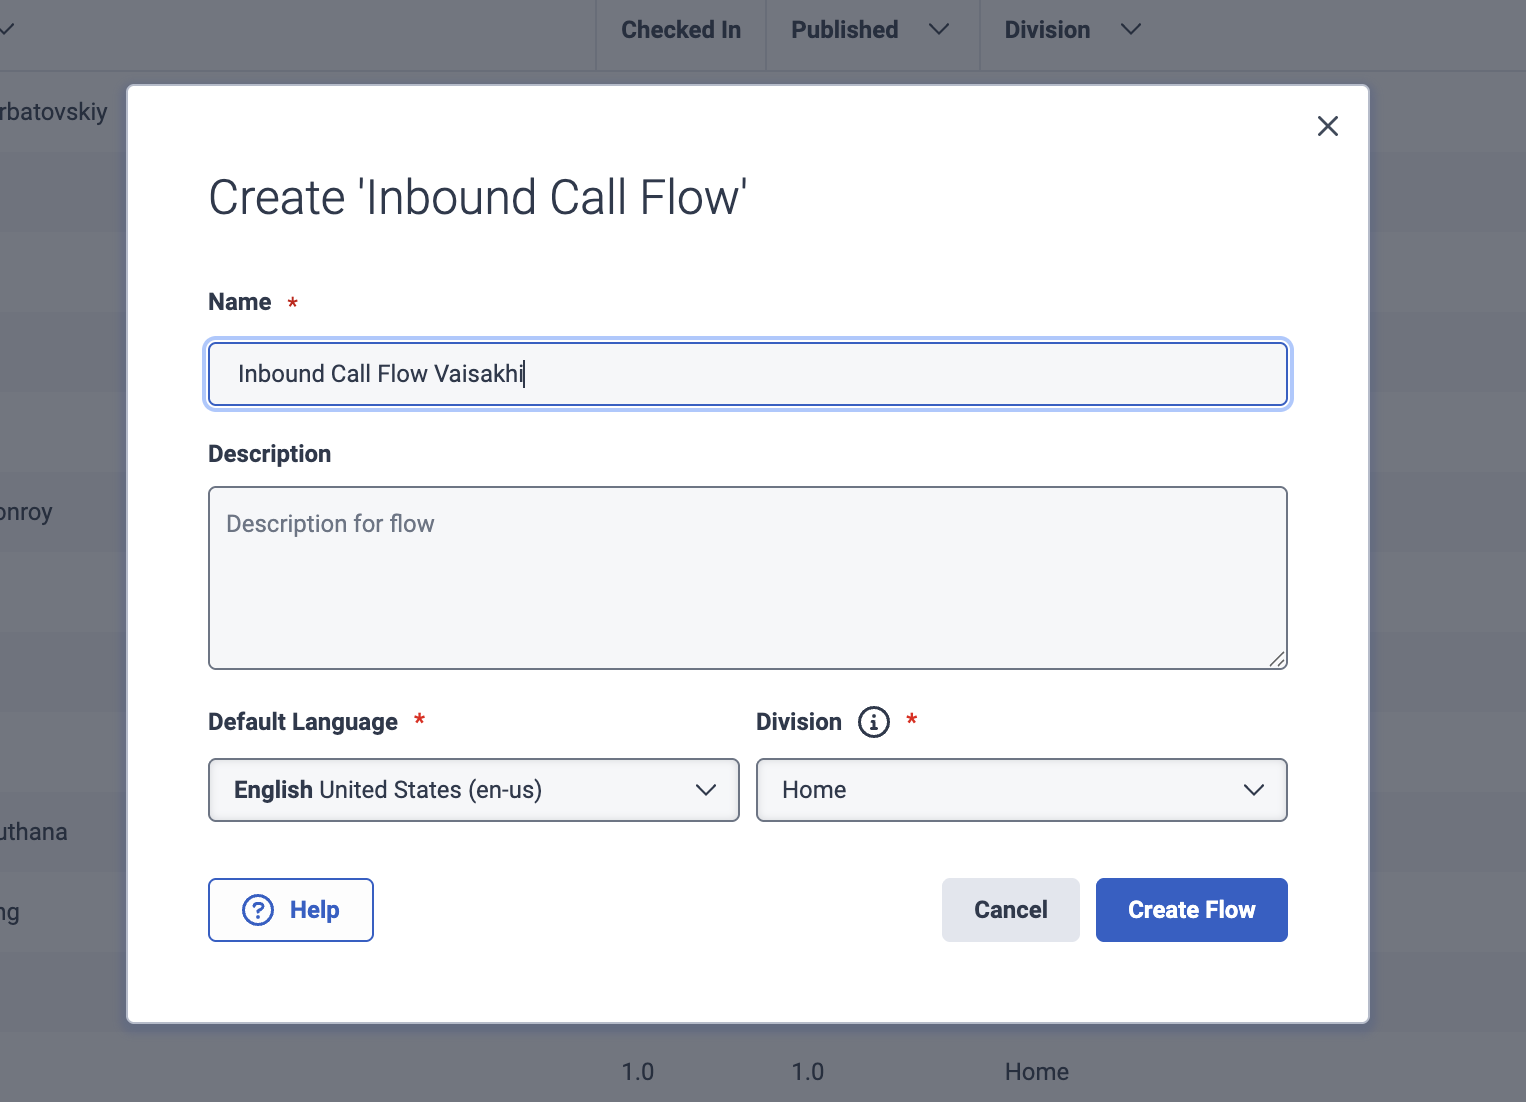
Click the Add button to start a new Inbound Call flow.
Specify a name for the flow, choose English as the default language, and choose Home as the division. Then, click Create Flow.
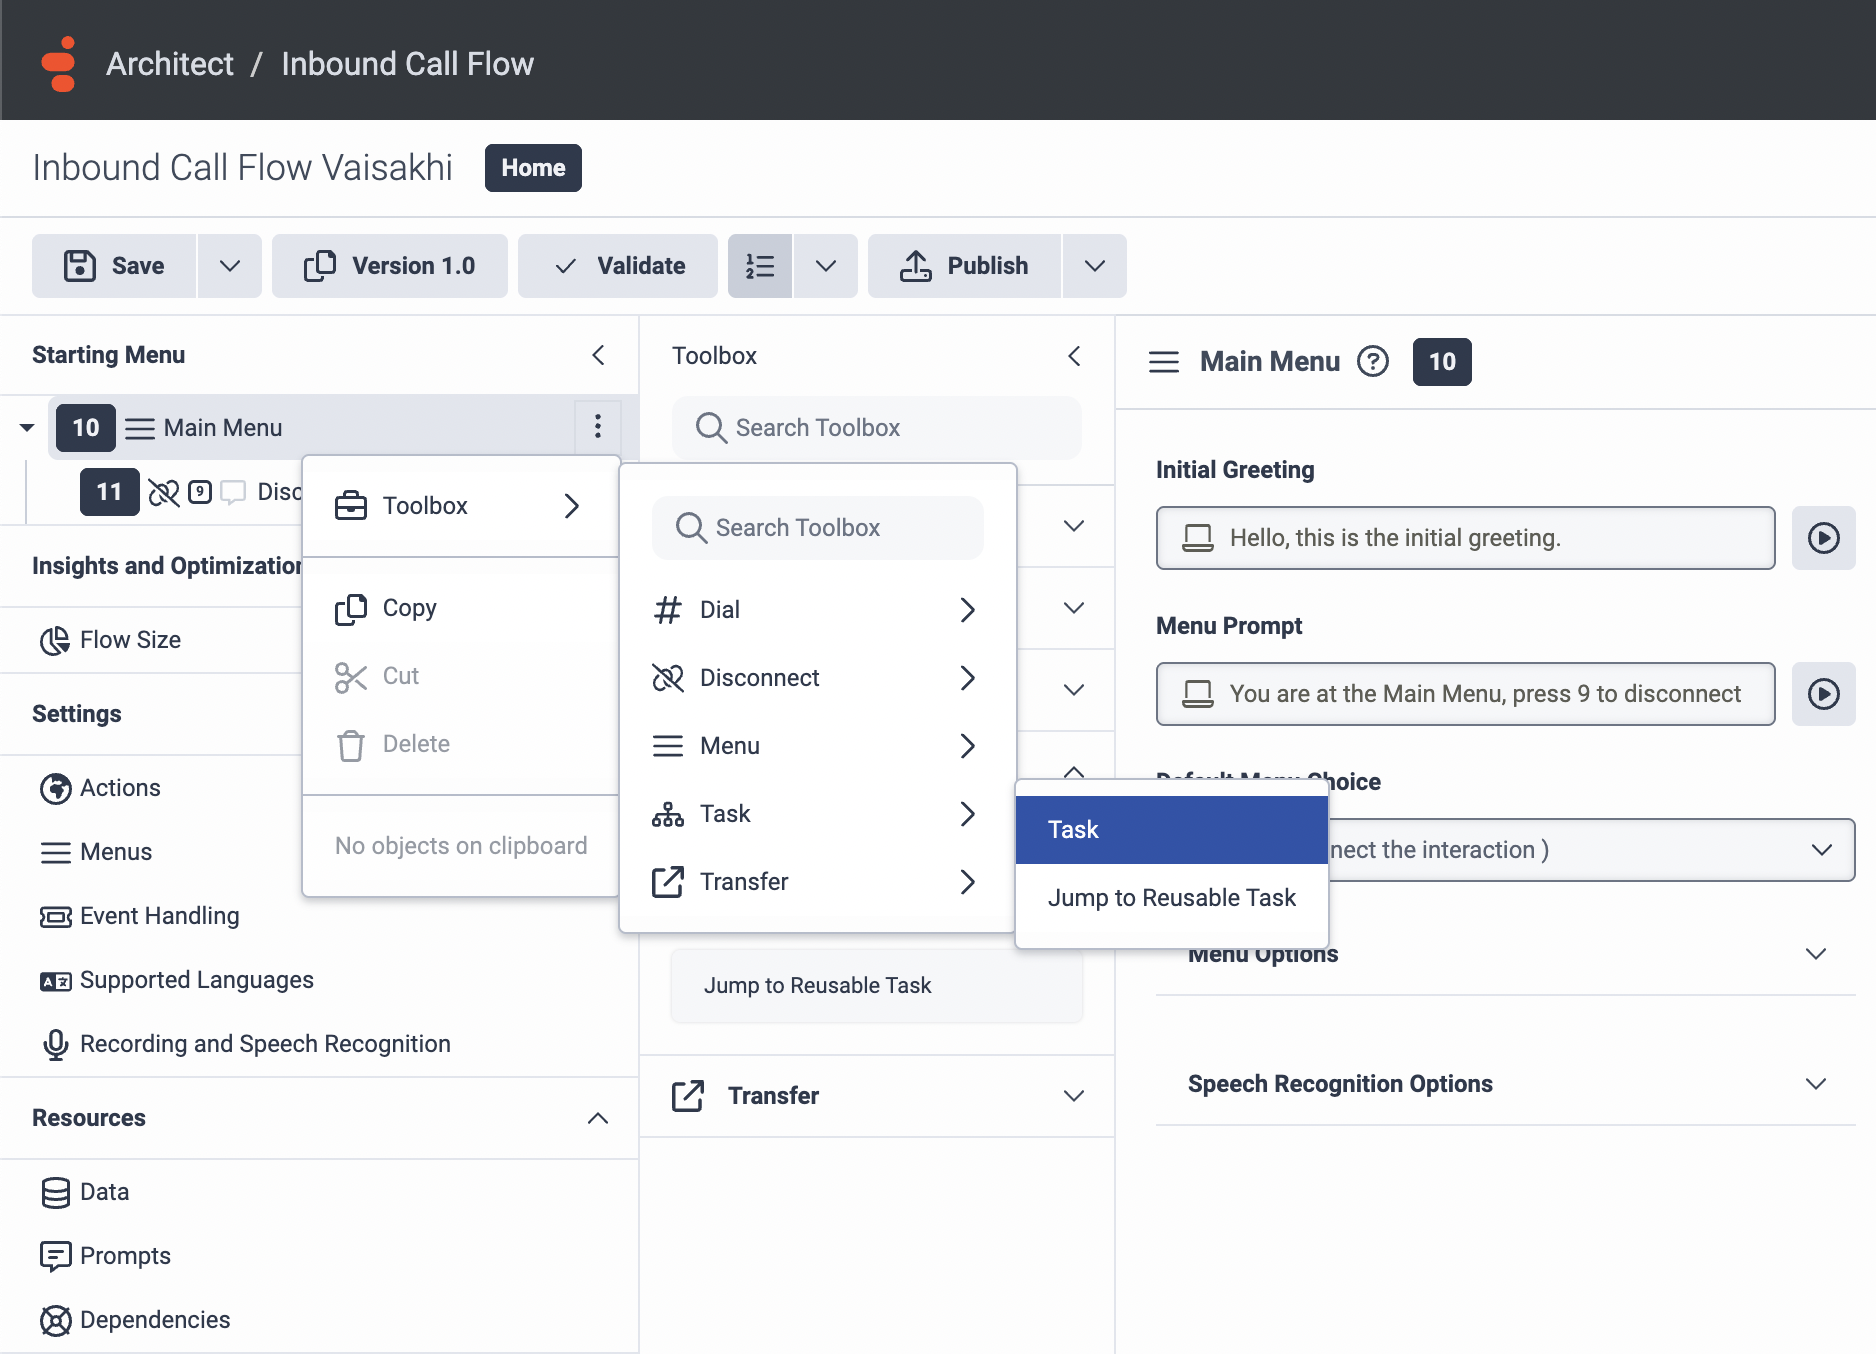
Add a new task to your call menu by clicking the three dots for Main Menu, and then select Toolbox > Task > Task.
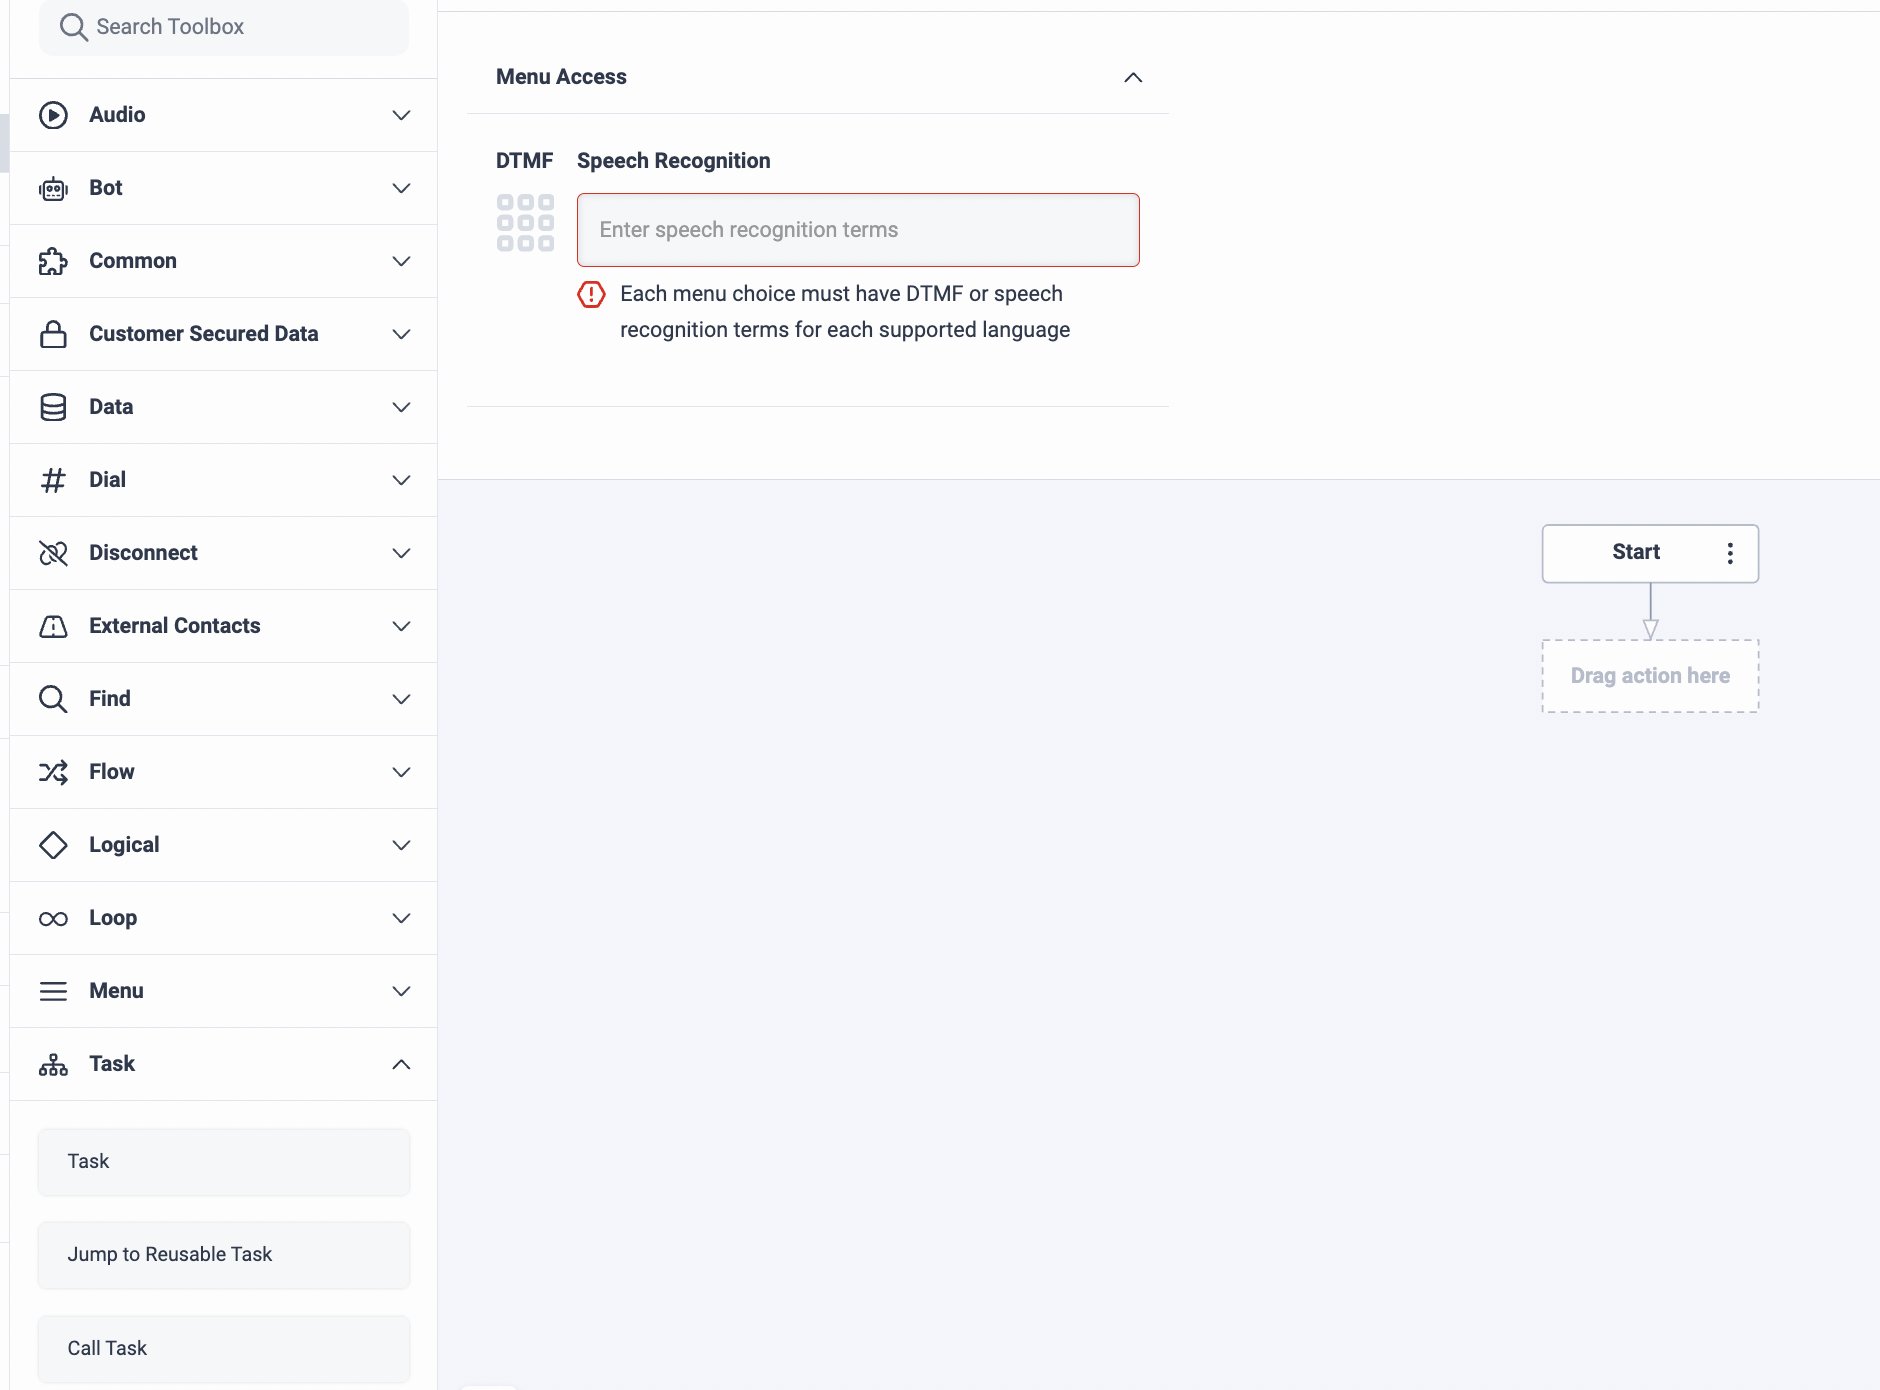
Click the task and start building the flow by dragging objects that appear in the tool box section in to the flow. For this tutorial, drag and drop the Bot and the Audio Connector objects.
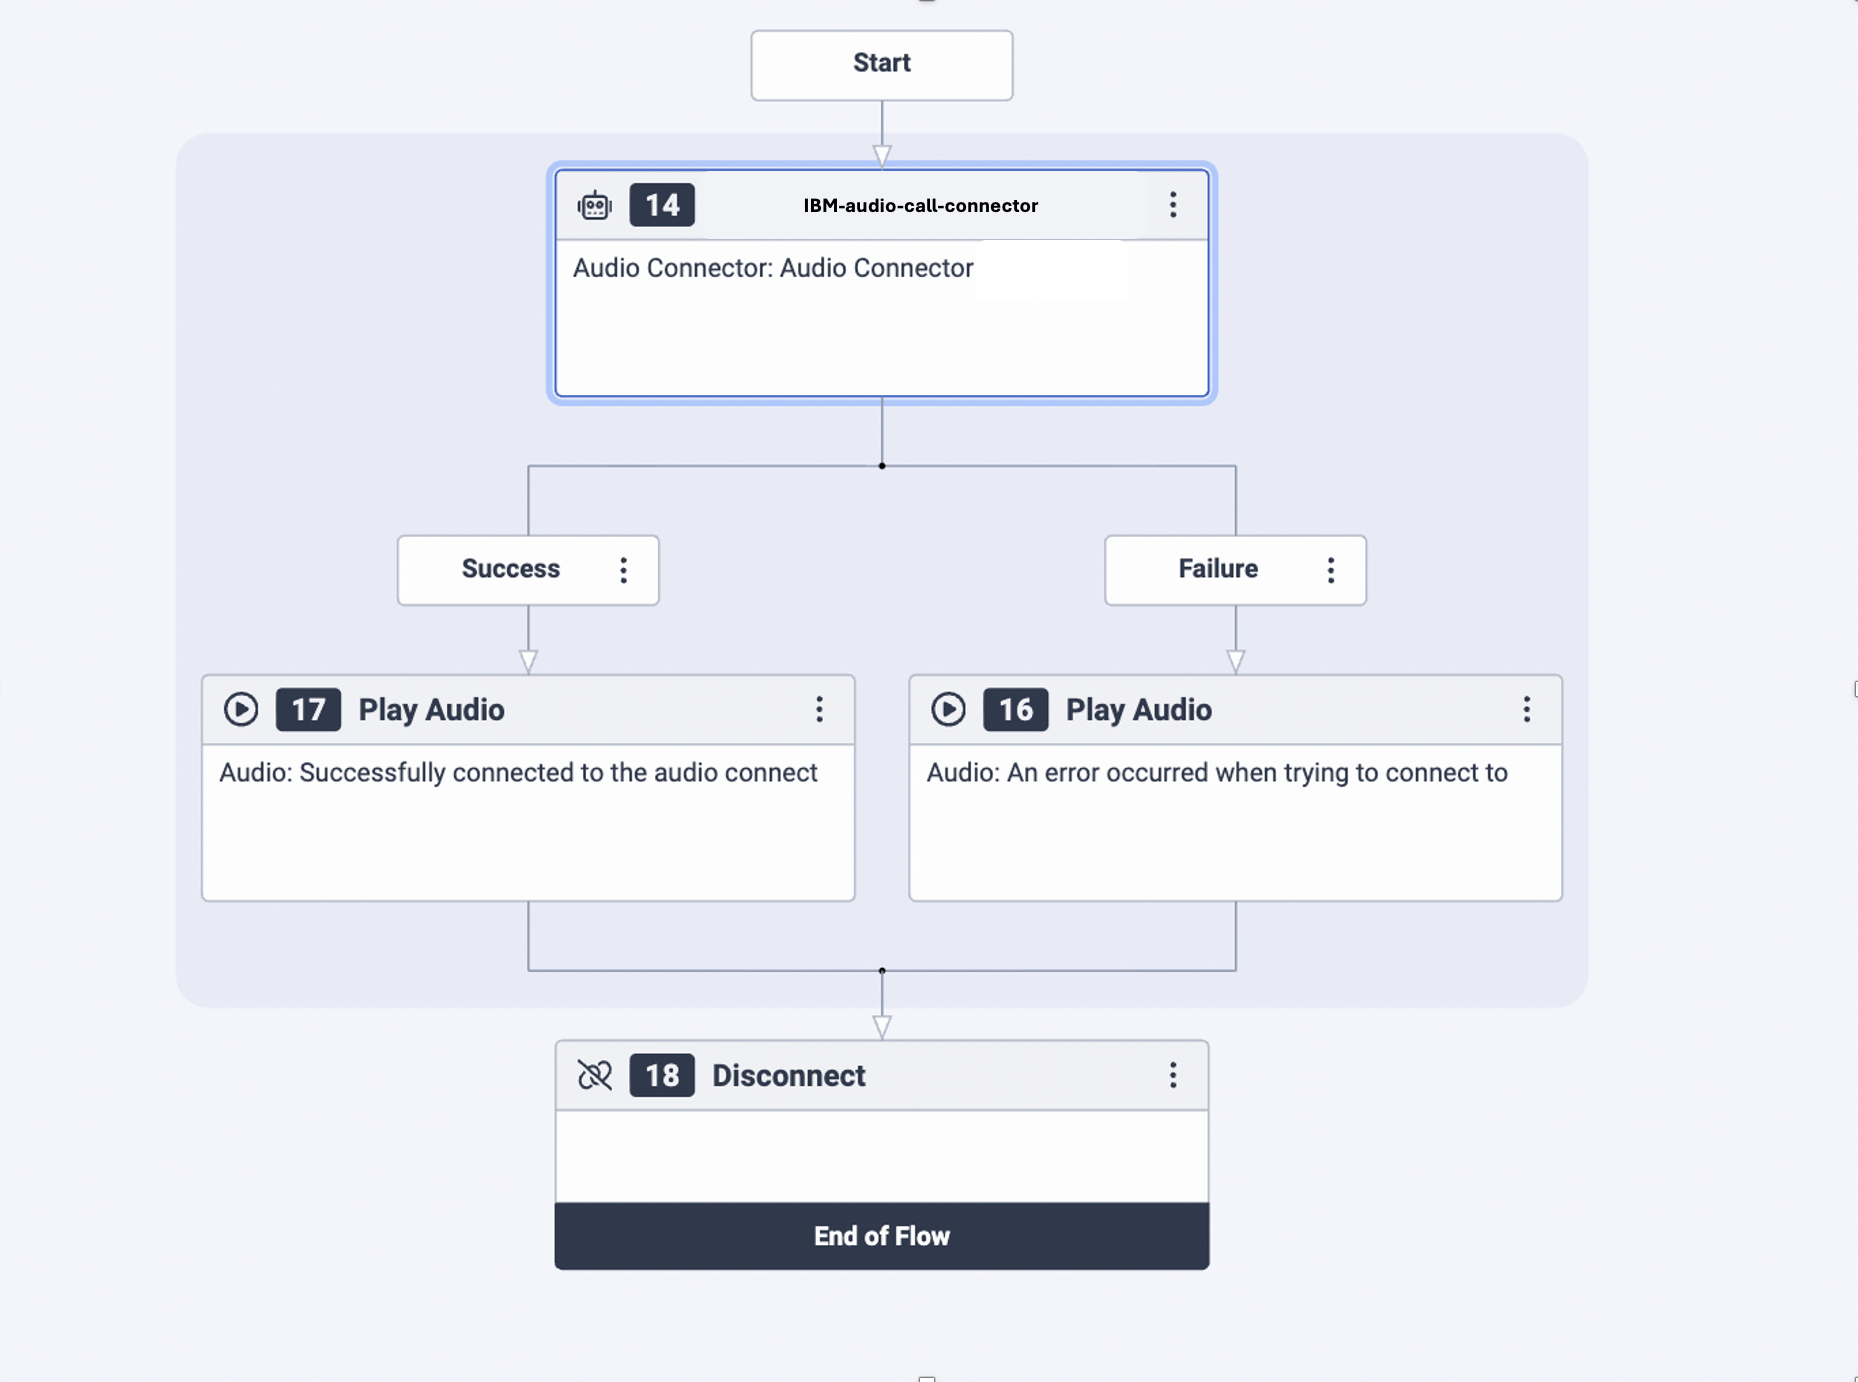
For this tutorial, build a simple inbound call flow for the Audio Connector object with Success and Failure paths that play specific audio before disconnecting. See the following screen capture for a finished inbound call flow.
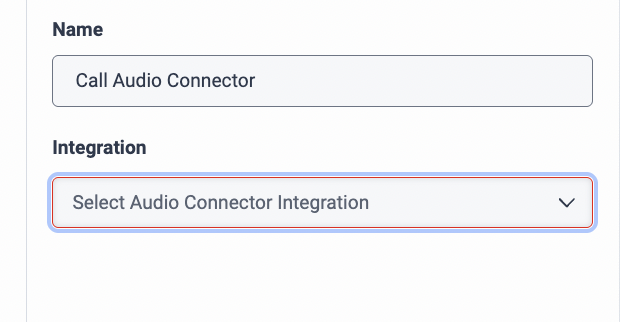
Click the Audio Connector node, and in the right panel, add the Audio Connector integration you built.
After you add your integration, add your agent’s Connector ID that you saved from the step where we set up the phone connection in watsonx Orchestrate.
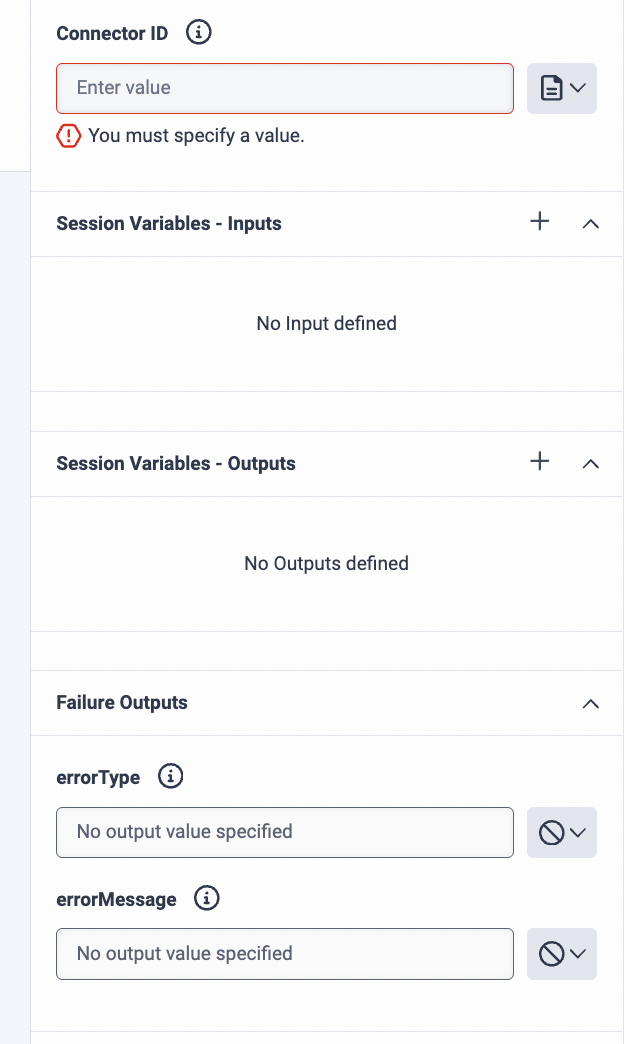
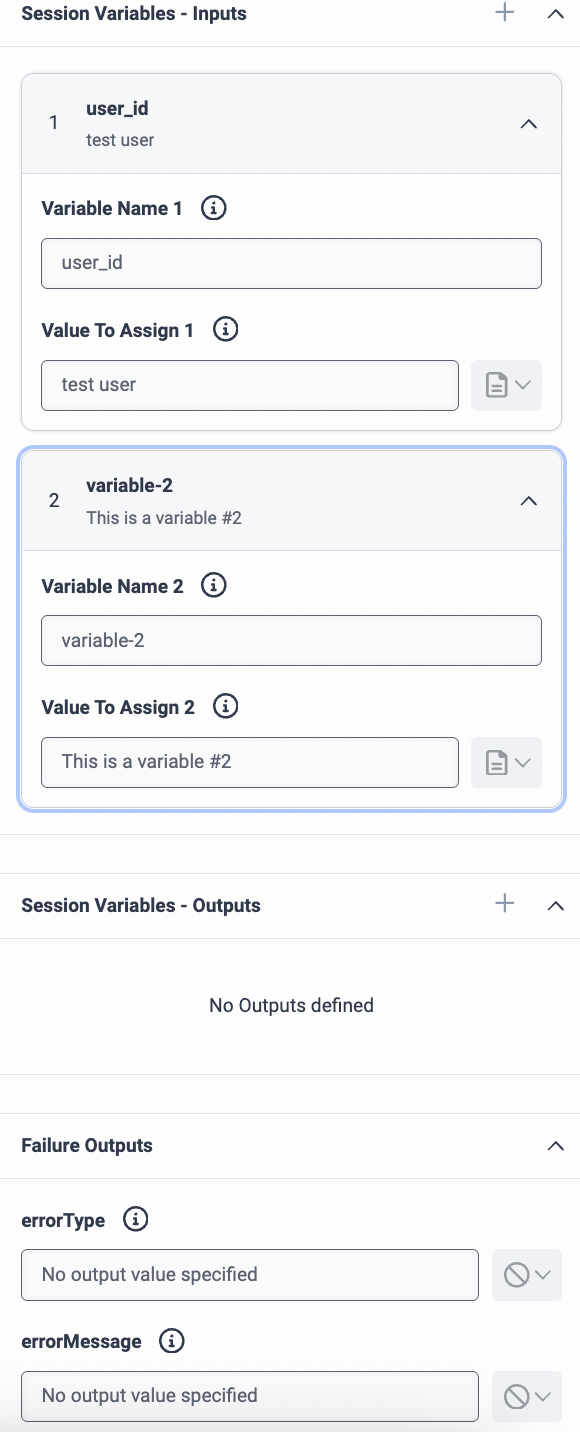
For the variables section, add the following variables:
- Variable Name 1: user_id
Value to assign: test user
Add a second input variable and keep the default values.
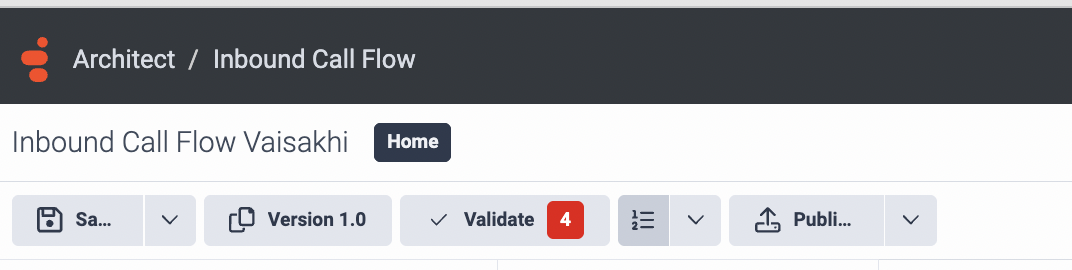
Once you finish setting up the flow, validate and publish it. Validate ensures if the flow has any dead ends or non functional clause or if it can be fun successfully. Once you publish, your flow will be active and ready to use and now you can add it to your phone connection.
Set up call routing
On the main Genesys dashboard, from the main menu, select Orchestration > Routing > Call Routing.
Click the Add button. On the Call Routing screen, specify a name for this call routing, assign any number available to you from Genesys for the inbound number, and select the flow you built for the route.
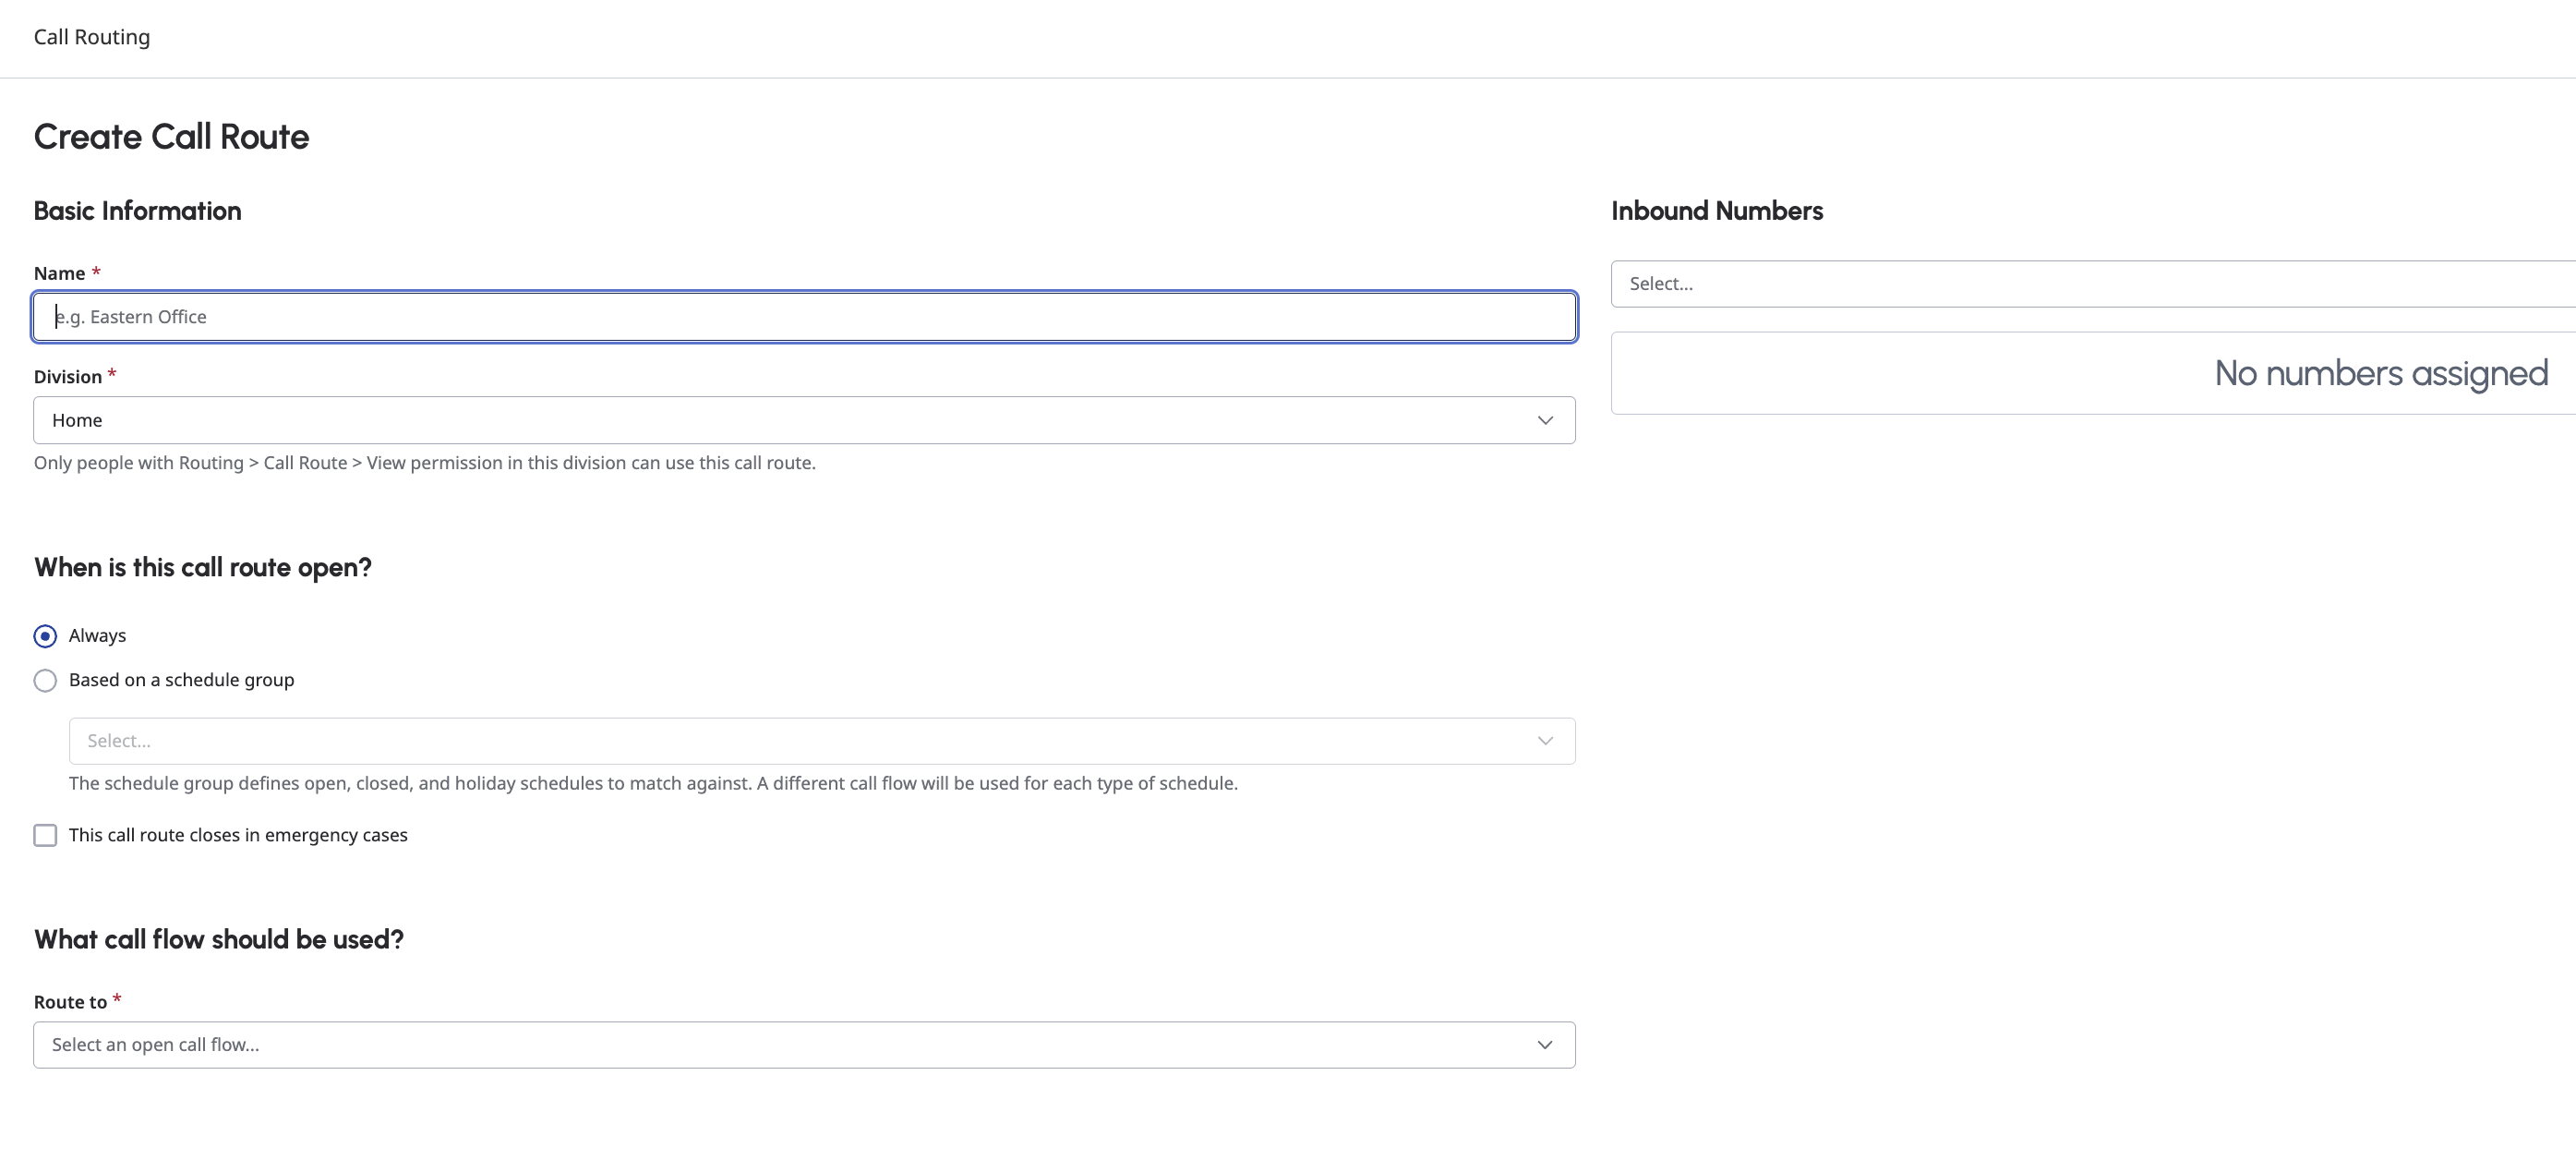
Click Create. Your Phone connection will now be live!
Step 5. Test the voice-enabled assistant
Call the number you just set up for call forwarding in your Genesys account. You should hear the welcome message that you set up for the agent.
Summary
You have now successfully deployed a voice-enabled simple agent that interacts with customers by leveraging Watson Speech services and a Genesys Audio Connector. Similarly, you can also setup a phone channel using SIP trunk with services like Twilio.
Also, consider checking the other published tutorials on watsonx Orchestrate.
Acknowledgments
This tutorial was produced as part of the IBM Open Innovation Community initiative: Agentic AI (AI for Developers and Ecosystem).
The authors deeply appreciate the support of Ela Dixit, Anna Guri, Ahmed Azraq and Michelle Corbin for the guidance on reviewing and contributing to this tutorial.