About cookies on this site Our websites require some cookies to function properly (required). In addition, other cookies may be used with your consent to analyze site usage, improve the user experience and for advertising. For more information, please review your options. By visiting our website, you agree to our processing of information as described in IBM’sprivacy statement. To provide a smooth navigation, your cookie preferences will be shared across the IBM web domains listed here.
Blog post
Resource management with IBM Cloud Projects
Learn how to integrate resources into IBM Cloud Projects for streamlined workflows
Archived content
Archive date: 2025-11-02
This content is no longer being updated or maintained. The content is provided “as is.” Given the rapid evolution of technology, some content, steps, or illustrations may have changed.IBM Cloud Projects offers a comprehensive set of features designed to effectively manage infrastructure, providing crucial insights into your account and its deployments, including billing, security, and compliance details.
The versatility of IBM Cloud Projects and its benefits extend across various workflows. For instance, when aiming to streamline reliability engineering, IBM Cloud Projects provides seamless integrations with Event Streams, enabling connections to tools such as Slack or PagerDuty to deliver messages or alerts about project assets. Similarly, for development teams seeking to meticulously track the lifecycle of their infrastructure, Projects' features to identify and remove unnecessary or unused resources can significantly simplify account management and cleanup processes.
The teams behind these services have considered users with existing resources provisioned outside or before the implementation of Projects. By following a straightforward process that only requires a credential (API key or Trusted Profile) from the relevant account(s) containing the assets, users can easily transition their resources.
Bring your resources into a Project
Create a project, if you have not already created a project or if you do not have a project ready for use.
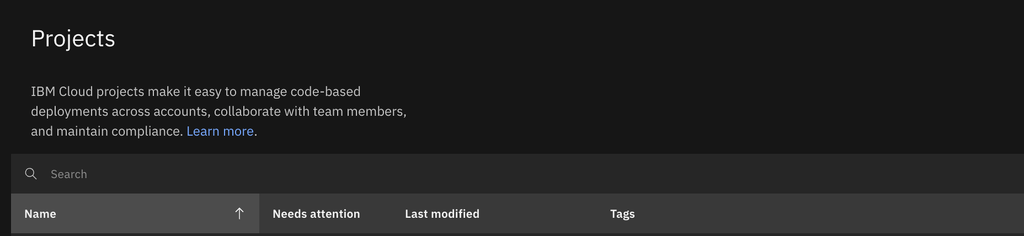
Within any project, you can create a configuration to migrate your resources. Select
From existing resourcesfrom the dropdown menu located at the top right corner of the table.
Enter a name for your configuration. You will be redirected to a page where you can edit details and specify the resources that you want to bring into Project.

The second card titled
Configureprompts you to provide a credential. You have the option to choose from the following: anAPI Key from Secrets Manager, aTrusted Profile ID from Secrets Manager, or anAPI Keystored elsewhere (this option is accessible only after toggling off the green-colored toggle labeledUse a secret). Once saved, your credential will designate the account from which you intend to tag resources, namely your target account. Select one of the three options and submit the credential by clickingSave.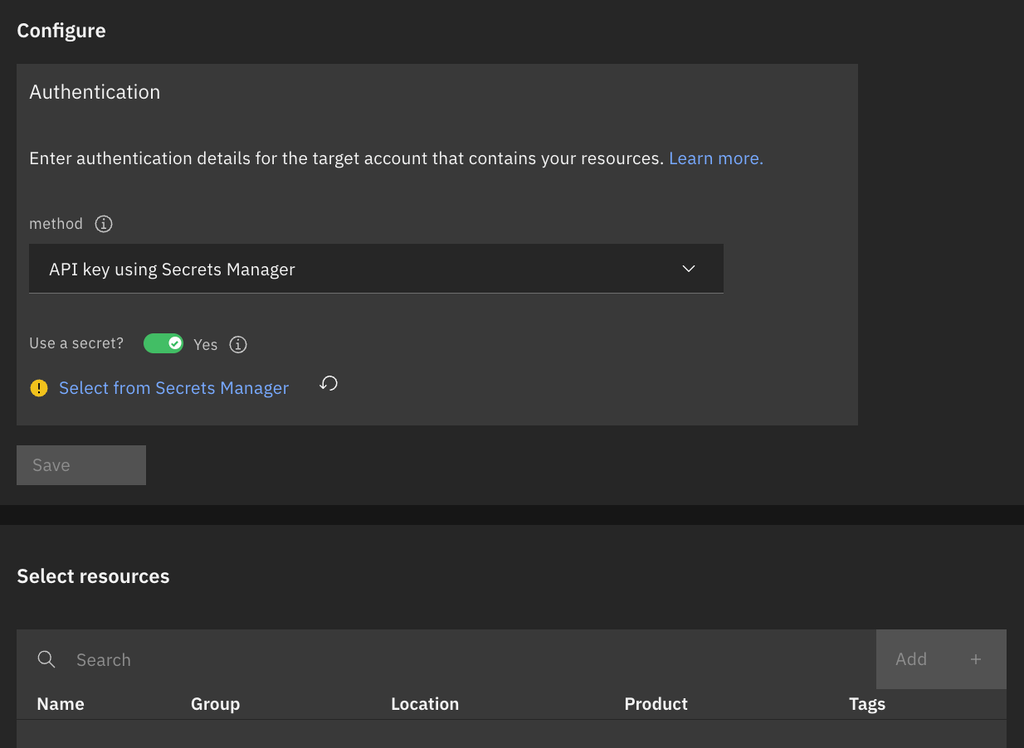
In the
Configuresection, enter the credential of the assets that you want to integrate into this Project. After you Save the credential, theAdd +button will be enabled, indicating that resources from your target account can be selected.
Click
Add, a table appears in the side panel. From this table, select all the resources you want to tag, thereby associating them with this project and configuration. You do not need to wait for the loading bars in the table to disappear before making your selections. Use any of the filtering functions by clicking on the filter icon located in the upper right corner, next to the search bar. After making your selections, click on theDonebutton located at the bottom of the side panel.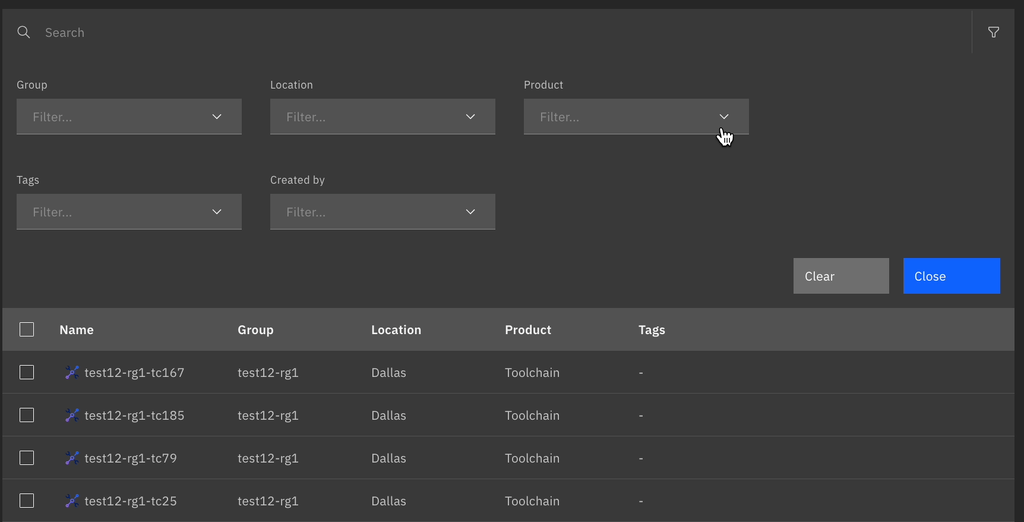
Review the changes you have made. If no further modifications are required, click on the
Save draftbutton located in the upper-right corner of the window.After the saving process completes, you can click the button again. This time, it will display
Apply changes. You still have the option to make changes to the resource selections, credential, or the name of the configuration. Any modifications you make will generate a draft that you can save, similar to the previous step. Finally, clickApply Changesto implement the updates.Congratulations, you're all done! You will now be redirected to a page summarizing the configuration you just finished editing. Verify that you have successfully associated the listed resources with the project by observing the
Changes appliedstatus. If needed, you can revisit the page to edit the configuration by clicking theEditbutton located in the top right corner. This allows you to make changes or undo the resource tagging you just completed.
Summary
This blog explained the process of bringing existing resources into Projects with simple steps. By using the intuitive configuration and tagging options discussed in the blog, users can benefit from the features offered by IBM Cloud Projects for effectively managing resources and infrastructure.