


About cookies on this site Our websites require some cookies to function properly (required). In addition, other cookies may be used with your consent to analyze site usage, improve the user experience and for advertising. For more information, please review your options. By visiting our website, you agree to our processing of information as described in IBM’sprivacy statement. To provide a smooth navigation, your cookie preferences will be shared across the IBM web domains listed here.
Tutorial
Set up IBM Power Virtual Server for installing Red Hat OpenShift Container Platform
Prepare your Power Virtual Server environment for installing OpenShift
Introduction
This tutorial describes the steps for setting up IBM® Power® Virtual Server for deploying Red Hat® OpenShift® Container Platform. Note that if you plan to use the installer-provisioned infrastructure installation method for deploying OpenShift, some of these steps are done automatically by the installer and are optional, as noted.
Prerequisites
You need to perform the following steps from a system with a web browser and public internet access.
Steps
Create an IBM Cloud® account.
If you don't already have one, you need a paid IBM Cloud account to create your Power Virtual Server instance. To create an account, go to: cloud.ibm.com
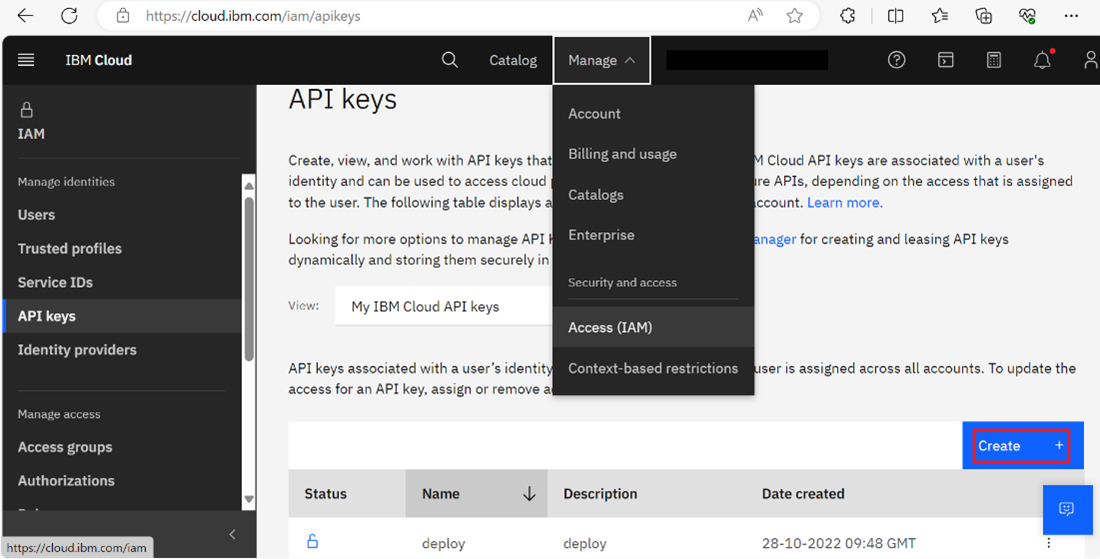
Create or obtain your IBM Cloud API key.
Go to https://cloud.ibm.com/iam/apikeys. If the browser doesn’t redirect you automatically, manually navigate to Manage -> IAM -> API keys.
click Create.
Figure 1: Creating a new API key
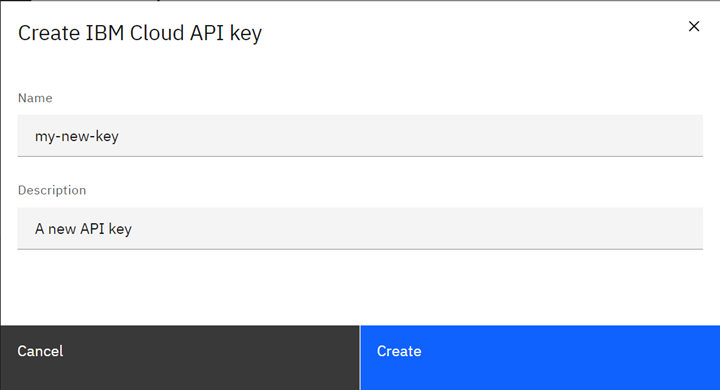
Enter a suitable name and description.
Figure 2: API key name and description
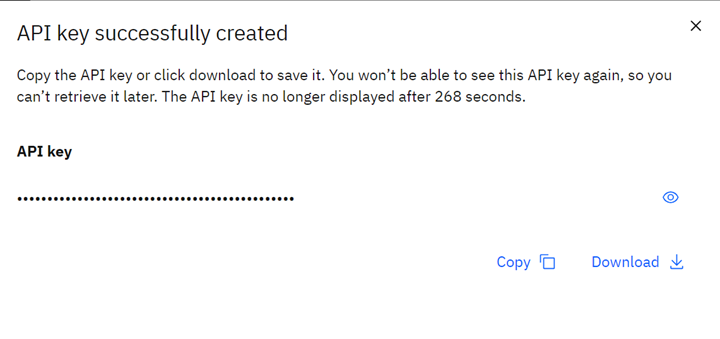
Copy or download the API key to a suitable location as it will not be visible again.
Figure 3: Created API key
Create a workspace for Power Virtual Server (Optional)
After you have an active IBM Cloud account, you can create a Power Virtual Server service. To do so, perform the following steps. Note: If you’d rather have the installer provision the service for you, you may skip this step.
Log in to the IBM Cloud dashboard and search for Power in the catalog.
Click Power Virtual Server to provide the required details for the service.
Provide a meaningful name for the service in the Service name field. For example,
ocp-powervs-test-1Select an appropriate resource group. You can find more details about resource groups at: https://cloud.ibm.com/docs/account?topic=account-rgs
Click Create to create the service.
Create a private network.
It is mandatory to have a private network for your OpenShift Container Platform cluster. If you plan to use the installer-provisioned infrastructure method, the installer creates the private network for you so you can skip this and the following step (5) and go directly to the Deploy Red Hat OpenShift Container Platform on IBM Power Virtual Server using installer-provisioned infrastructure installation. Otherwise, do the following from the IBM Cloud console:
Select the service you created in the previous step.
Click Subnets and provide the required input.
Sample input values are shown in the following screen captures. Make a note of the private network details like
vlan-id,locationetc. You'll need this for the next step.Note: If you see a screen displaying CRN and GUID, then click View full details to access the Subnet creation page.
 View a larger version of the figure
Summary
Now that you have Power Virtual Server setup, the next step is to install and deploy Red Hat OpenShift Container Platform on it. We’ve included three installation methods in this learning path. Choose the one that best suits your specific requirements.
Deploy OpenShift on Power Virtual Server using installer-provisioned infrastructure installation Choose this method to take advantage of Red Hat's out-of-the-box automation for OpenShift Container Platform installations. The installer has built-in logic that provisions every component your cluster needs, including Power compute nodes (aka LPARs, or VMs), Networking, Load Balancers, Access Policies and Service IDs, and DNS records.
Deploy OpenShift on Power Virtual Server using user-provisioned infrastructure installation Choose this method to manually install OpenShift Container Platform to allow for increased installation flexibility and customization.
Deploy OpenShift on Power Virtual Server using container image installation helper script This method provides another user-provisioned option for installing OpenShift on Power Virtual Server that uses the openshift-install-powervs image from the Quay.io repository.