Tutorial
Backup and restore Elasticsearch indices
Learn how to create, manage, and restore Elasticsearch snapshots to ensure data resilience and disaster recovery
On this page
Creating a backup snapshot for an Elasticsearch index is crucial for ensuring data resilience and disaster recovery preparedness. In this tutorial, we’ll explore why snapshots are important, how to set them up, and best practices to keep in mind.
Why backup snapshots matter?
Elasticsearch is a distributed search and analytics engine, widely used for its speed and scalability. However, like any critical system, it’s vulnerable to data loss due to hardware failures, human errors, or software bugs. Snapshots provide a point-in-time backup of your data, allowing you to restore indices quickly in case of such incidents.
Prerequisites
Before you begin, ensure that you have a running Elasticsearch cluster and a Kibana instance accessible from your system. These can be hosted on-premises or in a cloud environment.
Create a backup snapshot for an Elasticsearch index
Create a Cloud Object Storage (COS) bucket in IBM Cloud to store the snapshot data.
Configure the repository to use the COS bucket.
PUT /_snapshot/ibm_cloud_cos_leader-a { "type": "s3", "settings": { "bucket": "elastic-snapshots-leader-a", "endpoint": "https://s3.eu-de.cloud-object-storage.appdomain.cloud", "compress": true } }Create an index snapshot and export the snapshot to the COS bucket.
POST _snapshot/ibm_cloud_cos_leader-a/snapshot_leader-a?wait_for_completion=true { "indices": "index-100k-a", "ignore_unavailable": true, "include_global_state": false }If the preceding query returns an error, check the snapshot status. This will keep running in the background. For example, a successful status would show:
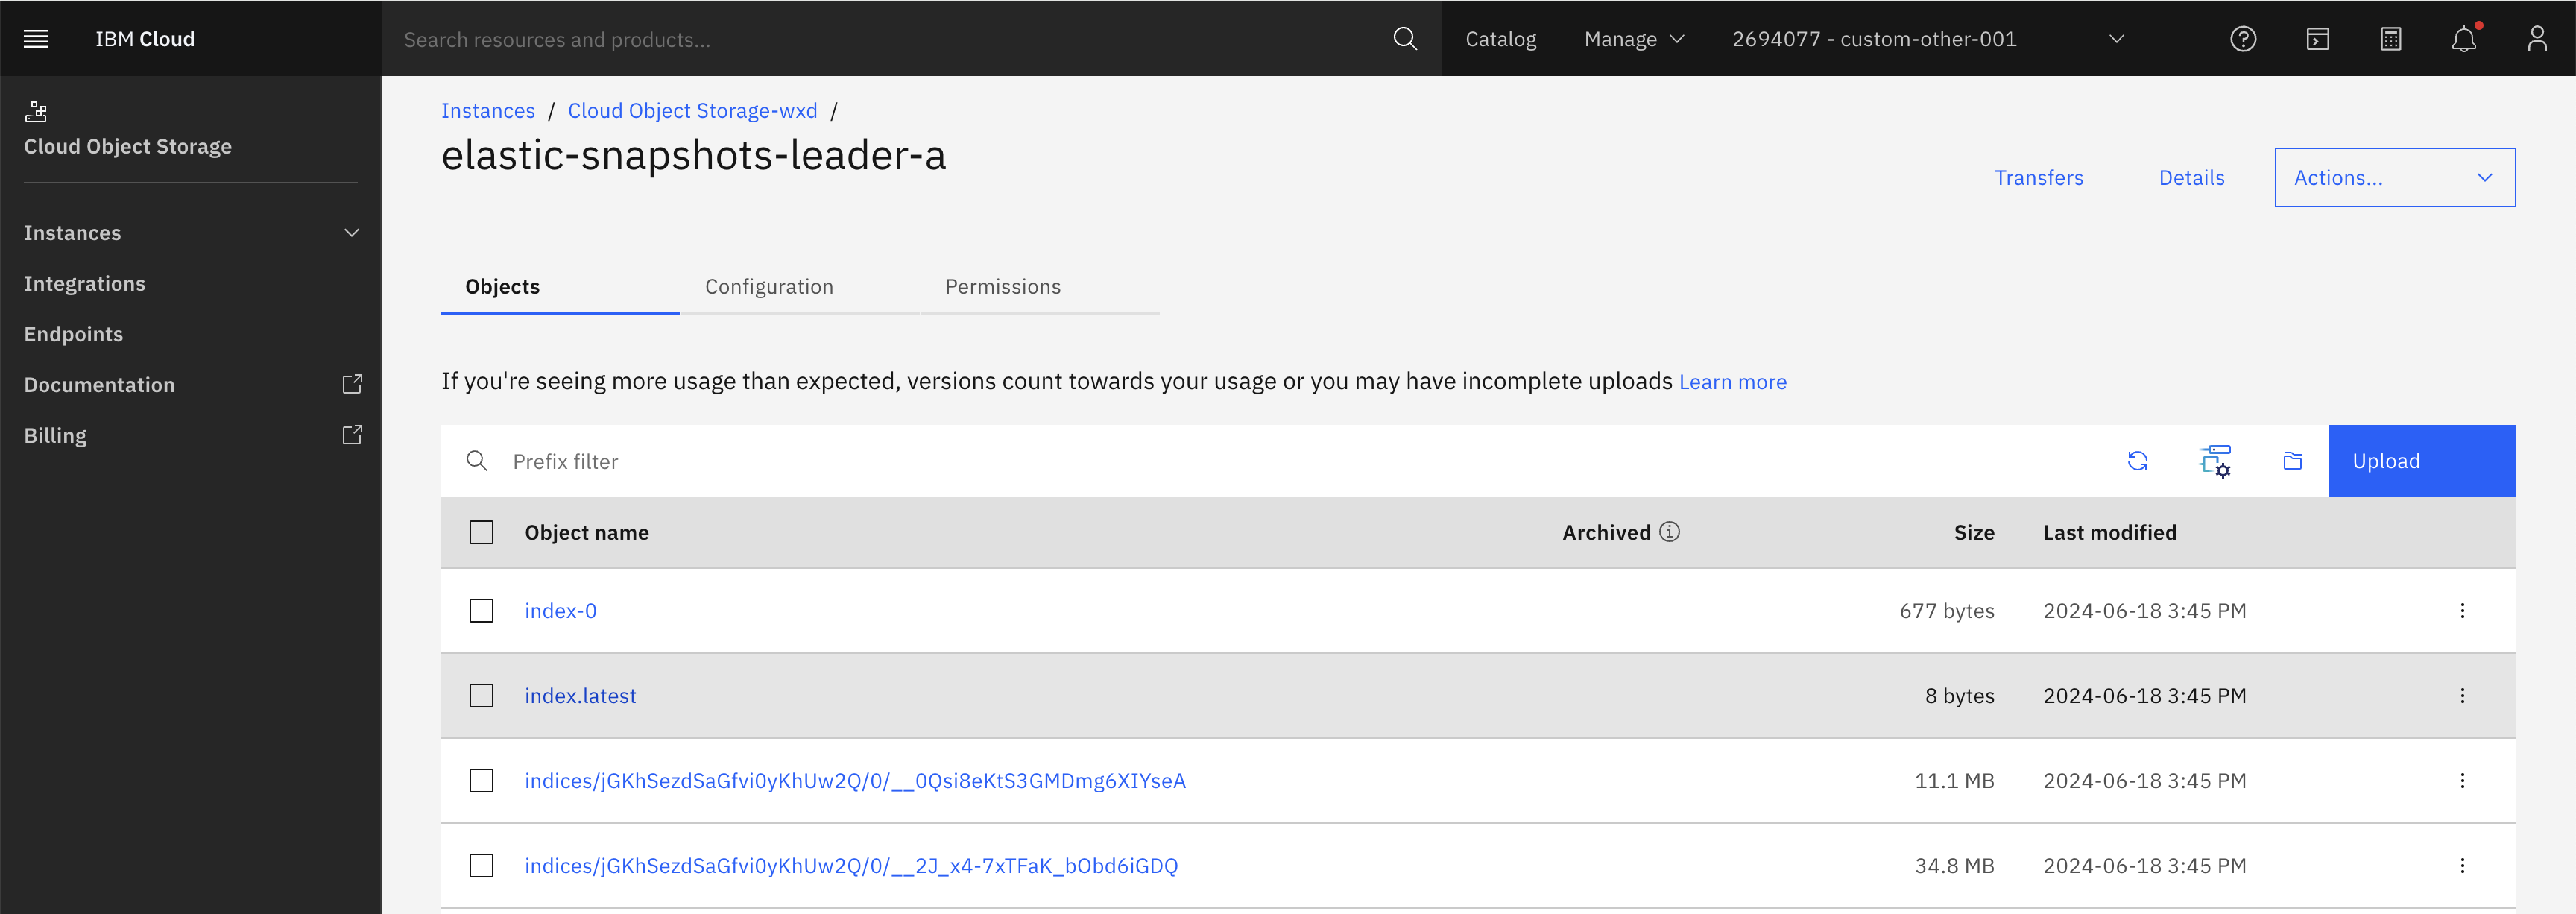
state: SUCCESS.GET _snapshot/ibm_cloud_cos_leader-a/snapshot_leader-a/_statusAfter the command runs, you can view the generated index backup data in the S3 bucket.
Restore snapshot to Elasticsearch
Log in to each data node and run the following commands for Keystore definition. These commands will prompt you to provide the S3 bucket access key and secret key, which can be found in the IBM Cloud COS instance service credentials.
bin/elasticsearch-keystore add s3.client.default.access_key
 bin/elasticsearch-keystore add s3.client.default.secret_key
Synchronize the above configuration in secure settings using the following Kibana query:
POST _nodes/reload_secure_settingsConfigure the repository on the target cluster.
PUT /_snapshot/ibm_cloud_cos_leader-a
 {
  "type": "s3",
  "settings": {
    "bucket": "elastic-snapshots-leader-a",
    "endpoint": "https://s3.eu-de.cloud-object-storage.appdomain.cloud",
    "compress": true
  }
 }

 PUT /_snapshot/ibm_cloud_cos_leader-b
 {
  "type": "s3",
  "settings": {
    "bucket": "elastic-snapshots-leader-b",
    "endpoint": "https://s3.eu-de.cloud-object-storage.appdomain.cloud",
    "compress": true
  }
 }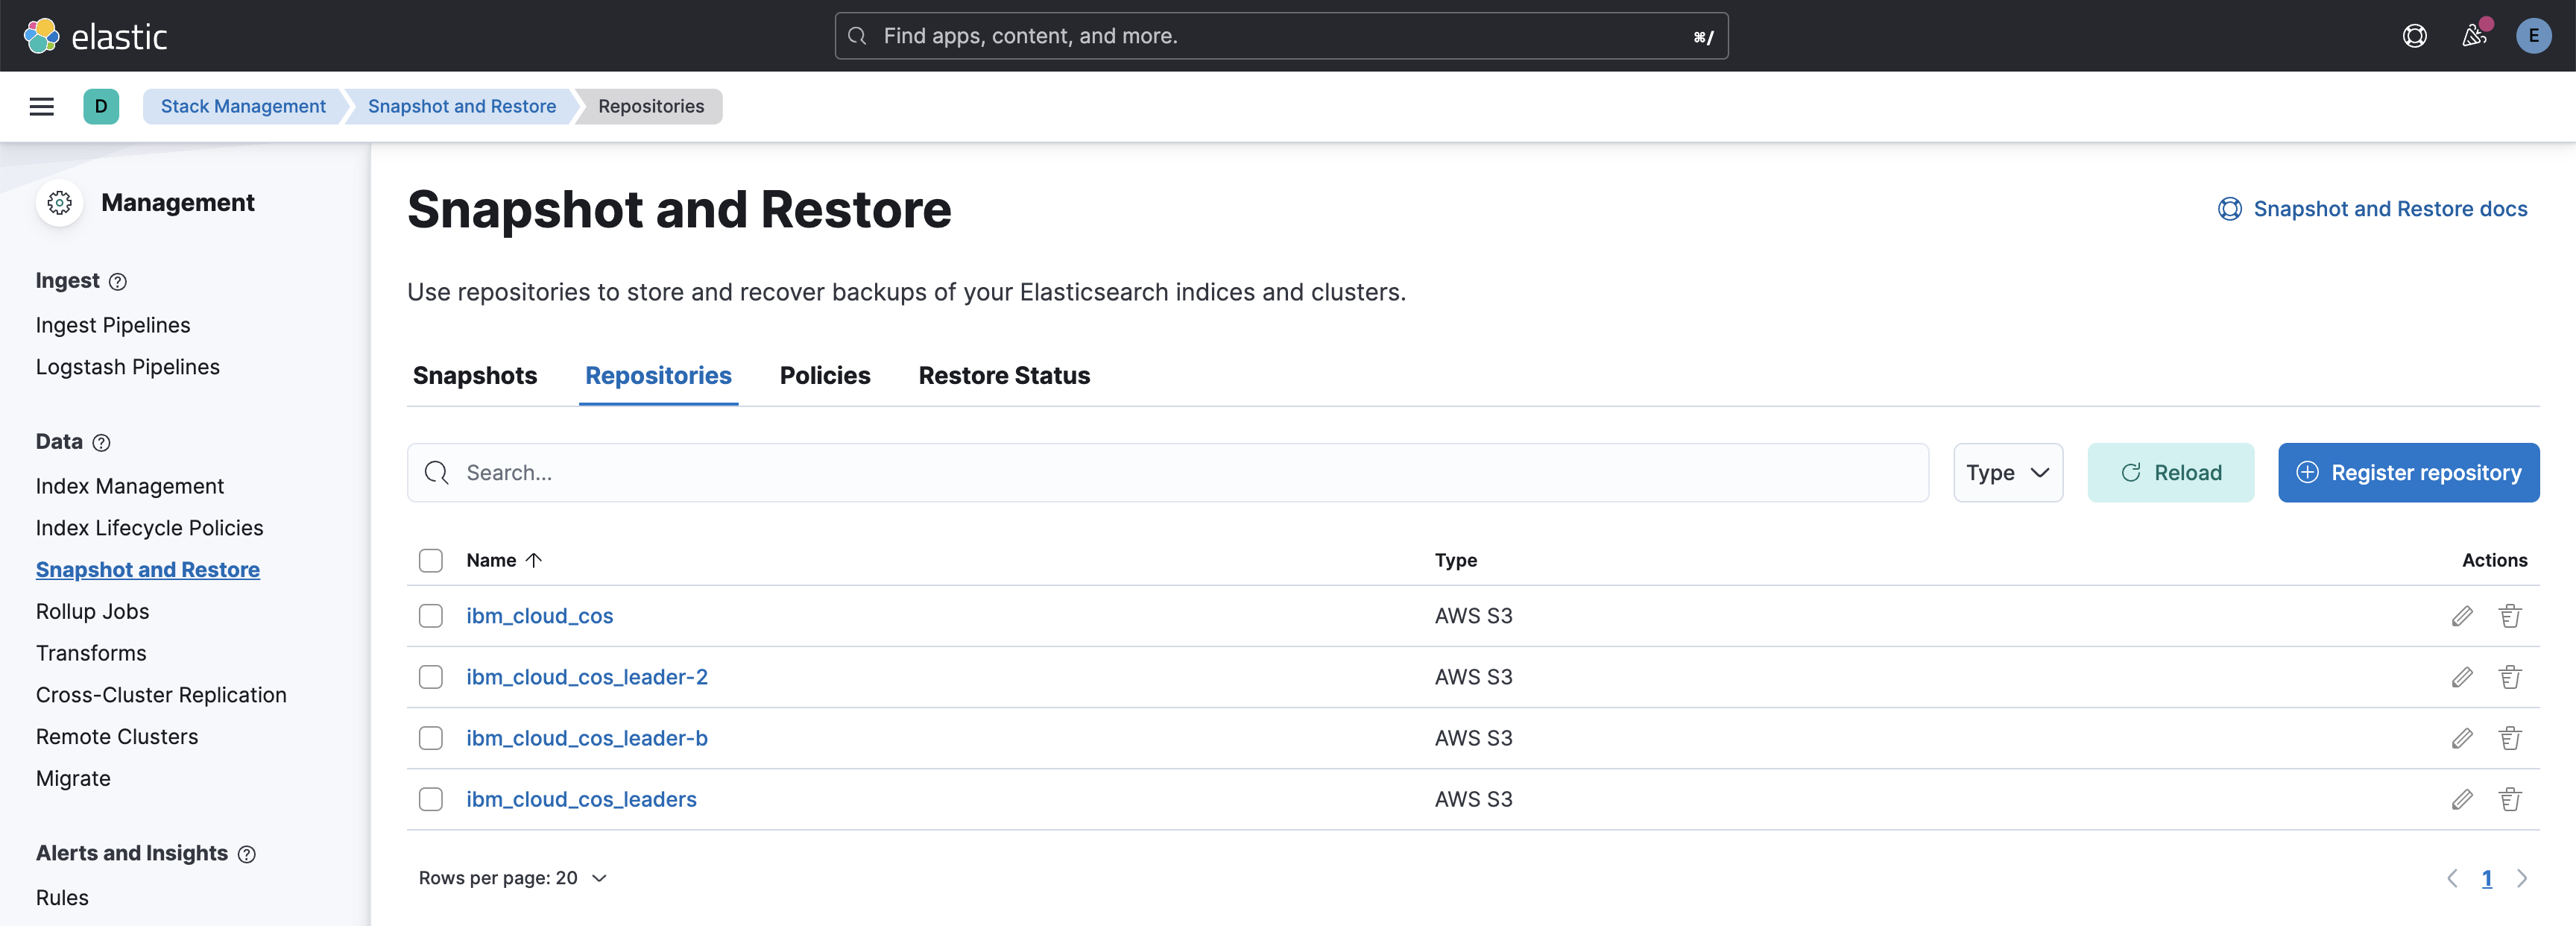
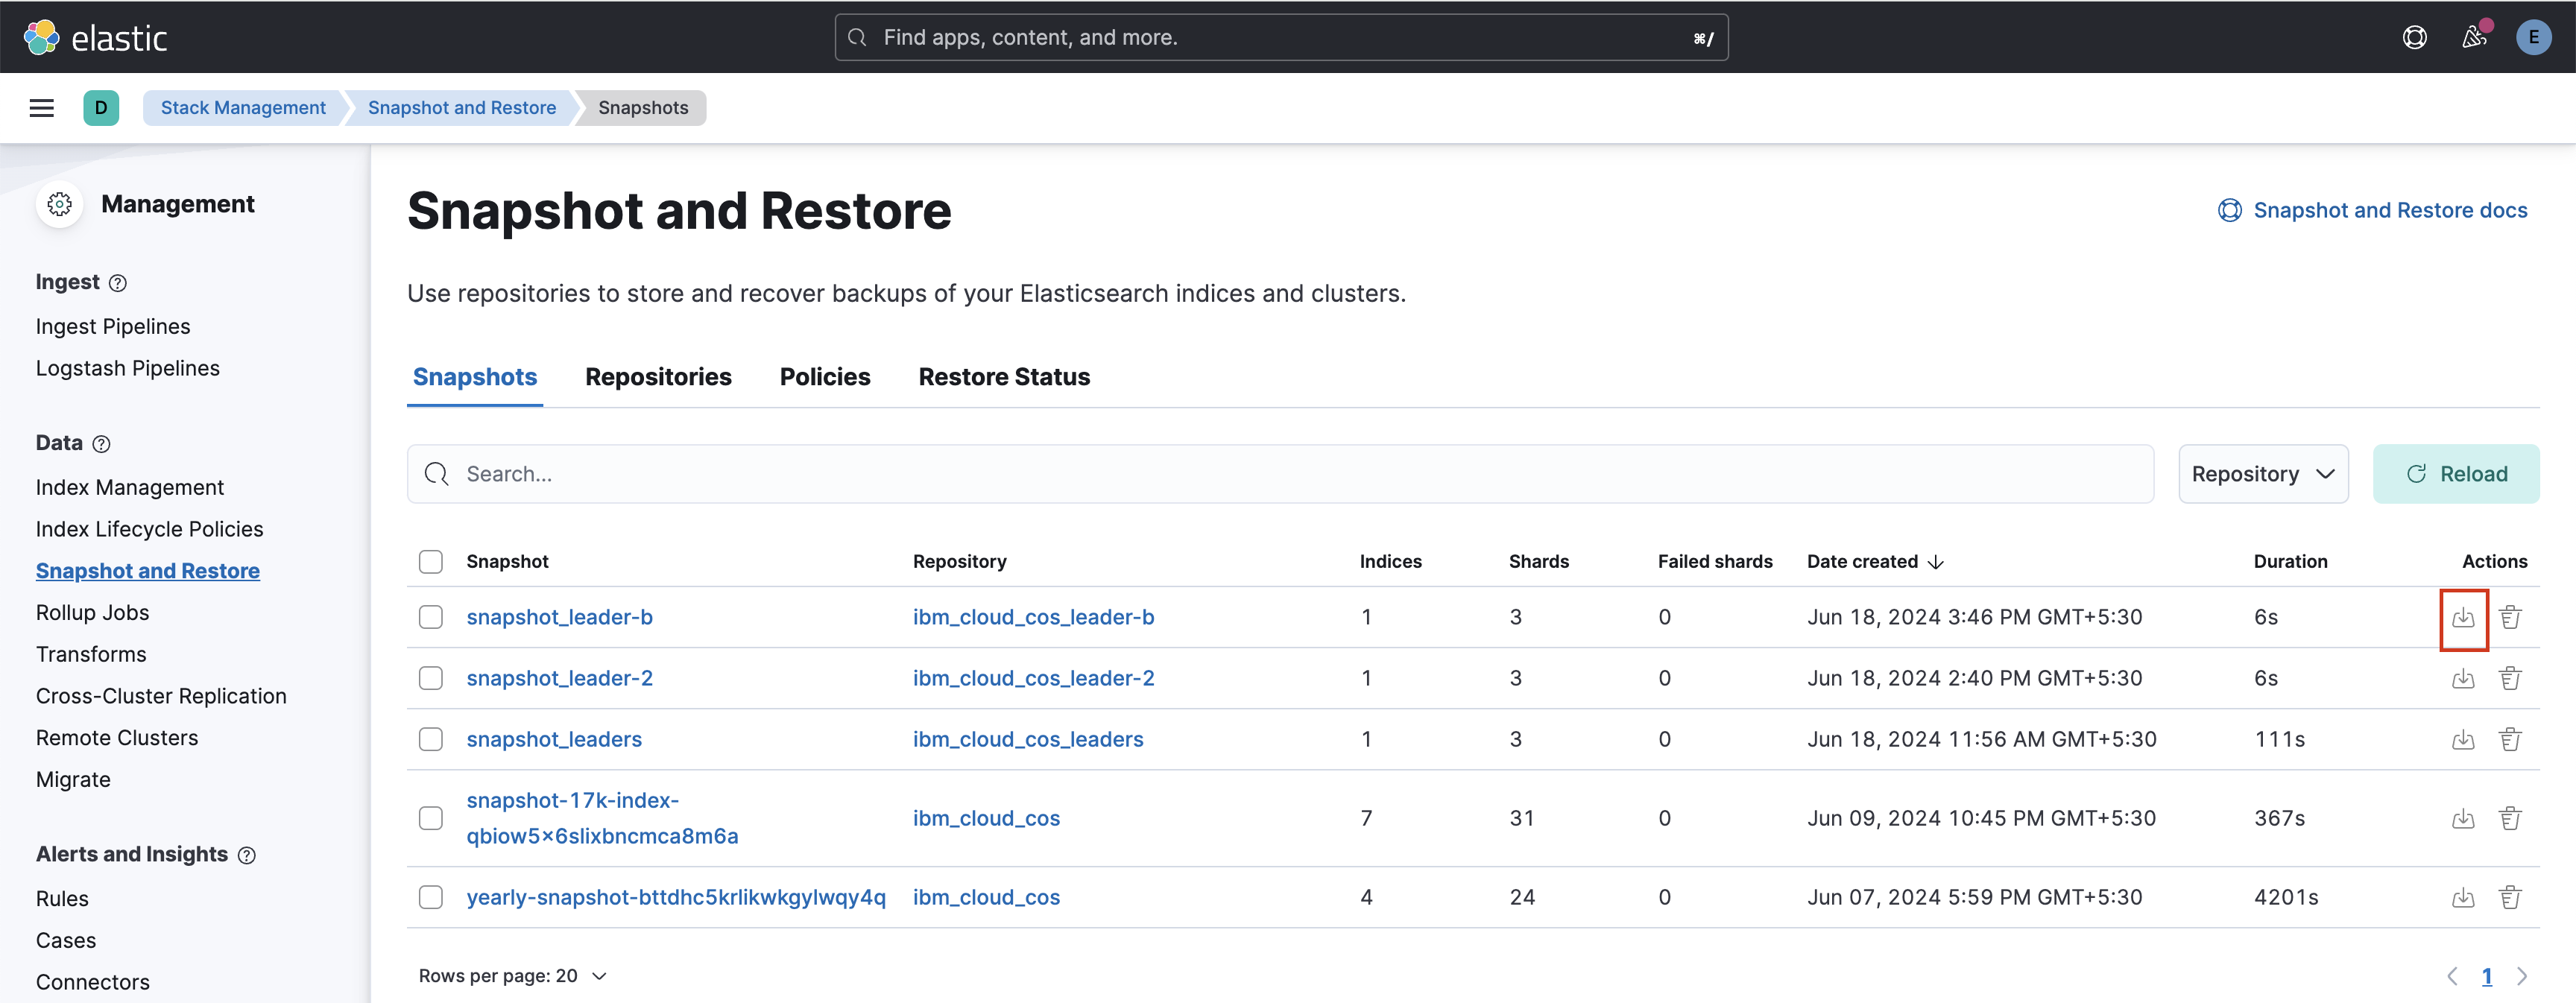
After these repositories are added, you can view all the snapshots in the snapshot tab. Click on the restore button for the desired snapshot.
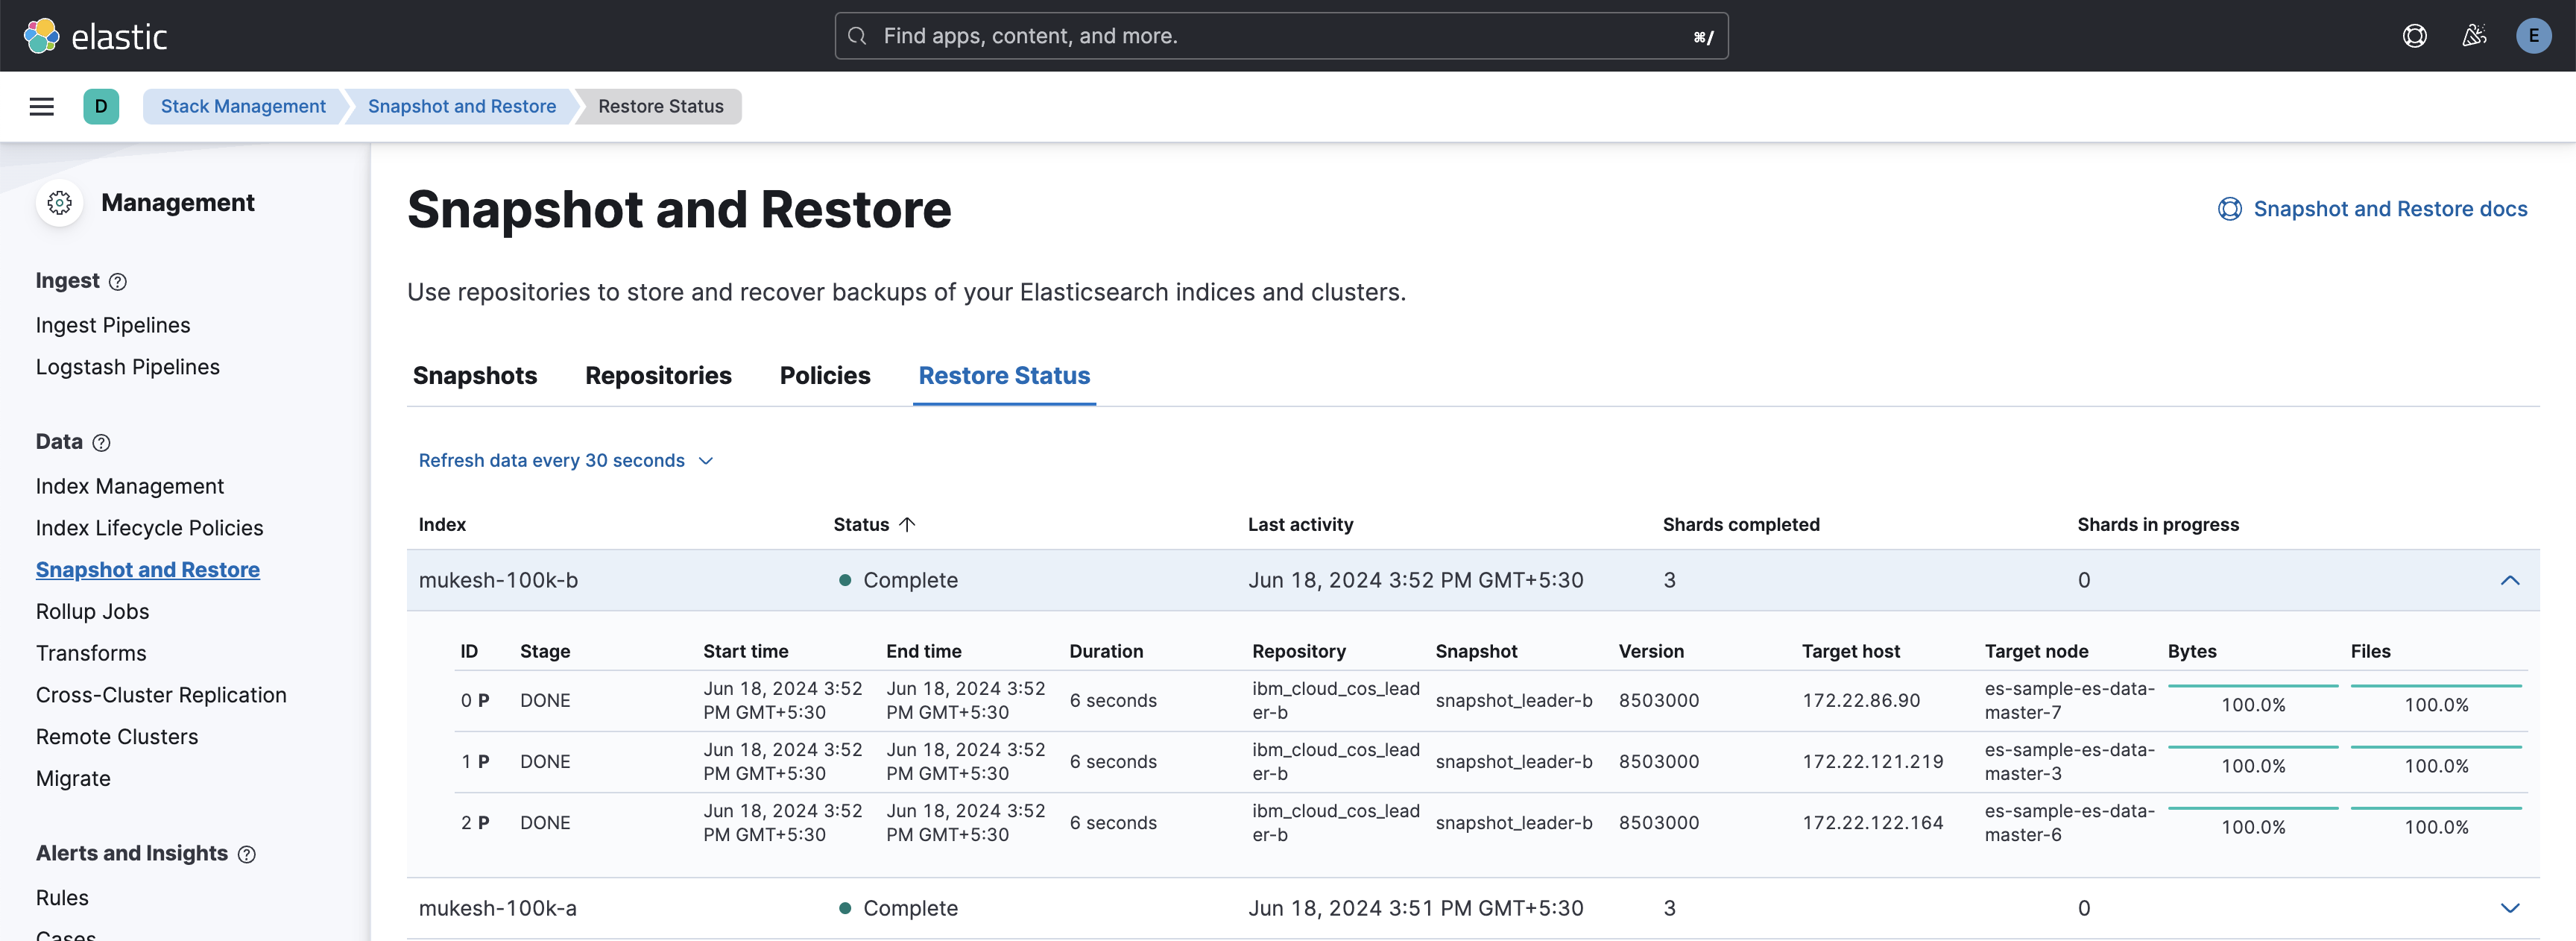
POST /_snapshot/ibm_cloud_cos_leader-a/snapshot_leader-a/_restore { "indices": "index-100k-a", "ignore_index_settings": ["settings.index.uuid"], // Optional: Ignore index UUID to avoid conflicts "include_global_state": false // Optional: Do not restore global cluster state } POST /_snapshot/ibm_cloud_cos_leader-b/snapshot_leader-b/_restore { "indices": "index-100k-b", "ignore_index_settings": ["settings.index.uuid"], // Optional: Ignore index UUID to avoid conflicts "include_global_state": false // Optional: Do not restore global cluster state }After the restore operation completes, you can view the index with all the documents in green health status.
Merge multiple indexes into one index
Create a destination index with the same configuration as the source indexes.
PUT /index-100k-ab { "settings": { "number_of_shards": 3, "number_of_replicas": 0 }, "mappings": { "properties": { "splitId": { "type": "short" }, "start": { "type": "integer" }, "end": { "type": "integer" }, "number": { "type": "integer" }, "systemFamilyId": { "type": "integer" }, "country": { "type": "keyword" }, "kindcode": { "type": "keyword" }, "publicationDate": { "type": "date", "format": "yyyyMMdd" }, "applicationDate": { "type": "date", "format": "yyyyMMdd" }, "modifiedOn": { "type": "date", "format": "yyyy-MM-dd HH:mm:ss" }, "pubId": { "type": "keyword" }, "source": { "type": "keyword" }, "ml.tokens": { "type": "rank_features" }, "SearchField": { "type": "text" }, "name": { "type": "keyword" } } } }Merge the two indexes into the third index.
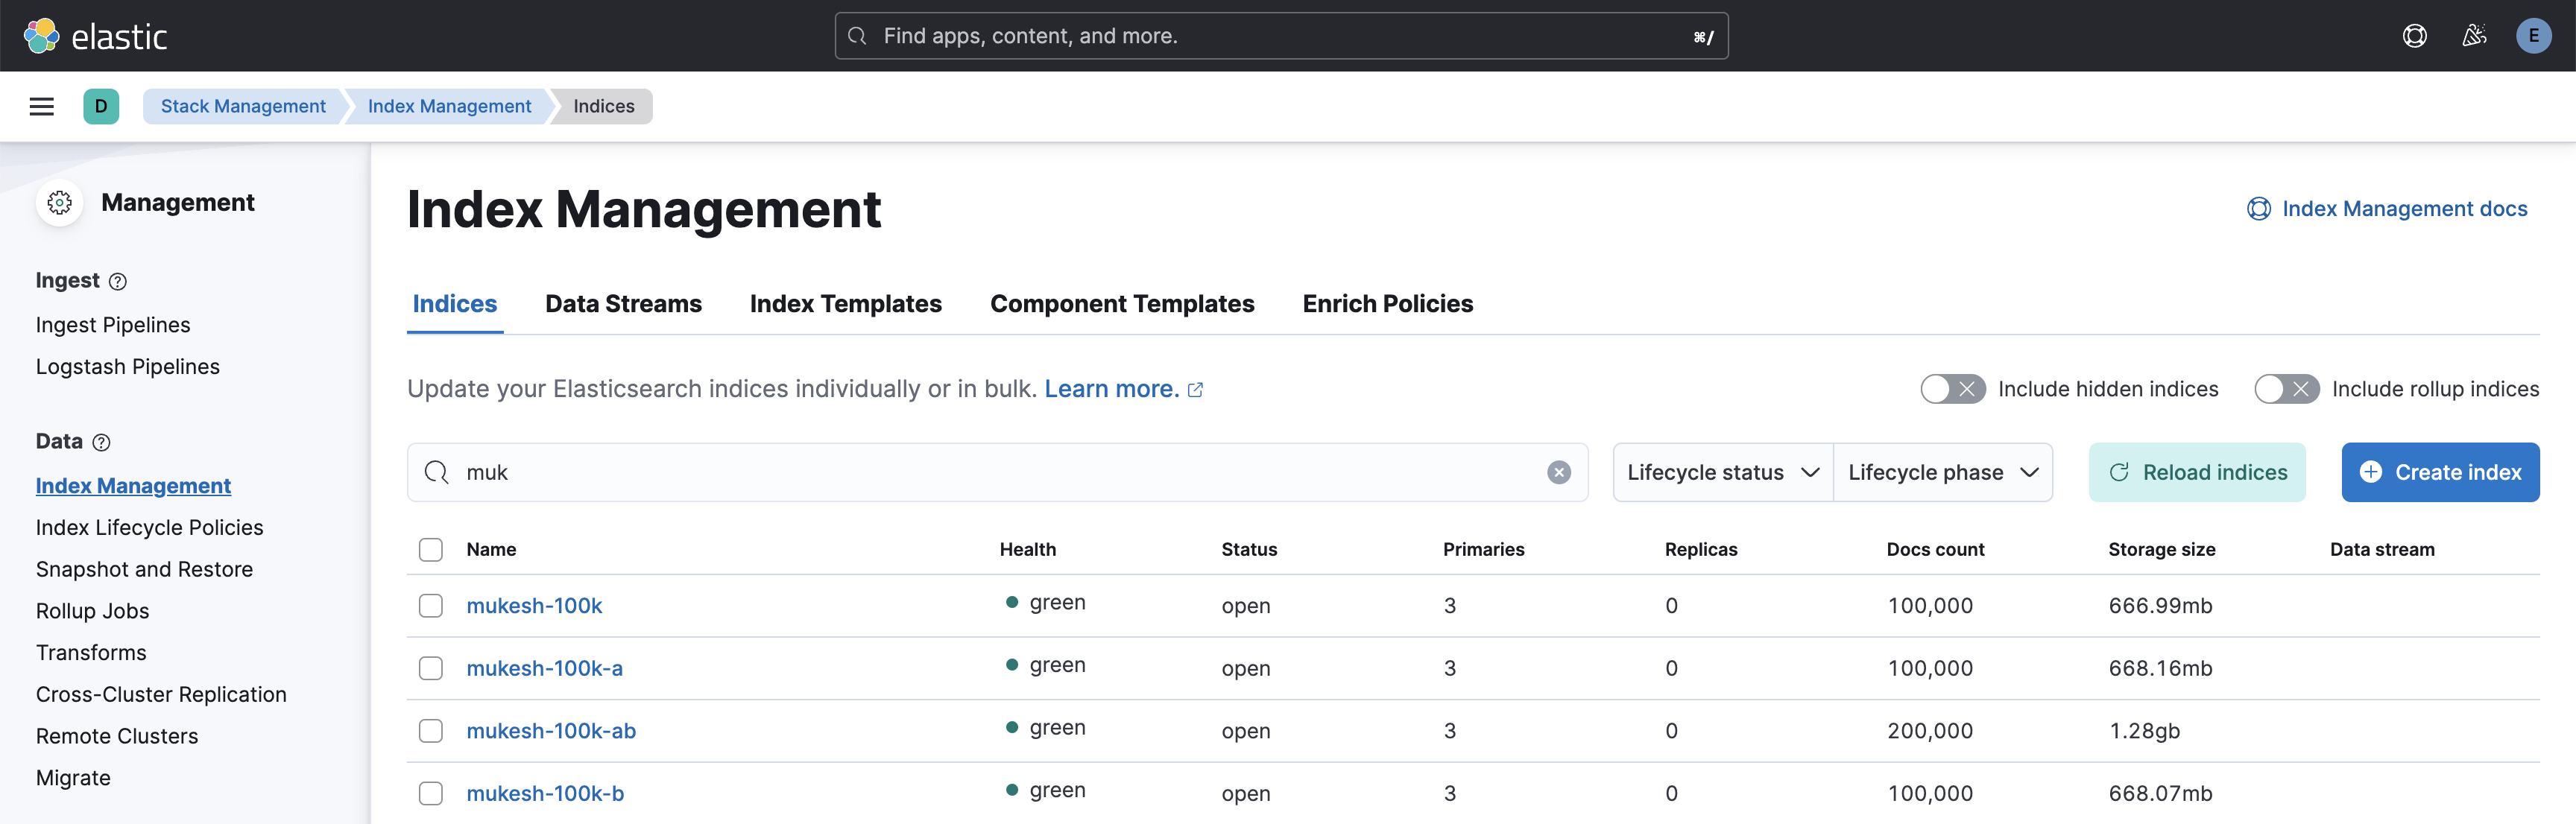
POST _reindex { "source": { "index": ["index-100k-a", "index-100k-b"] }, "dest": { "index": "index-100k-ab" } }To verify that the indexes are merged into the third index, check that the total document count equals the sum of all source index documents.
Best practices
- Regular backups: Schedule snapshots at regular intervals based on your data update frequency and criticality.
- Monitor snapshot status: Monitor snapshot status and logs to ensure backups are successful and complete.
- Secure repository access: Use IAM roles or equivalent mechanisms to restrict access to snapshot repositories.
- Test restores: Periodically test restoring from snapshots to validate your backup strategy.
Conclusion
Creating and maintaining backups of your Elasticsearch indices through snapshots is essential for data integrity and resilience. By following the steps outlined above and adhering to best practices, you can safeguard your data against unforeseen circumstances and ensure business continuity.
Implementing a robust backup strategy not only protects your data but also provides peace of mind, knowing that you can recover quickly from any data loss incidents. Start setting up your Elasticsearch snapshots today to safeguard your valuable data assets.