About cookies on this site Our websites require some cookies to function properly (required). In addition, other cookies may be used with your consent to analyze site usage, improve the user experience and for advertising. For more information, please review your options. By visiting our website, you agree to our processing of information as described in IBM’sprivacy statement. To provide a smooth navigation, your cookie preferences will be shared across the IBM web domains listed here.
Tutorial
Running InstructLab in a Jupyter Notebook on Colab with a GPU
Learn how to prepare input files and test fine-tuned output models using InstructLab on Colab
On this page
InstructLab is an open-source AI project that facilitates adding knowledge and skills contributions to large language models (LLMs). InstructLab uses a novel synthetic data-based alignment tuning method for Large Language Models, which was first introduced in this paper. Learn more about InstructLab and why developers need it in this article. And, the open-source InstructLab repository provides additional documentation on using InstructLab.
We developed this Jupyter Notebook that demonstrates the open-source version of InstructLab running on Colab with a GPU. It runs the InstructLab process from Python code without the need to specify detailed configuration parameters or type commands into a command line interface (CLI). This means you can focus on preparing input files and testing fine-tuned output models.
Steps
Step 1. Select a Colab Plan
Go to the the Colab page, and select Sign In at the upper right.
Select a Google Account to use with Colab.
If you do not have a Google account, choose Sign in and on the Sign In page, select Create account at the lower right. Proceed though the steps to create a Google Account and then come back to the this page and sign in with your account.
Once signed into your Google account, go to the Colab Plan page.

Select one of the four offered plans, since all give access to a GPU with memory of at least 18 GB. A typical single InstructLab run on a GPU will incur charges of one to two dollars. After selecting a plan, you will have to pay for it before you can use the GPU.
Step 2. Place your Hugging Face token in Colab
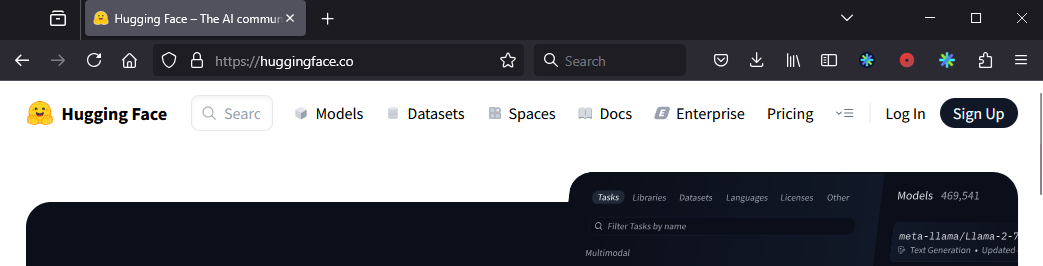
Go to the Hugging Face site. If you have previously created a login with HuggingFace, select Log In and provide your credentials. Otherwise, select Sign Up and create a free HuggingFace account.
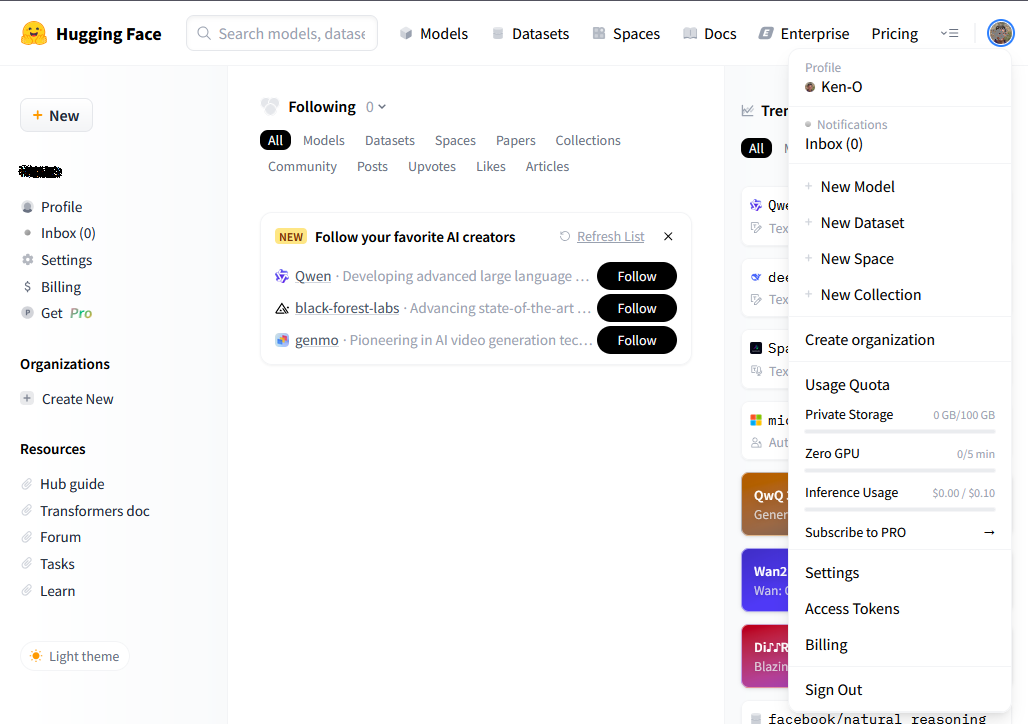
Select your account icon in the upper right and choose Access Tokens from the drop-down menu.
On the Access Tokens page, select Create Token at the upper right.
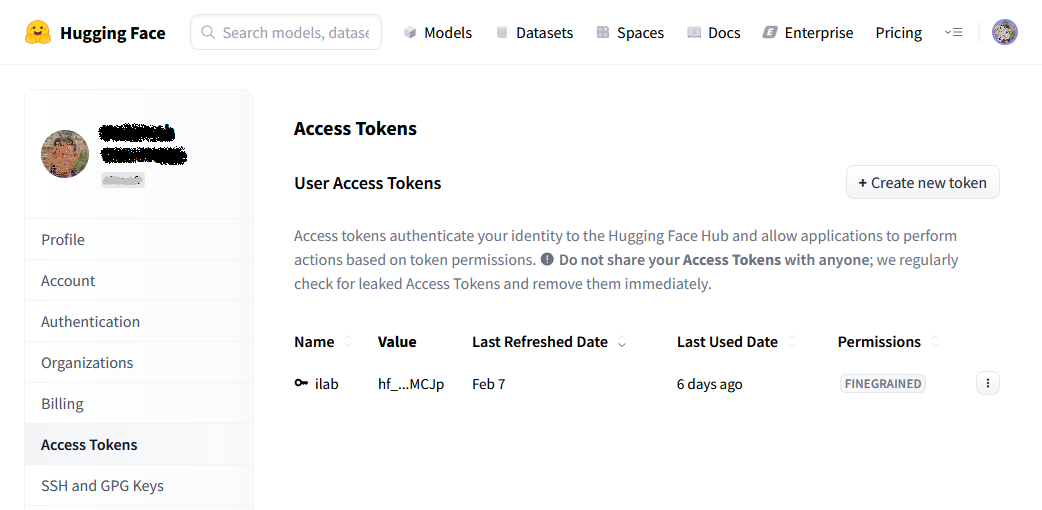
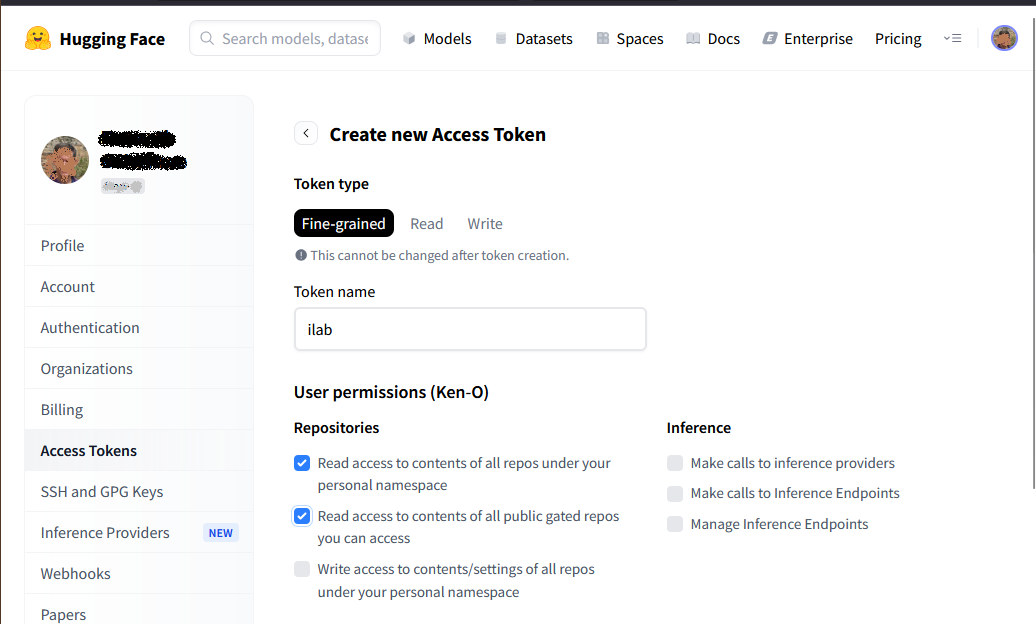
On the Create New Access Token page, select Fine-grained, specify "ilab" as the token name, and select these permissions: “Read access to contents of all repos under your personal namespace” and “Read access to contents of all public gated repos you can access.” Scroll to the bottom of the page, and select Create Token. Save the token value by selecting the Copy button, and then select Done.
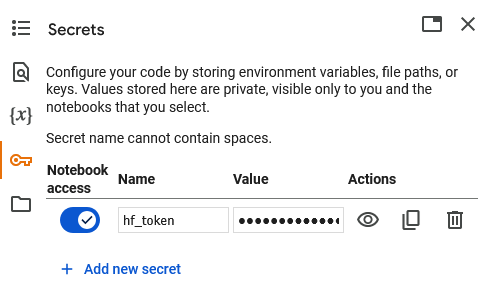
Now go back to Colab, cancel any Open notebook dialog that appears, and then select the key icon in the left column, as seen in the following image. On the new screen that appears as shown below, select +Add new secret. Name the secret "hf_token" and paste the copied HuggingFace token into the Value field. Slide the Notebook Access slider to the right to enable it (it turns blue). Close the Secrets column when this is completed.
Step 3. Open the Jupyter Notebook in Colab
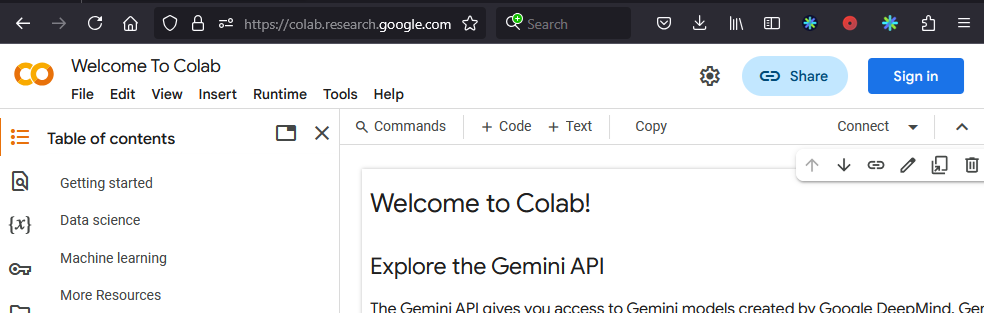
Go to the the Colab page. If you are not signed in, select Sign In at the upper right, and sign in with your Google account.
If the Open notebook popup is not open, select File > Open notebook, and then select Github on the left side. Enter “KenOcheltree” for the GitHub URL. Then, select the
KenOcheltree/ilab-colabrepository.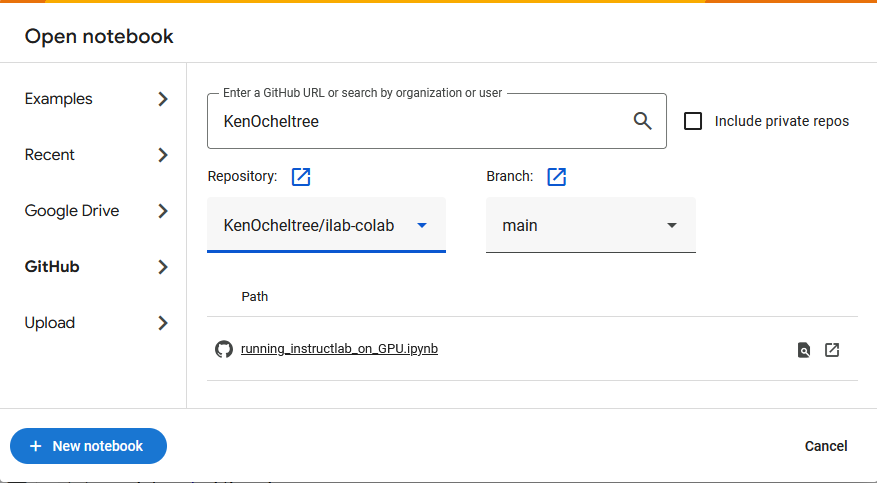
Now, select the notebook named
running_instructlab_on_gpu.jpynband it opens into Colab.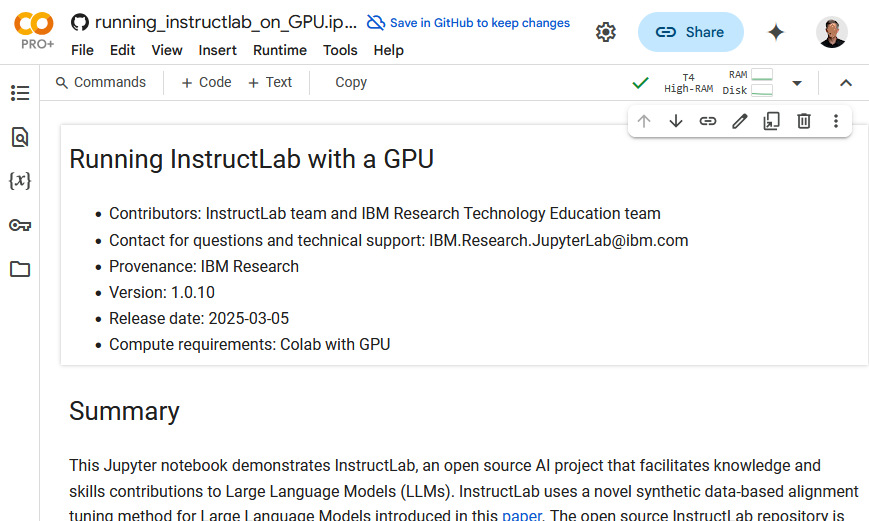
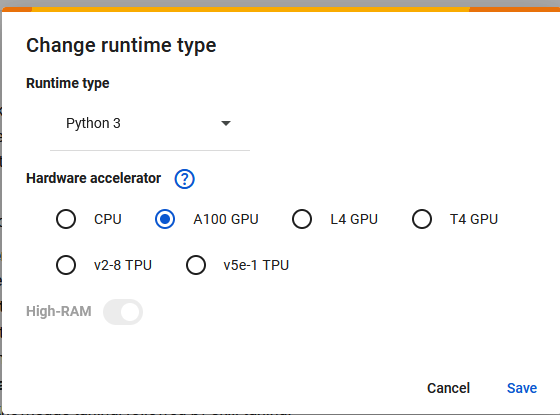
Step 4. Select a GPU
From the top menu, select Runtime > Change runtime type. You now must select one of the GPU options L4 or A100 to run this notebook. The A100 GPU is a good option as it has more memory and runs the InstructLab Jupyter notebook faster.
Monitor resource usage by selecting Runtime > View resources and change plans as needed.
Note This step can be performed whenever you want to change the GPU used. However, changing the runtime will terminate the current session and you will lose your current work.
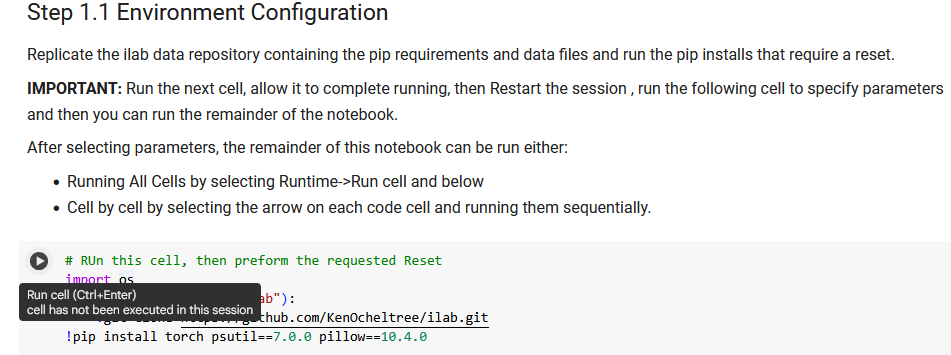
Step 5. Run the first cell to perform pre-reset installs
Run the first code cell by clicking the arrow next to it.
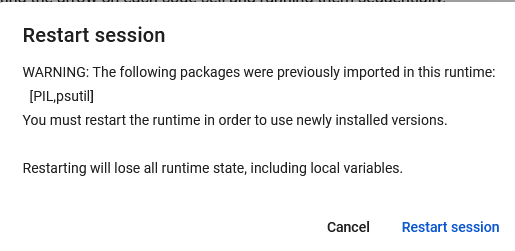
When it completes, it will ask you to restart the session. Restart the session when requested.
Step 6. Run the second cell and select the InstructLab parameters
Run the second code code cell by clicking on the arrow next to it. Once the second cell is run, it presents a number of different parameters available for running InstructLab.

Select the desired run parameters. The parameters are as follows:
- Data set - Choose between data on the 2024 Oscars, IBM Quantum technology, and Agentic AI.
- Processing - Selects the processing pipeline to use for synthetic data generation.
- Number of Questions and Answers (QNA) - Selects the number of QNAs to be synthetically generated. You may wish to select a small number of QNAs if you are introducing a new dataset.
- Number of Epochs - Specifies the number of times the learning algorithm will work through the entire training dataset.
- Iterations - Specifies the number of stages of training.
- Live Q&A - An option to open an inferencing dialogue with untrained and trained models to compare results.
- Download - An option to download the created trained model.
Step 7. Run the remainder of the notebook
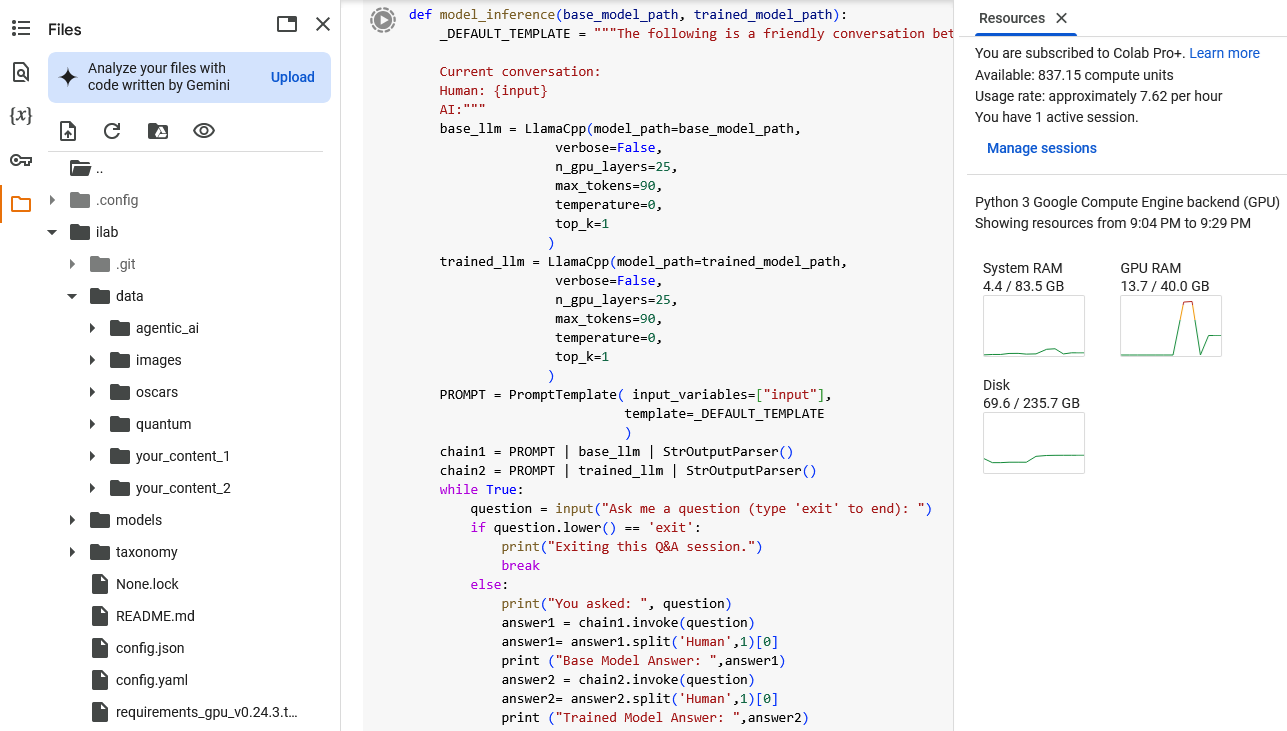
Select the third code cell, shown below, without running it, and click on Runtime > Run cell and below to run the rest of the notebook.
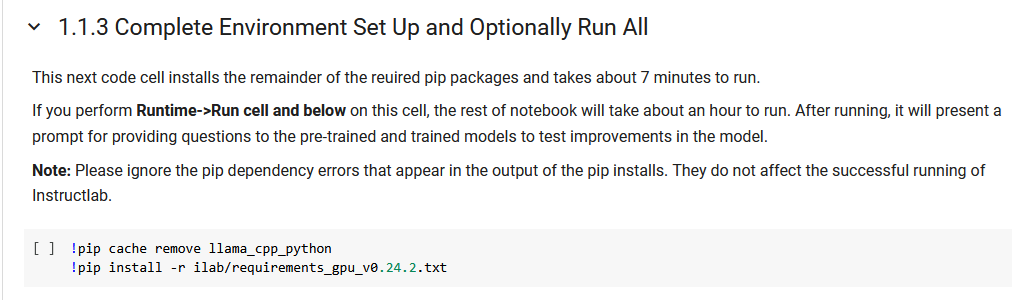
The run will proceed as follows to configure InstructLab and create a model:
- Complete the environment setup by installing InstructLab and other required packages
- Configure the InstructLab installation
- Download LLM models for training and teaching
- Create a taxonomy with the new data
- Perform synthetic data generation
- Run model training with the synthetic data
After the model is created, you can choose to run inferencing on the model or download the trained model.
- Optionally opens an inferencing dialogue with untrained and trained models
- Optionally downloads the trained model
After the run completes by exiting the inferencing loop, you can make another run if desired. To do that, go back to the second code cell, run it, and change the run parameters. Then select the third code cell without running it and click Runtime > Run cell and below to run the rest of the notebook.
Summary and next steps
This tutorial demonstrated using InstructLab for introducing data sets, data generation, and model training. This notebook produced an InstructLab-trained model that was available for inferencing and downloading.
Click the Folder icon on the left to explore the files in the ilab folder. Preloaded QNA files and synthetically generated questions and answers can be found in this directory tree. You can also select Runtime > View resources to see the resource utilization of the run.
Try running the notebook with the other example data sets. You can also experiment with how the number of epochs and iterations affect the quality of the generated model.
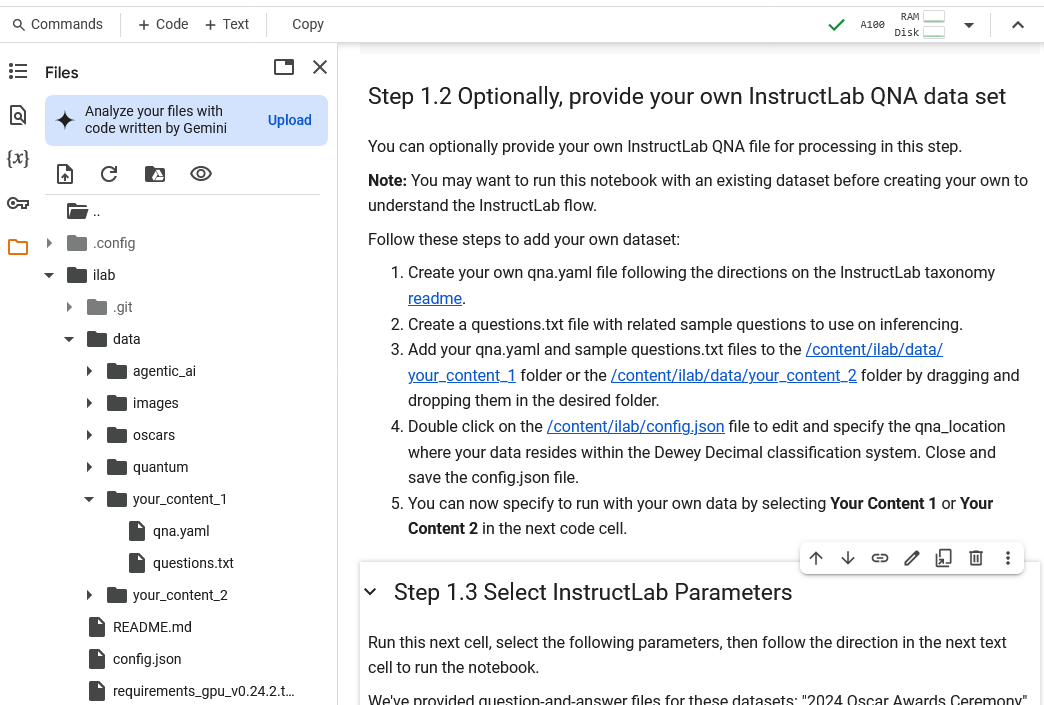
After running through the InstructLab notebook, you are encouraged to create your own QNA file. The detailed instructions are in the InstructLab taxonomy readme, but you can follow these steps to add your own data set:
- Create your own
qna.yamlfile. - Create a
questions.txtfile with related sample questions to use on inferencing. - Add your
qna.yamland samplequestions.txtfiles to the/content/ilab/data/your_content_1folder or the/content/ilab/data/your_content_2folder by dragging and dropping them in the desired folder. - Double-click on the
/content/ilab/config.jsonfile to edit and specify theqna_locationwhere your data resides within the Dewey Decimal classification system. Close and save theconfig.jsonfile. - You can now specify to run with your own data by selecting Your Content 1 or Your Content 2 in the parameters options shown in Step 6 and then running the remainder of the notebook.
Once you have trained your model, you can download your model and experiment with it in other environments.