About cookies on this site Our websites require some cookies to function properly (required). In addition, other cookies may be used with your consent to analyze site usage, improve the user experience and for advertising. For more information, please review your options. By visiting our website, you agree to our processing of information as described in IBM’sprivacy statement. To provide a smooth navigation, your cookie preferences will be shared across the IBM web domains listed here.
Tutorial
Write and trigger serverless MQ applications in IBM Cloud
Deploy and scale serverless MQ applications and jobs on IBM Cloud Code Engine with a queue depth observer
On this page
Serverless computing allows developers to focus on delivering application value by managing framework resources. The serverless platform provisions resources as your application needs them, which means that you spend less time being an operations engineer and more time being a developer.
IBM Code Engine is the IBM Cloud serverless platform. Code Engine is based on a Kubernetes infrastructure where applications look like standard Kubernetes-deployed web applications running in standard containers. Your applications can be ported to a regular Kubernetes platform.
The Code Engine serverless platform runs containerized workloads as web apps, batch jobs or as event-driven functions. The workloads can work together and be combined into a micro-services architecture:
- Applications serve HTTP requests, and are scaled based on incoming workload
- Jobs run as batch jobs, are designed to run one time and exit, but can run multiple instances in parallel.
- A function is a stateless snippet that performs a task in response to an HTTP function.
The key is to design your application, services, and functions to minimize the code that is specific to a serverless platform so that you can minimize the developer cost of moving between serverless runtimes.
To save cost the serverless workload will scale to zero when there is no demand. To scale up, they need to be triggered, for that an observer is needed to detect when work needs to be performed, and to be able to either invoke the application or start the job.
IBM MQ has provided a sample IBM MQ queue depth observer for Code Engine in this GitHub repository.
In this tutorial, we’ll deploy and run the queue depth observer with a sample MQ client message consumer on IBM Code Engine. The sample MQ message consumer will be deployed as a job definition. The observer will be deployed as an application. We will create subscriptions for the job with the observer to be invoked when there are messages on specific queues.
Code Engine requires that your applications and jobs are packaged in Kubernetes friendly container images. You create Code Engine jobs and applications from container images containing your code. The queue depth observer repository contains docker files that will be used by Code Engine to build images for the queue depth observer and message consumer job.
You can learn more about IBM Cloud Code Engine in its documentation or by reviewing the articles, tutorials, and other content on IBM Developer.
Prerequisites
You need to have:
- An IBM Cloud account.
- IBM Cloud CLI
- IBM Cloud Code Engine CLI
- Git command line
- Suitable IDE, such as Visual Studio Code
- IBM MQ queue manager. You need an IBM MQ queue for your serverless MQ application to send and receive messages. The queue needs to be accessible from the cloud, so why not use the cloud for your queue as well. If you don’t already have a queue in the cloud, follow the steps in the "Get an IBM MQ queue for development in IBM Cloud" tutorial.
This tutorial requires an IBM Cloud Pay-As-You-Go account. To upgrade your Lite account, go to your account settings. In the Account Upgrade section, click Add credit card to upgrade to a Pay-As-You-Go account, or click Upgrade for a Subscription account. See upgrading your account for more information.
This tutorial provides instructions on deploying the observer app and consumer job to IBM Cloud Code Engine, which is a fully managed, serverless platform that runs your containerized workloads and manages the underlying infrastructure for you. IBM Cloud Code Engine provides 100000 vCPU seconds per month at no charge. However, you need to be sure to shut down any unwanted serverless applications.
Steps
Step 1. Create a Code Engine project
First, you need to log in to your IBM Cloud account, selecting the targeted resource group and region. For example:
ibmcloud login -g default -r us-south
Then, in the terminal, run the following command to create a new Code Engine project.
ibmcloud ce project create -–name mq-observer
Step 2. Create a Code Engine access key
The queue depth observer will need API credentials for every queue manager it is monitoring as well as sufficient API authority to run Code Engine jobs.
First, log in to your IBM Cloud account.
From the main menu, select Manage > Access (IAM). Then, under Manage identies, select Service IDs.
Click the Create button. In the dialog, enter a name for the service ID and then click Create.
Click the API keys tab, and then click Create to create an API key for the observer service. Make a note of this API key.
Click the Access tab, and then click Assign access to assign an access policy for the service ID.
Select Code Engine, and then click Next. Restrict access to the specific Code Engine project you created in Step 1, and then click Next.
Under Service access, select Writer, and under Platform access, select Viewer, and then click Next. Leave the conditions empty.
Click the Add button, and then click the Assign button.
Step 3. Create a Cloud Object Storage instance
The queue depth observer uses Cloud Object Storage to persist registrations. In this step, we will create an Cloud Object Storage instance for the observer to use.
In the IBM Cloud catalog search for, and then select, Object Storage. In the right side bar, click Create to create an instance.
Once the instance is created, you can rename it.
Open the Cloud Object Storage instance, and then click the Service credentials tab. Click New Credential. Specify a service name, and then click Add. Make a note of the service credentials.
Step 4. Clone the repository and inspect the code
In a terminal, create a directory and change to it:
mkdir MQ-CE
cd MQ-CE
Clone the sample Code Engine Observer repository.
git clone https://github.com/ibm-messaging/mq-code-engine-observer
Change to the directory containing the cloned repository:
cd mq-code-engine-observer
Inspect the observer code
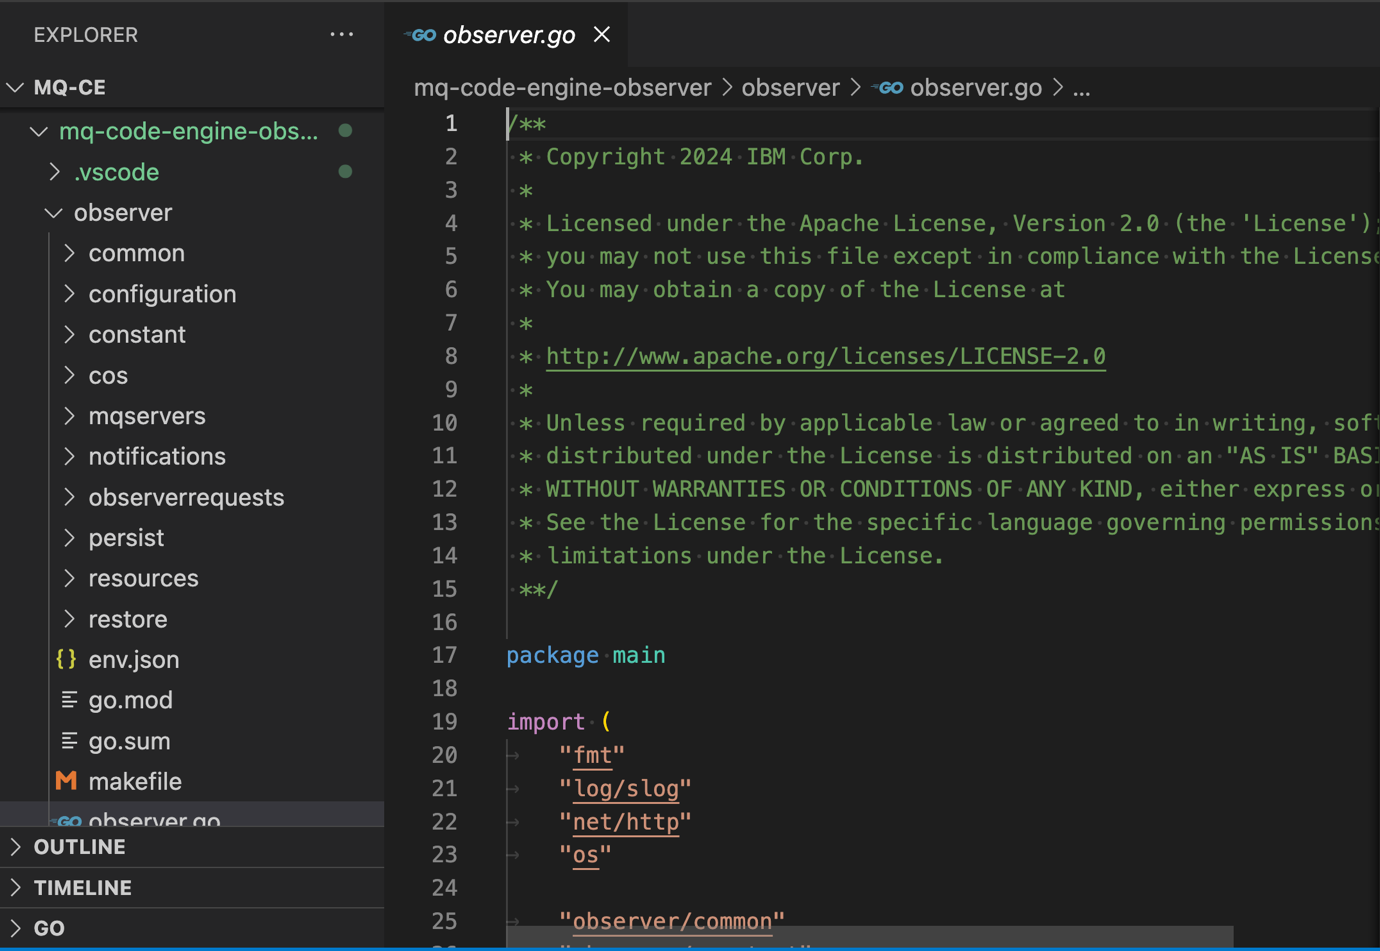
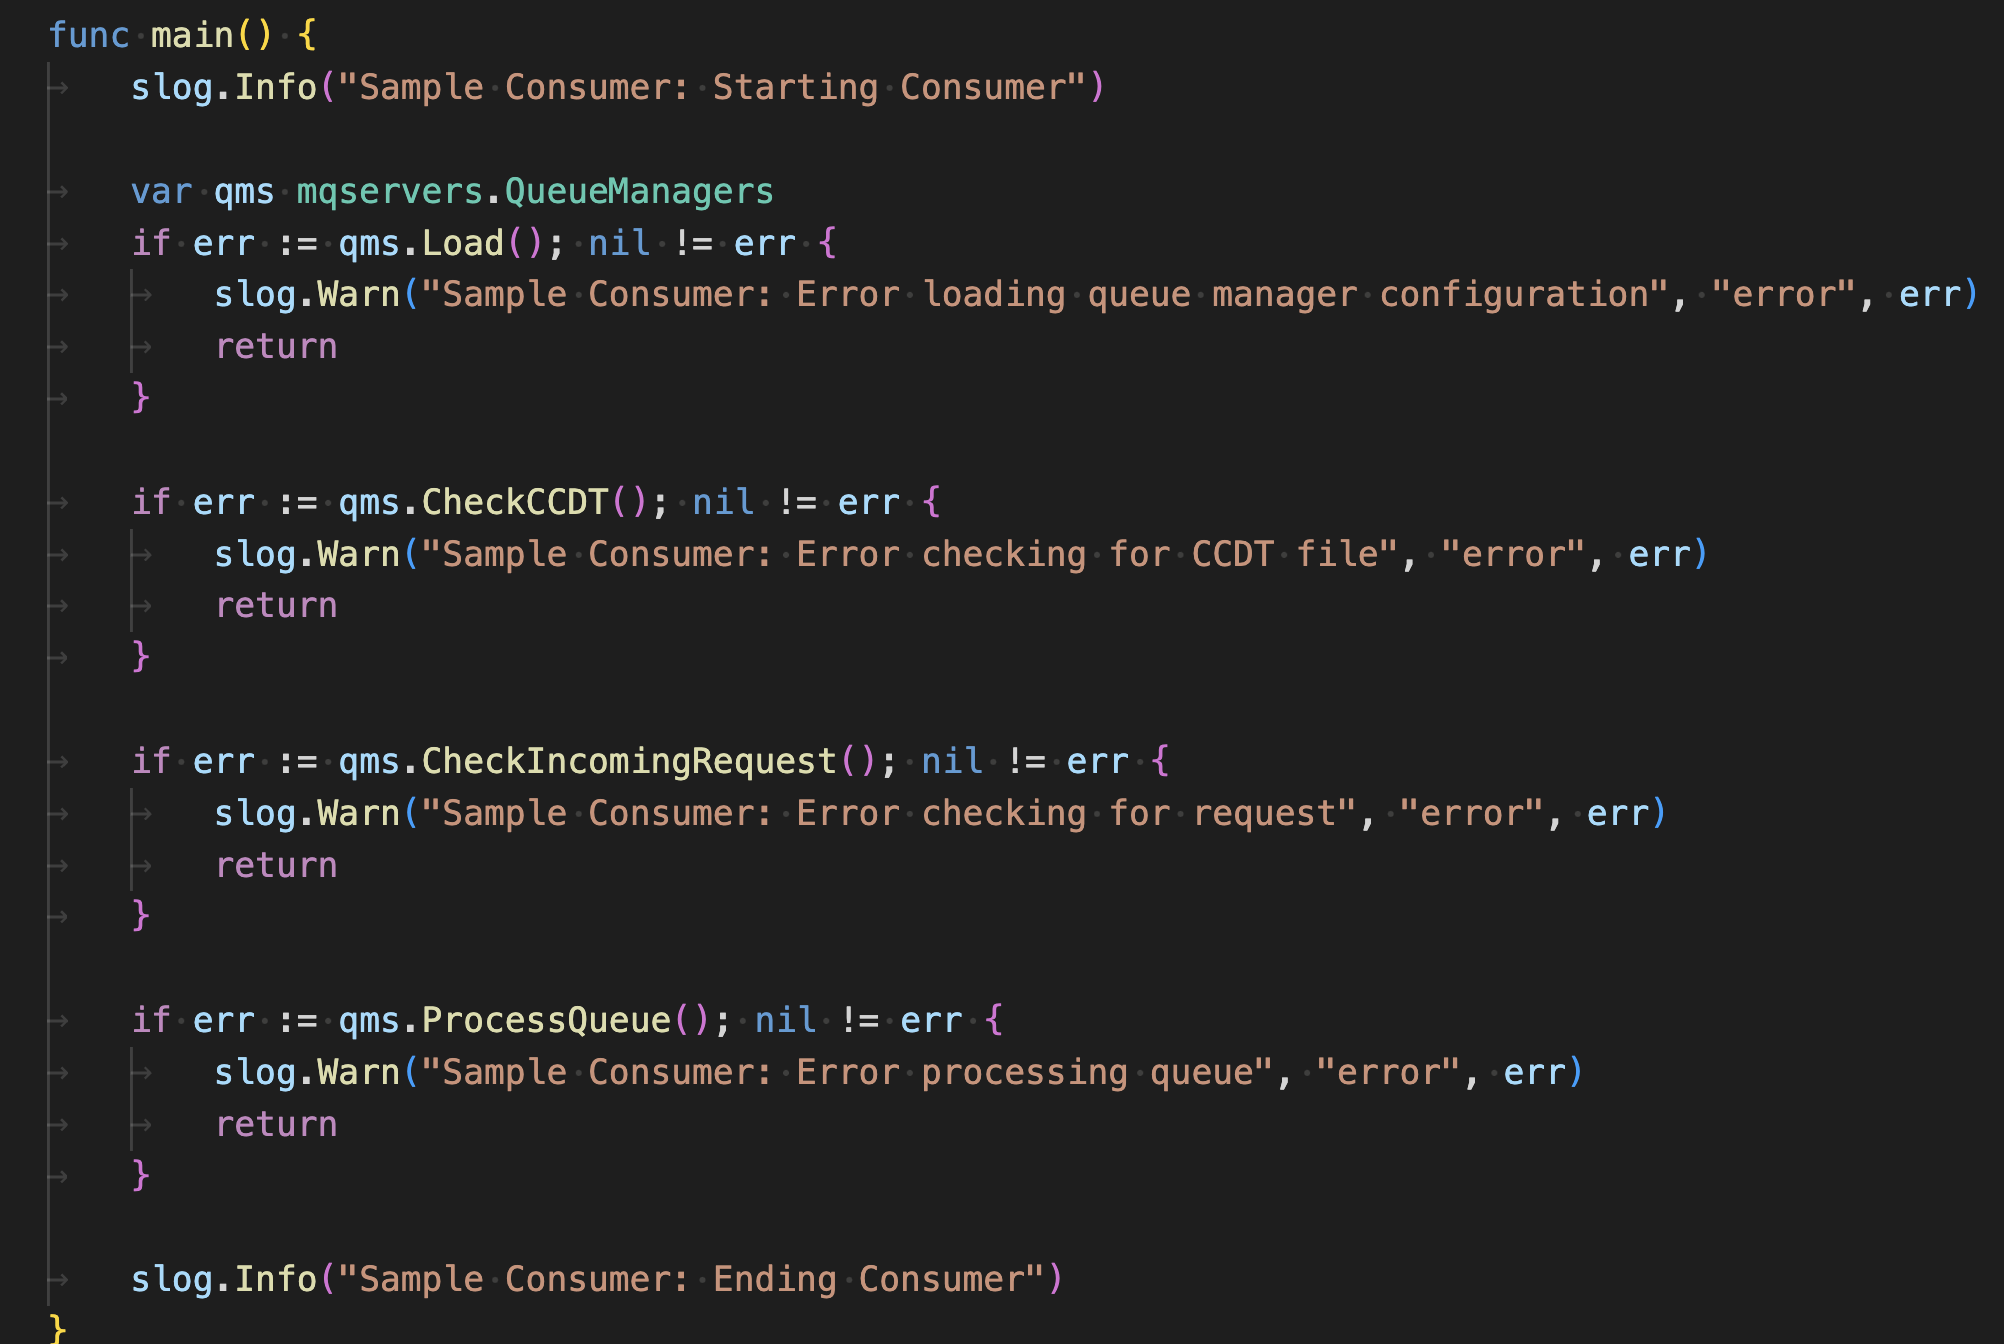
Open your IDE and select the observer code. The observer.go file is the main entry point for the observer application.
The code that determines if queue depth notifications need to be sent to registered applications and jobs is run as a go routine.

The notifier consists of an infinite loop, which sleeps then periodically wakes to check queue depths for all active registrations.

Inspect the consumer code
Open your IDE and select the consumer code. The consumer.go file is the main entry point for the observer application.

The consumer checks the incoming environment variables to determine which queue manager and queue to connect to, and then drains all messages off that queue. It uses a CCDT to establish the connection to the queue manager.
Step 5. Configure the observer and consumer jobs
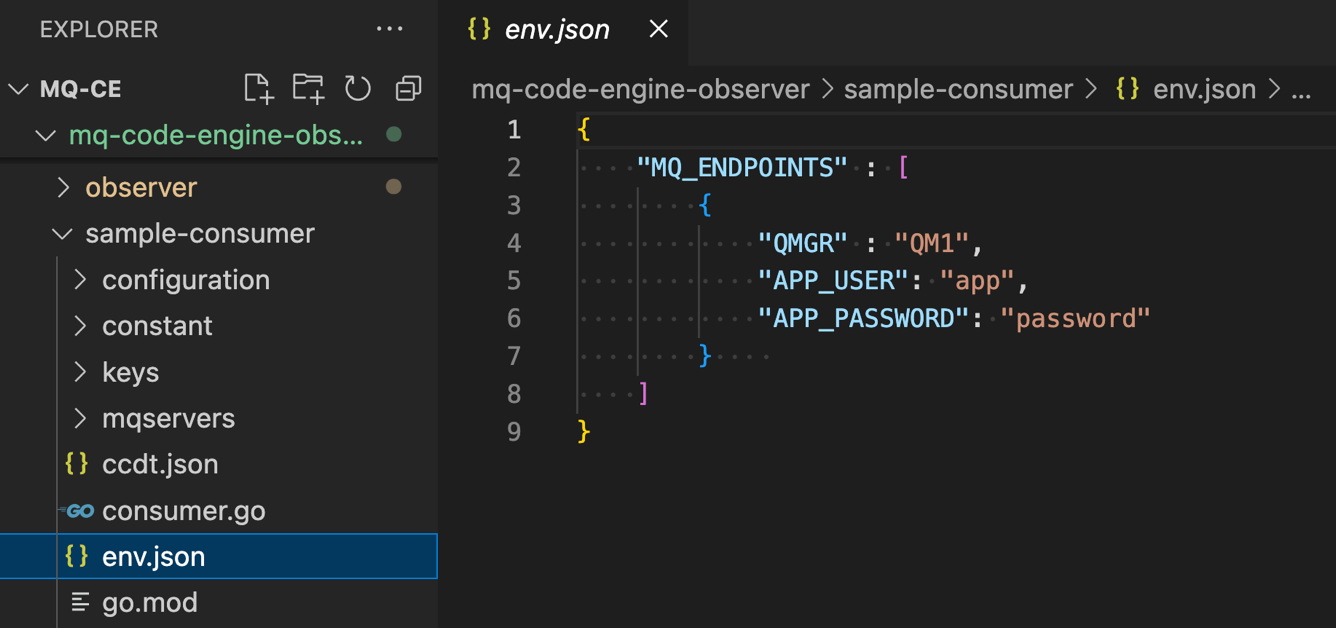
There are two env.json files, one for the observer and one for the sample consumer jobs. We will not be putting any secrets into the env.json files, just configuration information.
First, modify the mq-code-engine-observer\observer\env.json file to have the configuration information for all your queue managers, Code Engine, and Cloud Object Storage. The observer uses the HTTP REST API to interact with the queue manager, so ensure that you provide the REST host address and REST port for the queue manager.

Then, modify the mq-code-engine-observer\sample-consumer\env.json file to only contain the queue manager that it will be notified for.
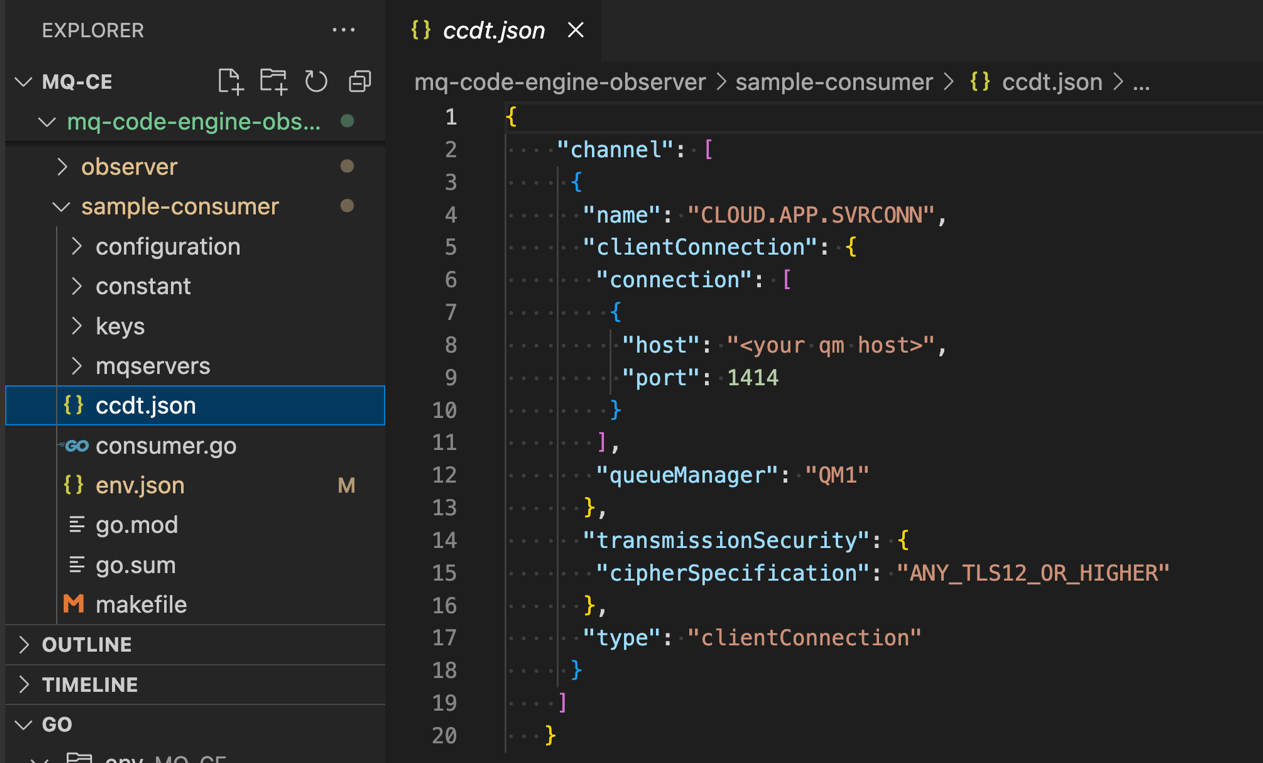
Next, replace the mq-code-engine-observer\sample-consumer\ccdt.json file with your own CCDT file.
The consumer has a keystore that holds the public certificates of the certificate authority used to sign the queue manager on IBM Cloud. If your queue manager is not on IBM Cloud, then update the keystore (in the mq-code-engine-observer\sample-consumer\keys folder) to hold the public certificates of the certificate authority that you are using.
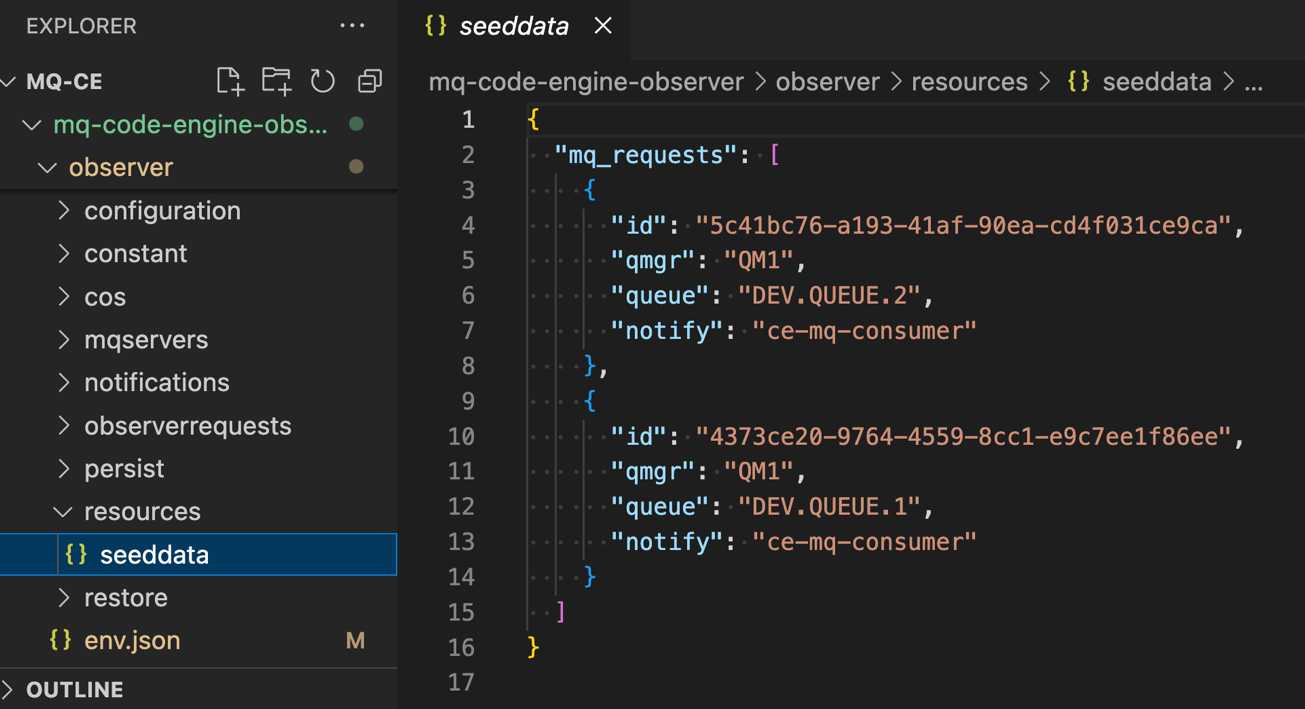
Lastly, the observer has seed data that registers the sample consumer to be notified when there are messages on queue DEV.QUEUE.1 or DEV.QUEUE.2 on queue manager QM1. You need to modify the seed data to point at your queue manager and queues.
Step 6. Deploy the observer and consumer jobs
In your terminal, change to the mq-code-engine-observer root directory.
You will be supplying all the secrets that the observer and job need over the command line. The deploy script will then create Code Engine secrets that the observer and job will be able to use.
Run the following command substituting your queue manager, Code Engine and Cloud Object Storage credentials. We are setting the NOTIFY\_INTERVAL, which is the duration that the observer notifier sleeps, to 1 minute.
For MacOS and Linux:
ADMIN_USER=aaa ADMIN_PASSWORD=bbb APP_USER=ccc APP_PASSWORD=ddd ce_apikey=xxx cos_apikey=yyy NOTIFY_INTERVAL=1 ./deploy.sh
For windows:
set ADMIN_USER=aaa
set ADMIN_PASSWORD=bbb
set APP_USER=ccc
set APP_PASSWORD=ddd
set ce_apikey=xxx
set cos_apikey=yyy
set NOTIFY_INTERVAL=1
deploy.cmd
Wait for the script to complete.
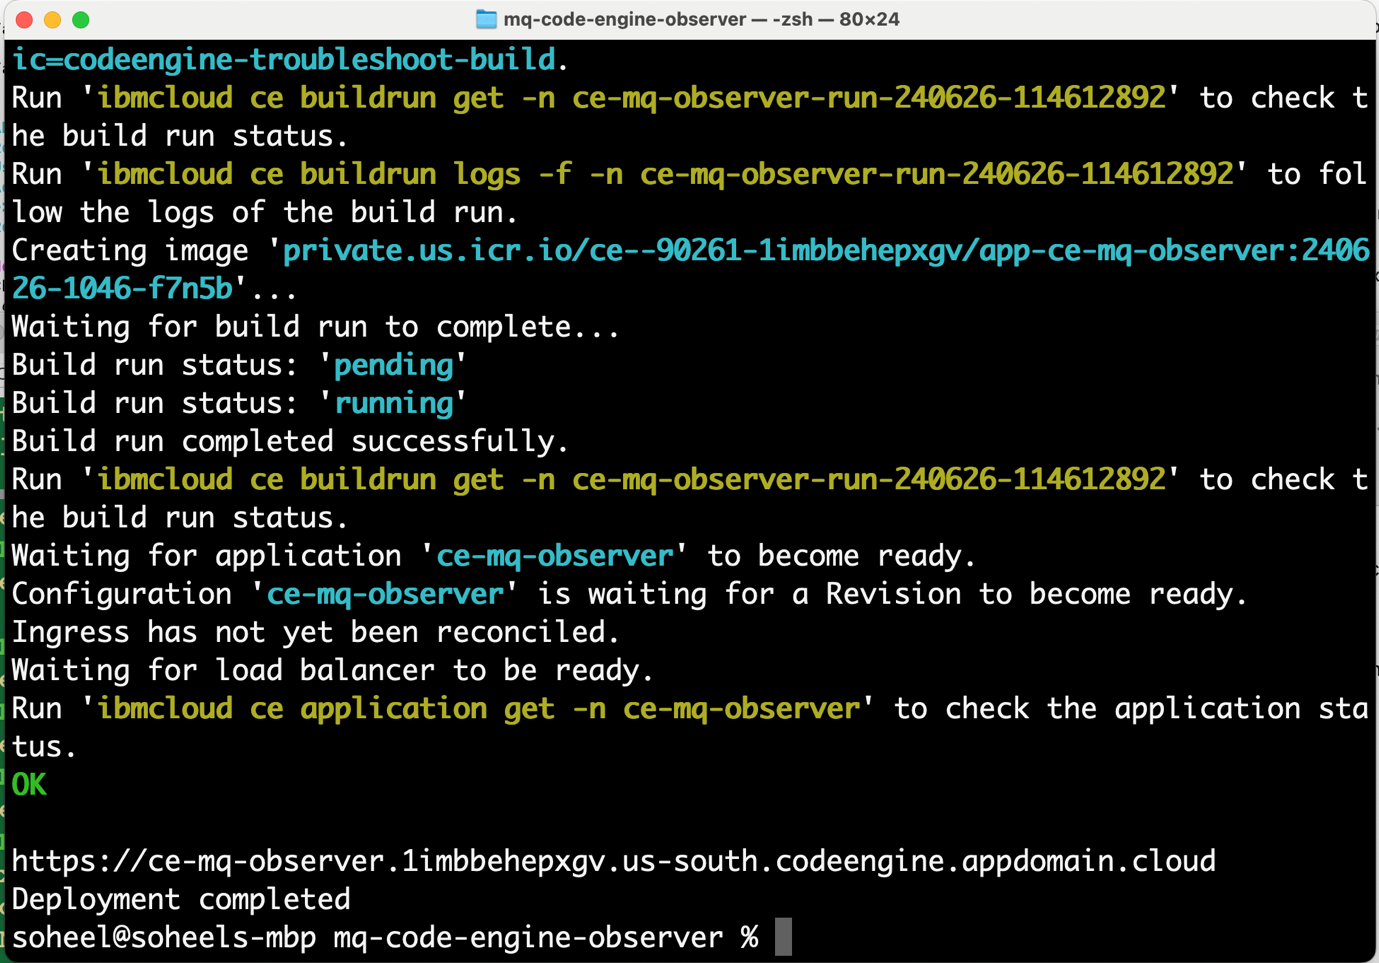
Make a note of the observer endpoint. In the previous figure, it is https://ce-mq-observer.1imbbehepxgv.us-south.codeengine.appdomain.cloud.
Run the following command to tail the observer logs.
ibmcloud ce app logs -f --app ce-mq-observer
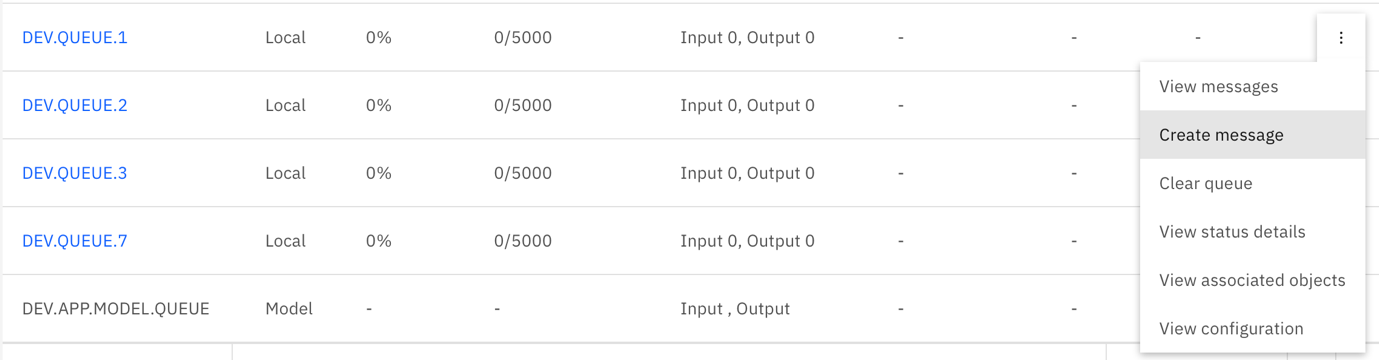
Using the MQ console, put a message onto one of the queues that are being monitored.
Wait for up to a minute for the observer to run a consumer job.

Note the name of the consumer job. In the previous figure, it is ce-mq-consumer-jobrun-ndnsx.
In a new command line terminal, run the following command to follow the logs for the job.
ibmcloud ce jobrun logs --jobrun ce-mq-consumer-jobrun-ndnsx
The job has connected to the correct queue manager and drained all messages off the correct queue.
Step 7. Create a new registration
The observer has a HTTP listener that allows you to create new registrations. Using the observer URL you noted earlier, run the following command:
curl -d "QMGR=QM1&QUEUE=DEV.QUEUE.3&NOTIFY=ce-mq-consumer" -X POST -H "application/x-www-form-urlencoded" https://ce-mq-observer.1imbbehepxgv.us-south.codeengine.appdomain.cloud/register
You should receive confirmation that the registration was successful.
Using the MQ console, add a message to the queue that is being used in this new registration.
You should see a new job started, which will drain the queue like before.
Optional: Clean up
To clean up and remove all Code Engine artifacts that you created in this tutorial, run the following from the command line.
For MacOS and Linux:
./deploy.sh clean
For windows:
deploy.cmd clean
Summary
In this tutorial, we deployed a MQ Queue depth observer as a Code Engine application and a sample consumer as a Code Engine job definition. We seeded the observer with a couple of startup registrations, which informed the observer which queue manager / queues to monitor and which jobs to launch. We added a third registration when the observer was running, using the observer’s http rest interface.
We placed messages on the queues that the observer was monitoring. This triggered the observer to launch consumer jobs which consumed messages of the queues.
Although the script we used deployed the observer to Code Engine, it is a go application that can be built and run anywhere.